Joined: May 14, 2013 Posts: 201 Location: Between Crosslake and Emily, Minnesota
Posted: Thu Apr 27, 2017 1:08 pm Post subject:
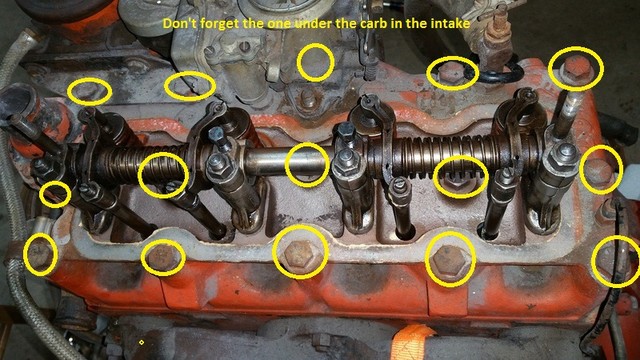
Thanks, Wes. Optimistically, based on your photo, there appears to be clearance to get my torque wrench in there especially if I use an extension to get the wrench above the rocker arm.
Also, it has been recommended to me that all the bolts get re-sealed with compound. I'll have to totally remove the bolts to do that. Hopefully. I can work the three center bolts around the rocker arm, too. _________________ Steve Stark - 1955 M38A1 MD #85388
Member - MVPA #35153
Member - Red Bull Historic Military Vehicle Association
Joined: May 14, 2013 Posts: 201 Location: Between Crosslake and Emily, Minnesota
Posted: Fri Apr 28, 2017 10:57 am Post subject:
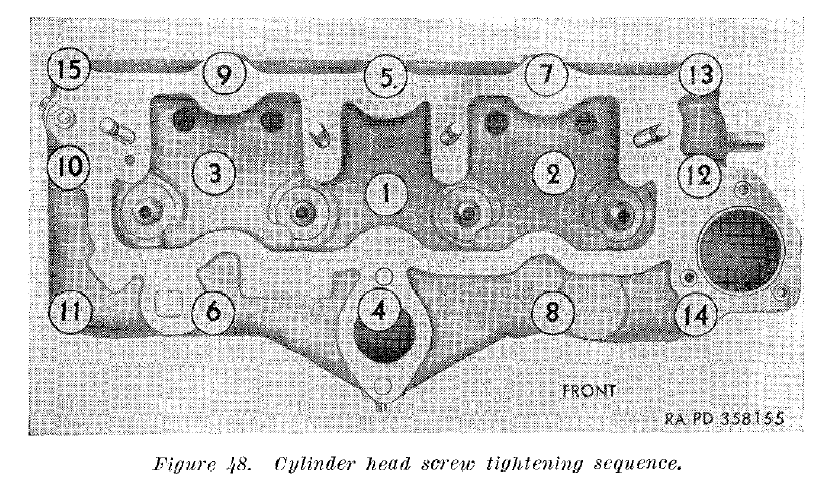
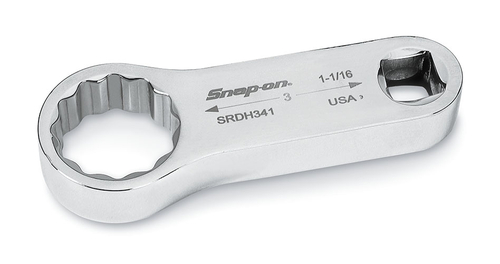
Well, I have the rocker arm cover and the carb off. You are correct (as usual) that I cannot get to head bolt #2 and #3 without a torque adaptor.
The problem now is, it has be recommended to me that I apply thread sealing compound to each bolt and then torque them down. In order to do this, I have to remove each bolt. Even with a torque adaptor, I will not be able to remove #2 and #3 bolt because the rocker arm is in the way.
So, it looks like my next move is to remove the rocker arm assembly. It looks like there are only 4 nuts that fasten the assembly to the head.
My next question is after I replace the rocker arm assembly will I have to re-gap the intake valve tappets? _________________ Steve Stark - 1955 M38A1 MD #85388
Member - MVPA #35153
Member - Red Bull Historic Military Vehicle Association
If you torque accurately the rocker shaft mount bolts you may get lucky. It helps to check the clearance first then write them down and recheck after you re-install the shaft.
Also if you are not going to change the head gasket then don't remove all the bolts at the same time. Take every other bolt loose, clean it, put sealant on it and install and torque it to half the scheduled torque. Then do the other half and torque them to half the scheduled torque. Then follow with the full torque to the finished value in the specified order. _________________ Wes K
45 MB, 51 M38, 54 M37, 66 M101A1, 60 CJ5, 76 DJ5D, 47Bantam T3-C & 5? M100
Joined: May 14, 2009 Posts: 972 Location: South Dakota
Posted: Sat Apr 29, 2017 6:04 am Post subject:
Been here on my F head in my Willys pickup. if your leak is coming from the studs, then yes seal the studs with permatex #2. If it's the gasket, then I'd pull the head and install a new copper head gasket. They cost more, but I'm impressed with them. They torque down better in my opinion. I also run a bottle of bars leak. It really helps seal up small seeps. John
Joined: May 14, 2013 Posts: 201 Location: Between Crosslake and Emily, Minnesota
Posted: Sat Apr 29, 2017 7:50 am Post subject:
Maybe I jumped the gun yesterday. I removed the rocker arm assembly and loosened all the head bolts (I did not remove them). Coolant started to leak out of the head/engine block seam in places, so I tightened the bolts back up somewhat (not to spec, but tight enough to stop the small leaks). Then, I drained the coolant out of the jeep. I should have done that first thing.
I am now wondering if I should remove the head and replace its gasket. All that is standing in the way of doing that is the removal of the 15 head bolts (and waiting a week for the gasket to arrive in the mail). Or maybe since I loosened all the bolts already, it is required that I replace the gasket. Is that correct?
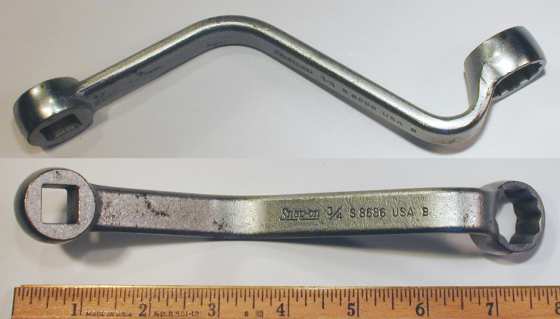
I will check the lash on my intake valves once everything is back where it belongs. I cannot turn the engine using the "fan belt method" even with the plugs out. What size socket should I use to turn the crankshaft? The largest socket I have is 1" and that's too small. I measured the nut with my cheapo plastic caliper and it would appear to be 1-3/8" or 1-7/16". I don't want to have to buy two.
Lastly, what direction should I turn the crankshaft? If looking at the engine from the front, should I turn the nut clockwise or counter-clockwise.
Thanks! _________________ Steve Stark - 1955 M38A1 MD #85388
Member - MVPA #35153
Member - Red Bull Historic Military Vehicle Association
Last edited by cabinfever on Sat Apr 29, 2017 7:54 am; edited 1 time in total
Joined: May 14, 2013 Posts: 201 Location: Between Crosslake and Emily, Minnesota
Posted: Sat Apr 29, 2017 7:54 am Post subject:
oilleaker1 wrote:
Been here on my F head in my Willys pickup. if your leak is coming from the studs, then yes seal the studs with permatex #2. If it's the gasket, then I'd pull the head and install a new copper head gasket. They cost more, but I'm impressed with them. They torque down better in my opinion. I also run a bottle of bars leak. It really helps seal up small seeps. John
John, I am not really sure where the leak is coming from. It was recommended by the guys in my MV association that the first step I should take is to re-torque the head bolts. Do you have a source or manufacturers name for the copper head gasket?
Thanks _________________ Steve Stark - 1955 M38A1 MD #85388
Member - MVPA #35153
Member - Red Bull Historic Military Vehicle Association
Joined: May 14, 2009 Posts: 972 Location: South Dakota
Posted: Sat Apr 29, 2017 9:36 am Post subject:
Clockwise looking at the front of the motor standing in front. Midwest Military has the copper gaskets. I'd pull the head. You may have antifreeze in the cylinders now. John
Joined: May 14, 2013 Posts: 201 Location: Between Crosslake and Emily, Minnesota
Posted: Sat Apr 29, 2017 2:03 pm Post subject:
oilleaker1 wrote:
Clockwise looking at the front of the motor standing in front. Midwest Military has the copper gaskets. I'd pull the head. You may have antifreeze in the cylinders now. John
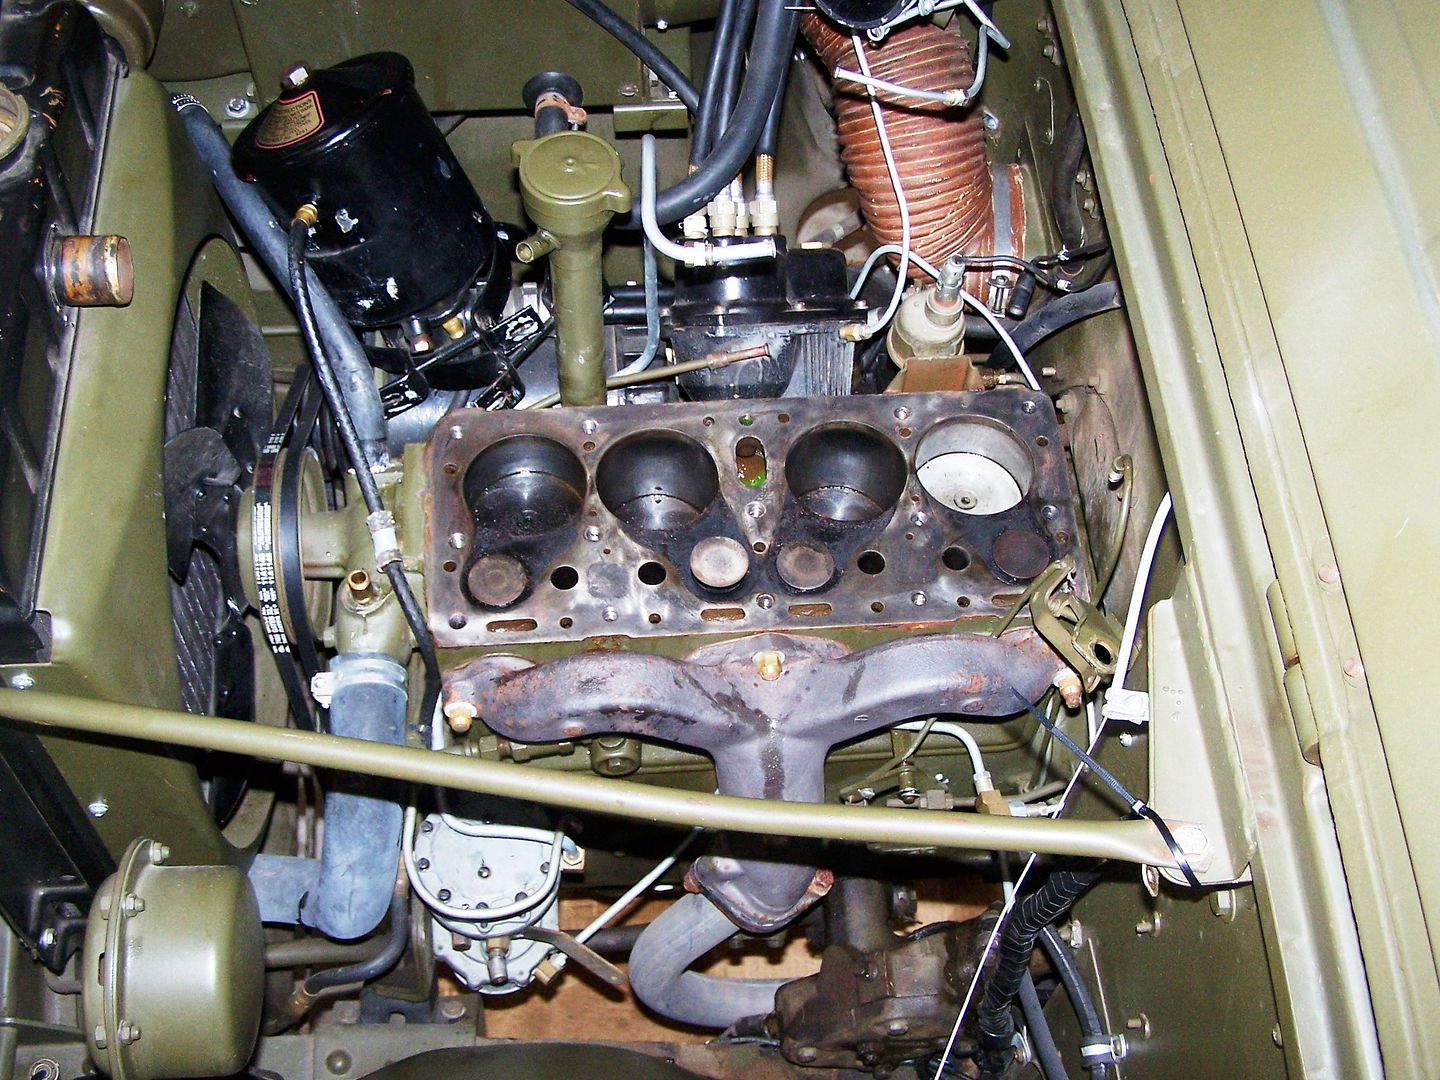
Thanks , got one ordered from J Bizal at MM! I have the head off and it's sitting on the bench waiting for the gasket to be delivered during the week.
Any tips - from anyone - regarding surface prep, gasket prep, and installation of the new copper gasket? Do I need to use any type of sealant with the new gasket? I have the sealant for the head bolts.
Thanks! I'm 64 and have never done a head gasket before. So any advice is very appreciated. _________________ Steve Stark - 1955 M38A1 MD #85388
Member - MVPA #35153
Member - Red Bull Historic Military Vehicle Association
Joined: May 14, 2009 Posts: 972 Location: South Dakota
Posted: Sat Apr 29, 2017 3:59 pm Post subject:
No sealant on the gasket. It has a cement coating that melts and seals when she heats up. I use scotchbrite and laquer thinner and scrub it clean on the block and head. Don't get wild with a air tool especially near the valves. You might look for cracks while clean. Hopefully you don't find any. If one cylinder is completley void of carbon or has rust and no carbon, you may have a crack. Water burns off carbon. A good straight edge laid front to back and look for light under it will show a low spot or high depending what you see. A feeler gauge along it and test. I think I remember a note saying nothing more than .004. A air tool and a scotchbrite is fast but dangerous. It can literally remove .004 if you are not careful. I also dope the threaded hole and the bolt. Seems the hole sometimes will clean the sealant off going in. It's quite common to have a crack from the large open hole in the center of the block, running to the nearest stud or bolt hole. It's the crack that leads from there to a valve pocket that's not good. Good luck. John
Once you have brought the engine up to operating temp., shut it down and retorque the head bolts. It's important to do this. Then set your valve lash.
You cannot post new topics in this forum You cannot reply to topics in this forum You cannot edit your posts in this forum You cannot delete your posts in this forum You cannot vote in polls in this forum