Joined: Oct 10, 2012 Posts: 310 Location: Toronto, Ontario, Canada
Posted: Tue Feb 07, 2017 10:07 am Post subject: Re-insulating wire.
When my fuel line fitting split at the flex hose, the leaking fuel fell on to and demolished the old insulation on my horn button wiring. I'm thinking that between cutting and splicing in new wire or re-insulating the old wire, re-insulating makes the most sense. Thoughts?
If I were re-insulating I'm thinking the best route would be a continuous heat-shrink running the length of each wire. As most standard wire heat shrinks seem to be rated to 125 degrees celcius (250 farenheit) I would think finding a high temperature rated product would be required due to how close this wire runs to the exhaust pipe?
Or is it just better to cut below the sealed horn-button and splice in a new wire?
The proper fix is to carefully remove the rubber boot from the horn switch (snip off the old wires first), unsolder the residue of the 2 wires and replace them with some original wire of the appropriate lengths (26" and 18"). Re-install the rubber boot and wire-tie it. Add the appropriate connectors to the wires and finally retape, preferably with the original style non-adhesive military tape which tolerates a wide range of temperatures. Often the rubber boot on the horn switch is torn; I haven't seen any source for replacement so some sealant maybe helpful.
Joined: Oct 10, 2012 Posts: 310 Location: Toronto, Ontario, Canada
Posted: Thu Feb 09, 2017 5:22 pm Post subject:
Thanks Brian, I know that my boot was already cracked the last time I did a repair and I tried liquid electrical tape to seal the large gap. It appeared to work well at the time. Once I get the switch inside to where it's warmer I'll see how it's held up and if removing it from the rest of the switch is an option. _________________ Jordan
Joined: Oct 10, 2012 Posts: 310 Location: Toronto, Ontario, Canada
Posted: Wed May 24, 2017 7:06 pm Post subject:
Update: I purchased a new complete harness and replaced. I definitely advise this route.
From my build thread:
Hawkshadow wrote:
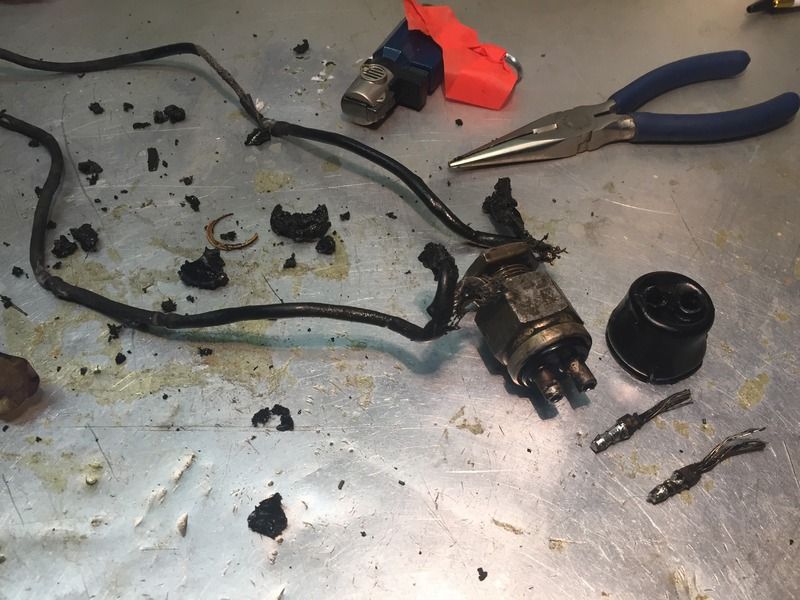
Moving on to repairing the wiring harness to the horn button that was demolished by the fuel that leaked from the cracked fitting. I used an excellent replacement harness also provided by BCA.
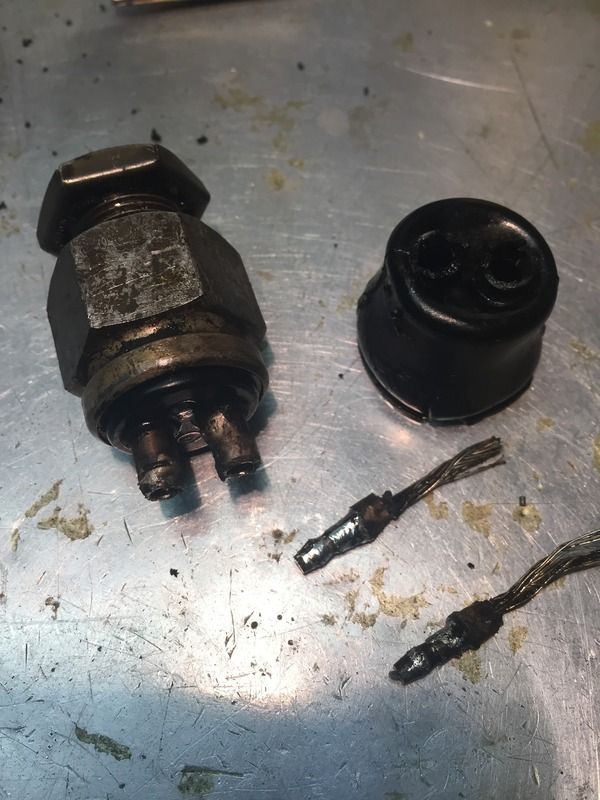
Clip wires close to the boot and very gently remove the boot. Then heat and remove the bullets from the switch.
You can see that gasoline absolutely demolishes wire insulation.
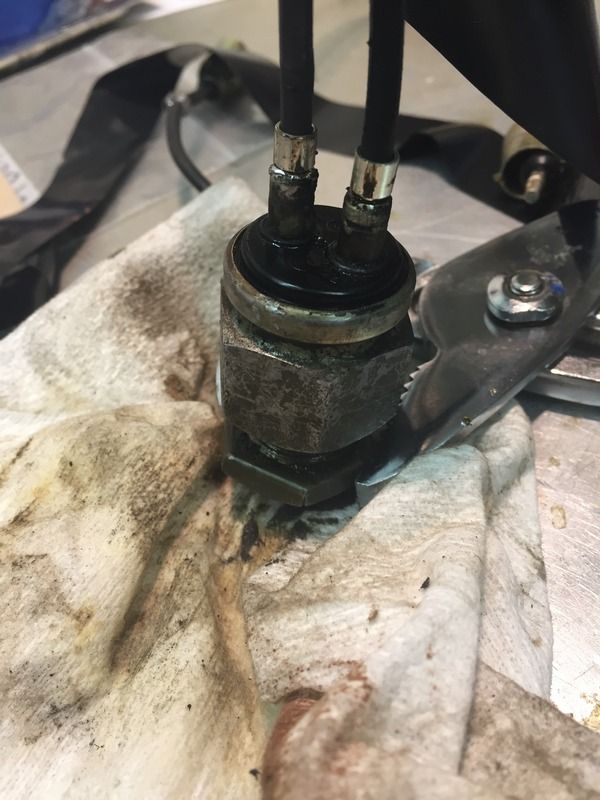
Solder in the new harness and re-assemble.
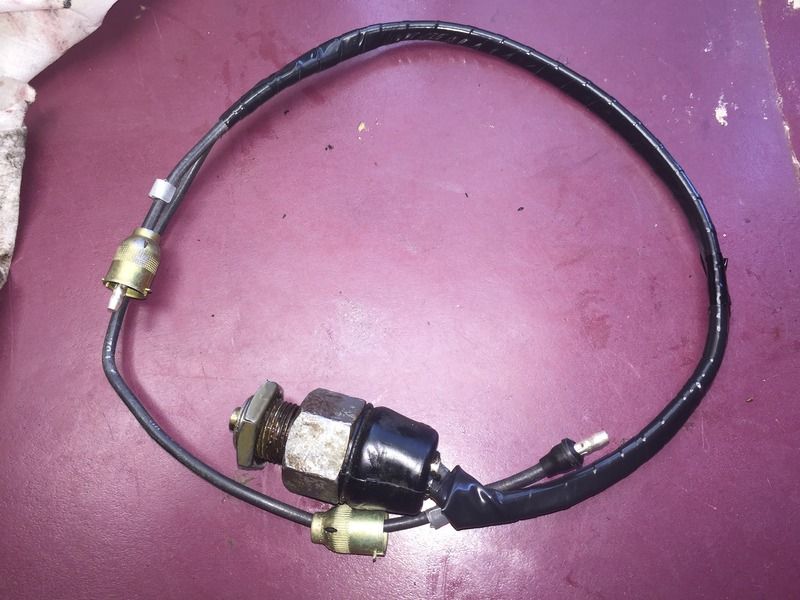
Complete product. To gently put the boot back together, I used a combination of crazy glue and Bondic (UV set plastic compound).
You cannot post new topics in this forum You cannot reply to topics in this forum You cannot edit your posts in this forum You cannot delete your posts in this forum You cannot vote in polls in this forum