| View previous topic :: View next topic |
| Author |
Message |
ocwd
Member
![]()
Joined: May 14, 2007
Posts: 721
Location: Placentia, CA
|
 Posted: Mon Apr 24, 2017 8:05 am Post subject: Steps Posted: Mon Apr 24, 2017 8:05 am Post subject: Steps |
 |
|
| Got it. Thanks. |
|
| Back to top |
|
 |
ocwd
Member
![]()
Joined: May 14, 2007
Posts: 721
Location: Placentia, CA
|
| Posted: Mon Apr 24, 2017 8:27 am Post subject: Passenger Step |
|
|
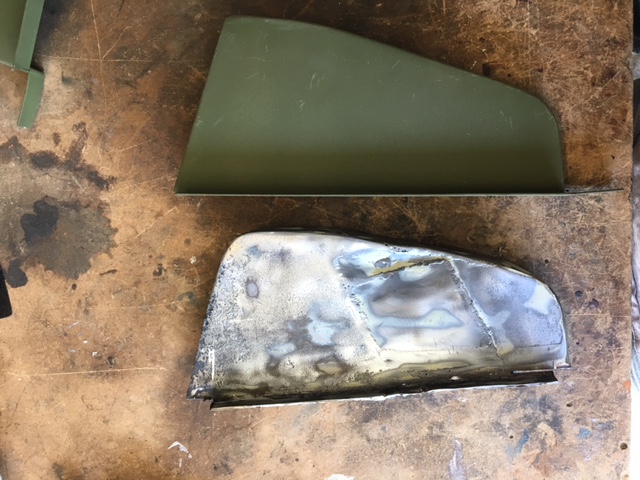
It made sense to me too. I got the step from Peter Debella since the G503 steps that Ron sells don't quite look the same as original M38 steps that I've seen. As you can see below, the original on my Jeep was in pretty bad shape.
 |
|
| Back to top |
|
|
4x4M38
Member

Joined: May 30, 2014
Posts: 3444
Location: Texas Hill Country
|
|
| Back to top |
|
|
ocwd
Member
![]()
Joined: May 14, 2007
Posts: 721
Location: Placentia, CA
|
| Posted: Thu Apr 27, 2017 4:57 pm Post subject: Bolts |
|
|
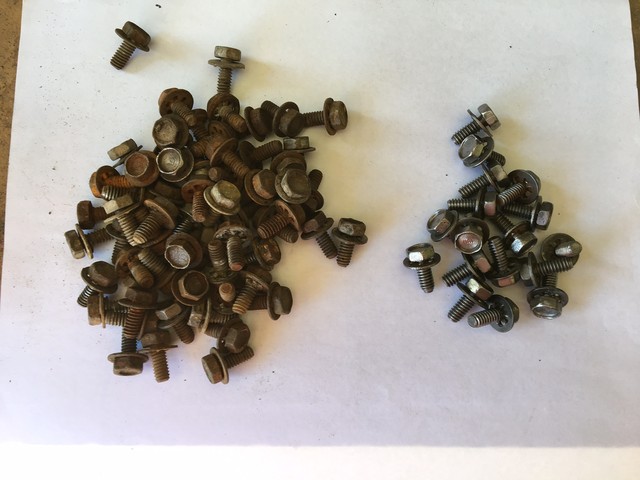
Just cleaning bolts.
Last edited by ocwd on Tue Jul 17, 2018 7:41 am; edited 1 time in total |
|
| Back to top |
|
|
4x4M38
Member
Joined: May 30, 2014
Posts: 3444
Location: Texas Hill Country
|
|
| Back to top |
|
|
ocwd
Member
![]()
Joined: May 14, 2007
Posts: 721
Location: Placentia, CA
|
| Posted: Fri Apr 28, 2017 7:26 am Post subject: Step |
|
|
| Did you buy the replacement step yet? |
|
| Back to top |
|
|
ocwd
Member
![]()
Joined: May 14, 2007
Posts: 721
Location: Placentia, CA
|
| Posted: Tue Jul 17, 2018 7:32 am Post subject: More Progress |
|
|
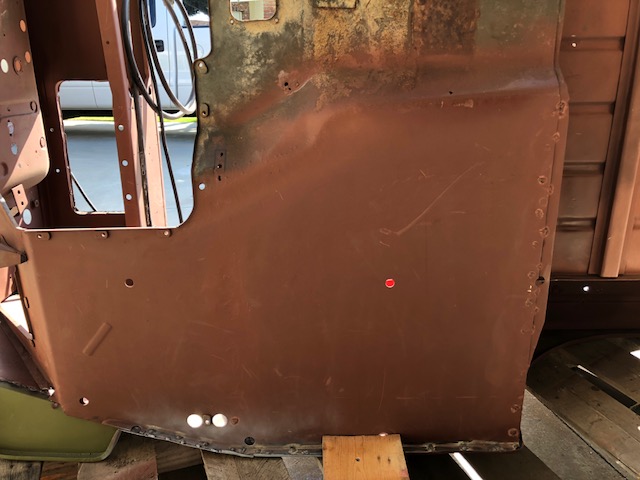
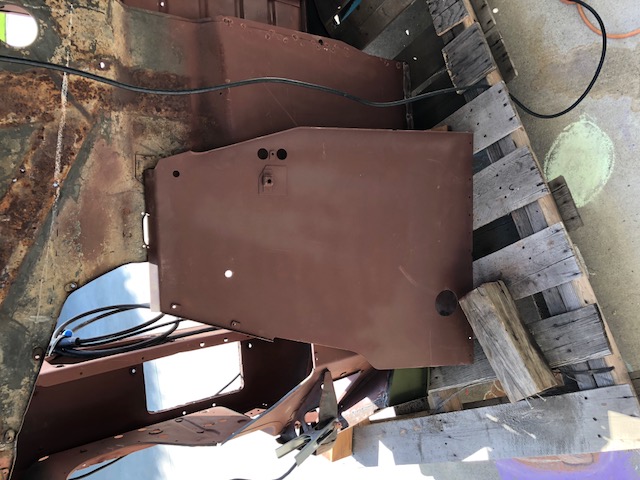
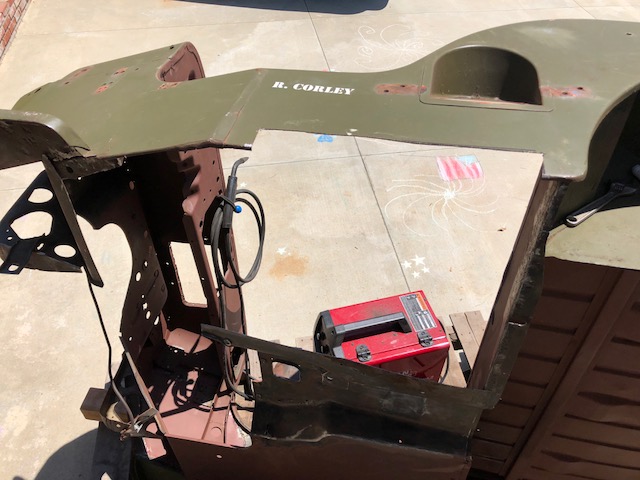
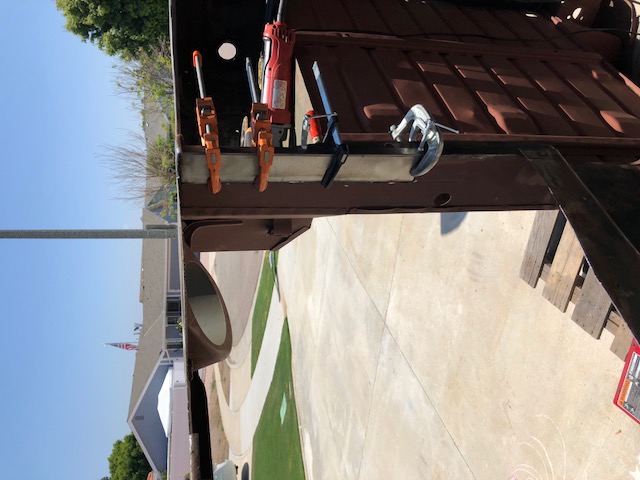
I made some progress this past weekend. I replaced the passenger side floor a few months back. This weekend I flipped my tub over and started working on the driver side floor.
 |
|
| Back to top |
|
|
ocwd
Member
![]()
Joined: May 14, 2007
Posts: 721
Location: Placentia, CA
|
| Posted: Tue Jul 17, 2018 7:47 am Post subject: More Progress |
|
|
 |
|
| Back to top |
|
|
ocwd
Member
![]()
Joined: May 14, 2007
Posts: 721
Location: Placentia, CA
|
| Posted: Tue Jul 17, 2018 7:48 am Post subject: More Progress |
|
|
 |
|
| Back to top |
|
|
ocwd
Member
![]()
Joined: May 14, 2007
Posts: 721
Location: Placentia, CA
|
| Posted: Tue Jul 17, 2018 7:49 am Post subject: More Progress |
|
|
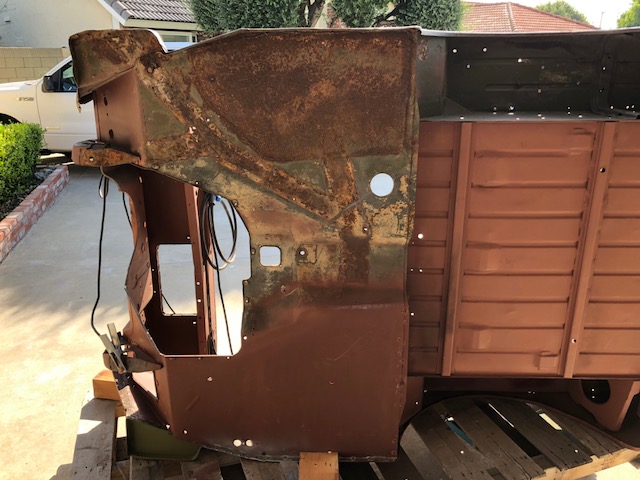
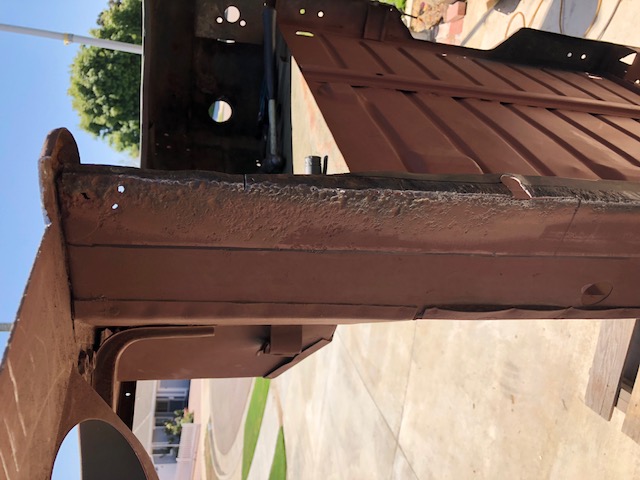
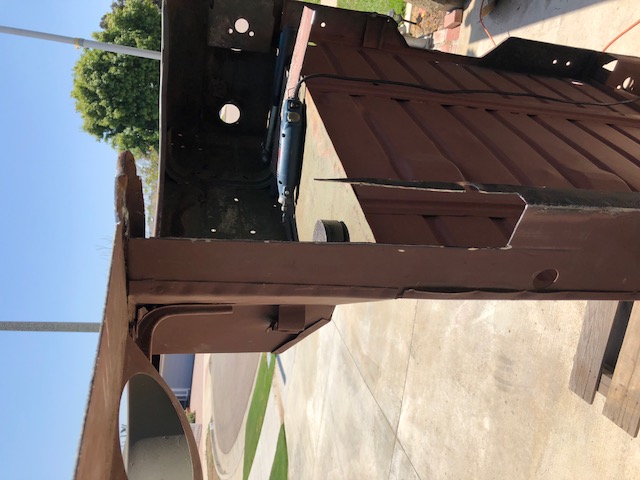
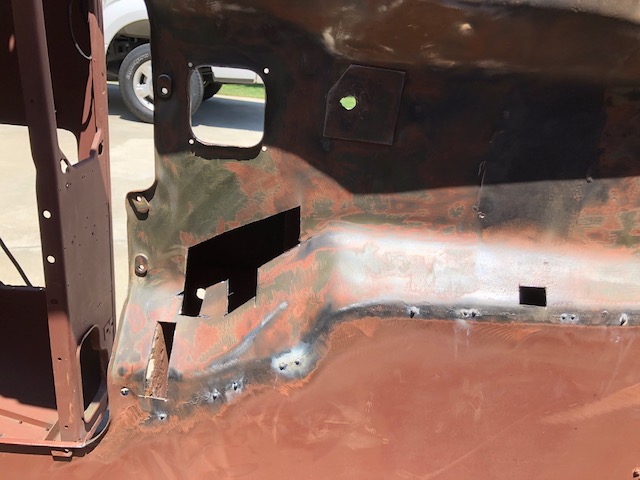
| Still lots of work left on the drivers floor. I recommend the floor panels that Midwest Military sells. They fit nicely. |
|
| Back to top |
|
|
ocwd
Member
![]()
Joined: May 14, 2007
Posts: 721
Location: Placentia, CA
|
| Posted: Mon Sep 17, 2018 7:43 am Post subject: More Progress |
|
|
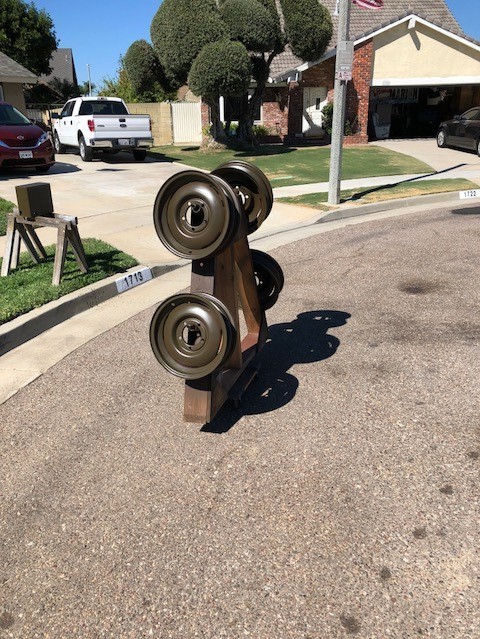
I picked up my wheels from the sandblaster last weekend. I got two coats of primer and one coat of paint on them. Should take a few more coats of paint to cover the primer. I have NDCC tires waiting and tubes coming in the mail. I just need to get the driver side floor in then I can start fitting the new hat channels.
 |
|
| Back to top |
|
|
pacho
Member
Joined: Nov 01, 2008
Posts: 51
|
| Posted: Tue Sep 18, 2018 7:22 pm Post subject: |
|
|
Hi Ocwd,
Congratulation for your jeep. One quenstion. How did you clean the bolts, locck great.
Regards
Pacho |
|
| Back to top |
|
|
Ryan_Miller
Site Administrator


Joined: Apr 03, 2005
Posts: 1634
Location: Kansas
|
| Posted: Wed Sep 19, 2018 12:33 pm Post subject: |
|
|
I like the wheel painting rack!
_________________
Ryan Miller
MVPA # 22010 |
|
| Back to top |
|
|
wesk
Site Administrator

Joined: Apr 04, 2005
Posts: 16239
Location: Wisconsin
|
|
| Back to top |
|
|
ocwd
Member
![]()
Joined: May 14, 2007
Posts: 721
Location: Placentia, CA
|
| Posted: Thu Sep 20, 2018 8:32 am Post subject: More Progress |
|
|
I use the wire wheel on my bench grinder to clean bolts. Hold them real good with vice grips or pliers. Shot many bolts across my garage. I also use "long nuts" to thread the bolts into so I can get a better grip. Then, I poke them into a piece of cardboard and hit them with rattle-can primer.
The drying rack was suppose to be one side on the rotisserie that I was going to build. Never built it so I have two sides waiting for the fire pit sometime on a future camping trip.
I'm painting outside. Sorry neighbors.
I see the end of body work in the near future. 10 year project, pretty crazy. Just never have time to work on it. |
|
| Back to top |
|
|
|

