| View previous topic :: View next topic |
| Author |
Message |
53a1
Member

Joined: Jun 25, 2008
Posts: 583
Location: Kern Co.
|
 Posted: Sat Apr 16, 2011 7:57 am Post subject: Posted: Sat Apr 16, 2011 7:57 am Post subject: |
 |
|
You weren't kidding Wes. I spent a few hours getting the tub bolted down.
I started by installing the correct, front-most and rear-most body cushions. I loosely bolted on the fenders and remaining body-to-frame bolts. I then started moving things around until it was all satisfactory.
One problem is I had to leave the early style fender-to-frame bolts out to get everything aligned with no stresses. I think with the impacts to the fenders over the years they are just bent and don't align. They are very close so I know I could tweak them and maybe use a shim between them and the frame but I'm not sure if it's worth it.
Also, I had to pull the grill to a very high position to take the stresses off the fenders.
The best part was the starter pedal aligned perfect and it was very nice to finally not have to depress the starter lever by hand.
Gas tank is next.
_________________
'53 M38A1 X2 |
|
| Back to top |
|
 |
alpino
Member

Joined: Apr 09, 2011
Posts: 27
Location: Bozeman, Montana
|
| Posted: Tue Apr 19, 2011 1:27 pm Post subject: |
|
|
LOOKS GREAT!!! and remember "little bastard" is a term of affection in Australia
_________________
M38 1951
M100 trailer 1951 GPW 1945 LPCs 1980 to 2007
|
|
| Back to top |
|
|
53a1
Member
Joined: Jun 25, 2008
Posts: 583
Location: Kern Co.
|
| Posted: Tue Apr 19, 2011 8:36 pm Post subject: |
|
|
I call it that because of the fact it was so bastardized as a hunting Jeep when I first got it.
_________________
'53 M38A1 X2 |
|
| Back to top |
|
|
53a1
Member
Joined: Jun 25, 2008
Posts: 583
Location: Kern Co.
|
| Posted: Tue Apr 19, 2011 9:26 pm Post subject: |
|
|
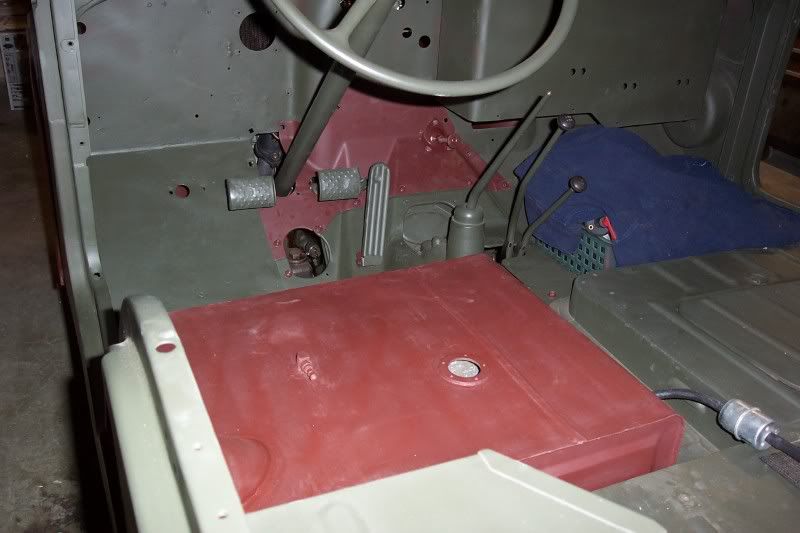
Not an exact reproduction and poor craftsmanship to boot but this gas tank came with the Jeep when I bought it. Looks like he just bought it because the inside is perfect. At the price these things go for I'm just going to make due.
The fit is pretty good except the drain plug was off by an inch so it would just bairly hit the side of the drain hole in the pan but I was able to fix that.
Anyone know the maker?
_________________
'53 M38A1 X2 |
|
| Back to top |
|
|
53a1
Member
Joined: Jun 25, 2008
Posts: 583
Location: Kern Co.
|
| Posted: Sun Jun 05, 2011 9:57 pm Post subject: |
|
|
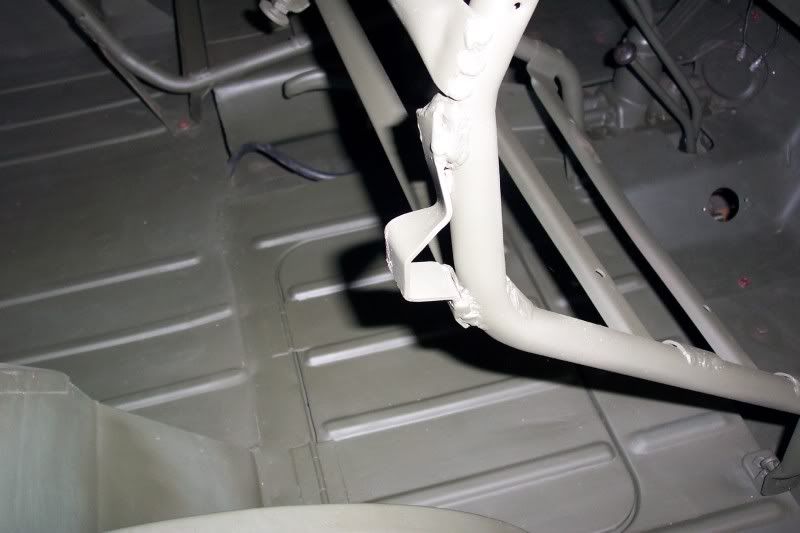
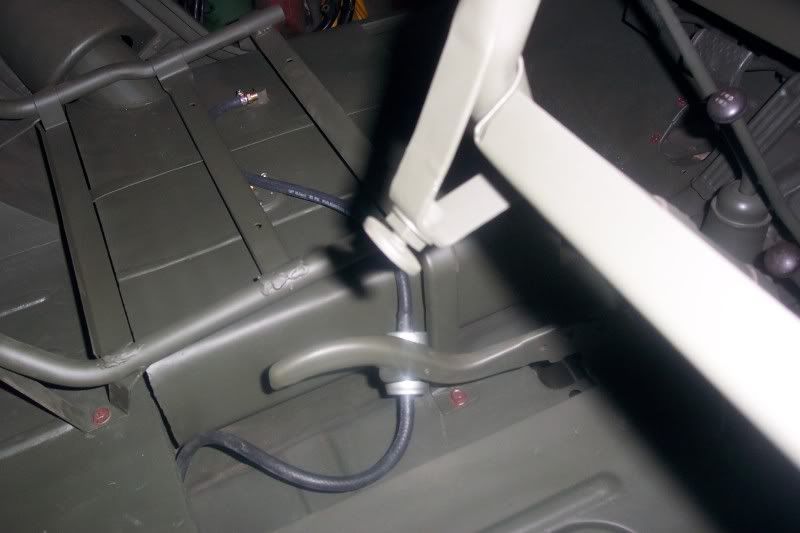
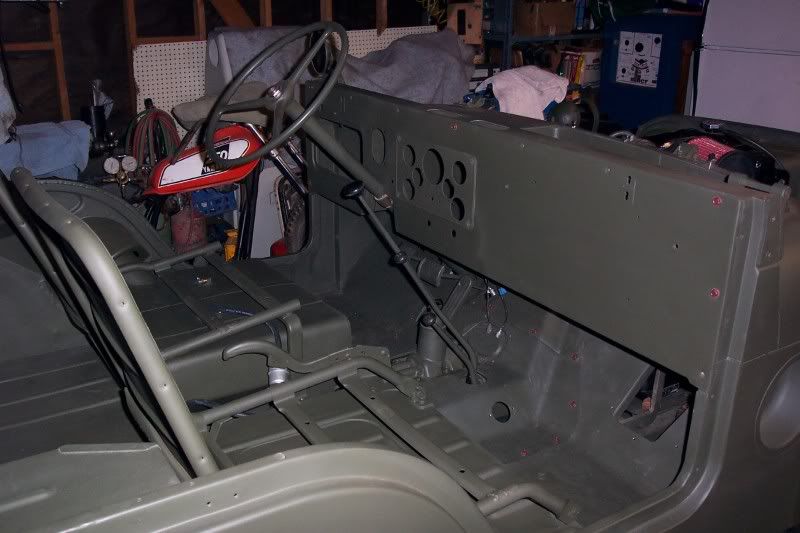
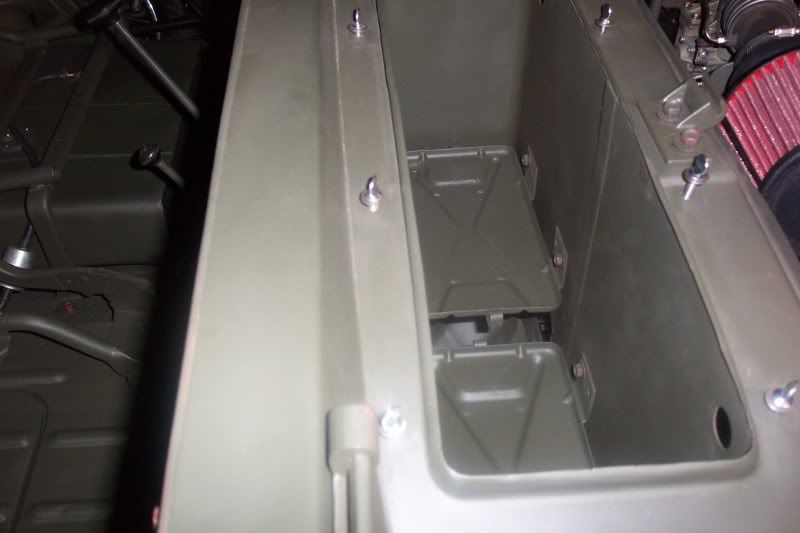
Finished the dash, seats and battery box. For the passanger seat I made a custom bracket that rests on the brace behind the seat. Also made an adjustable foot for the passenger seat.
Finished the wiring harness for the engine. I bought a CJ engine on Craigslist and he had a starter and regulator with it. Adjusted regulator and it's putting out 28.5 volts when engine is revving.
_________________
'53 M38A1 X2 |
|
| Back to top |
|
|
wesk
Site Administrator


Joined: Apr 04, 2005
Posts: 16253
Location: Wisconsin
|
|
| Back to top |
|
|
53a1
Member
Joined: Jun 25, 2008
Posts: 583
Location: Kern Co.
|
| Posted: Mon Jun 06, 2011 9:33 am Post subject: |
|
|
Thanks Wes.
I was going to run the civvy distributor until I finished my wiring harness. I'm to that point now and plan on changing over.
_________________
'53 M38A1 X2 |
|
| Back to top |
|
|
53a1
Member
Joined: Jun 25, 2008
Posts: 583
Location: Kern Co.
|
| Posted: Sun Jun 26, 2011 12:38 pm Post subject: |
|
|
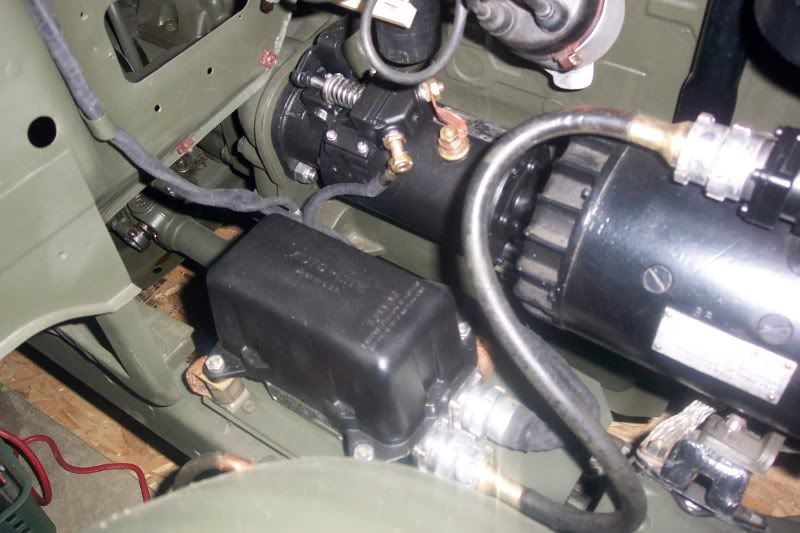
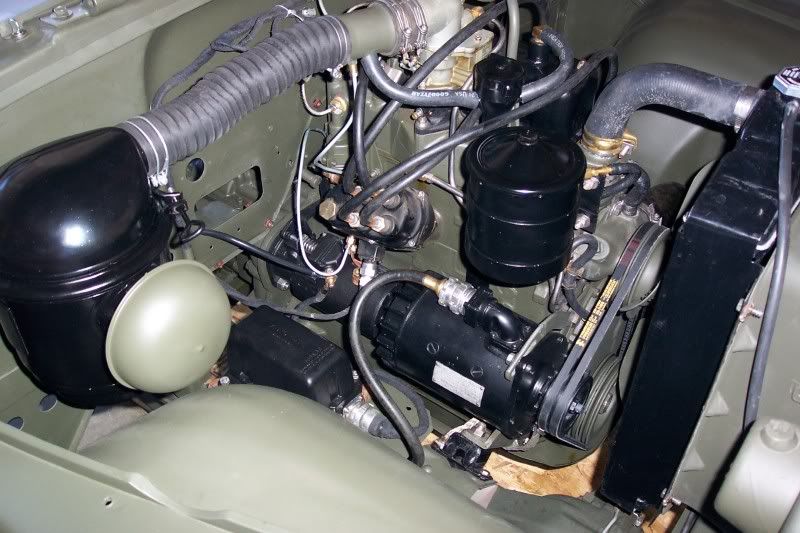
Here you go Wes I finally got the distributor in. I had to do the adjustment to the oil pump to get it to time.
To assist others here is how I did it. I removed the three bolts on the distributor and had just enough room to pull the oil pump out before it hit the exhaust. I could get one finger tip on the oil pump gear. I would rotate the gear a little, insert pump and while holding the oil pump I would reach over and top of the engine and rotate the rotor on the distributor to 7'oclock. If it didn't quite line up at around 7'oclock I would pop the oil pump back out and turn the gear a little more. Of course all this was done with timing at 5 deg btdc. I was able to get in about 5 tries and only took about 15 minutes.
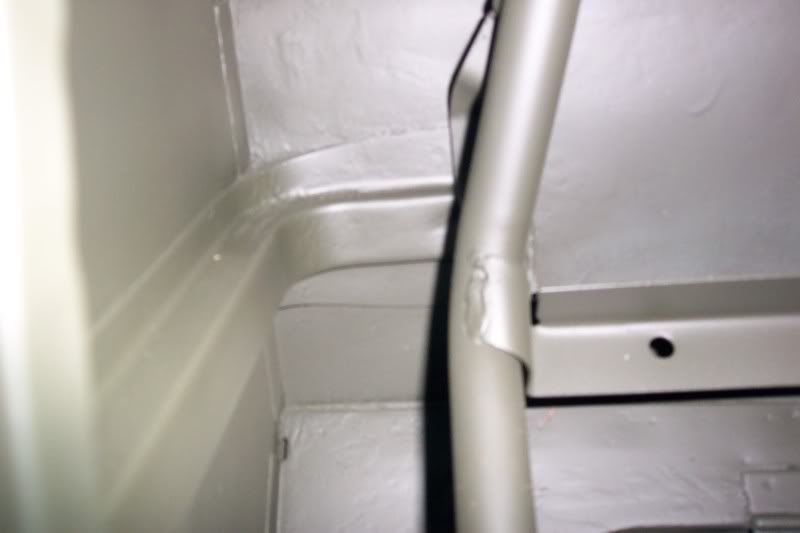
The vacuum lines for the distributor I got at NAPA and they are pre-made lengths.
I have the temp and pressure guage wiring ready to hook up but until I get more money for the project I'm just going to use mechanical guages.
Air cleaner tube is from MWM and is very nice quality and looks just like the original.
Finally got the thing registered and insured and my son and I drove it around for 1/2 hour yesterday. Ran like a top in 115 deg weather but seems like it was running at around 190 deg rather than 180 like it normally does.
_________________
'53 M38A1 X2 |
|
| Back to top |
|
|
wesk
Site Administrator
Joined: Apr 04, 2005
Posts: 16253
Location: Wisconsin
|
|
| Back to top |
|
|
53a1
Member
Joined: Jun 25, 2008
Posts: 583
Location: Kern Co.
|
| Posted: Sun Jun 26, 2011 9:27 pm Post subject: |
|
|
Thanks Wes.
Three major items remain to make it truly drivable; hood, windshield and lighting harness. After rebuilding the engine harness I decided I'm going to make my own lighting harness. I still have a pretty good list of things I need to purchase and 500 bucks for wiring is out of the question.
_________________
'53 M38A1 X2 |
|
| Back to top |
|
|
BullRun
Member

Joined: Mar 10, 2009
Posts: 459
|
| Posted: Wed Jul 06, 2011 12:23 am Post subject: |
|
|
| Great work! |
|
| Back to top |
|
|
53a1
Member
Joined: Jun 25, 2008
Posts: 583
Location: Kern Co.
|
| Posted: Fri Jul 08, 2011 2:52 pm Post subject: |
|
|
Thanks Bullrun.
I took it out for another shake down run today and buzzed it up to Sam's body shop. He was the one who straightened the frame. Also took it up to show DJ at NAPA. I've been going there for years for odds-n-ends and he wanted to see what I was working on.
Need to buzz up to the blacksmith/welding shop today to show the guy that hand-worked the front bumper back into shape.
_________________
'53 M38A1 X2 |
|
| Back to top |
|
|
53a1
Member
Joined: Jun 25, 2008
Posts: 583
Location: Kern Co.
|
| Posted: Tue Jul 12, 2011 11:22 pm Post subject: |
|
|
After finally getting it up to speed and temperature for an extended period of time I inspected the plugs.
The gurus here are not kidding when they say it makes a big difference if you want a true reading from your plugs. My plugs went from a good coating of black carbon to this after a good run.

This was the final test to convince myself everything is good to go with the 50/50 avgas, tuning, ignition and engine.
I'm also running one ounce of Lucas Zink break-in with the Rotella 15/40.
_________________
'53 M38A1 X2 |
|
| Back to top |
|
|
53a1
Member
Joined: Jun 25, 2008
Posts: 583
Location: Kern Co.
|
| Posted: Sun Sep 18, 2011 5:34 pm Post subject: |
|
|
Just wanted to post some good news.
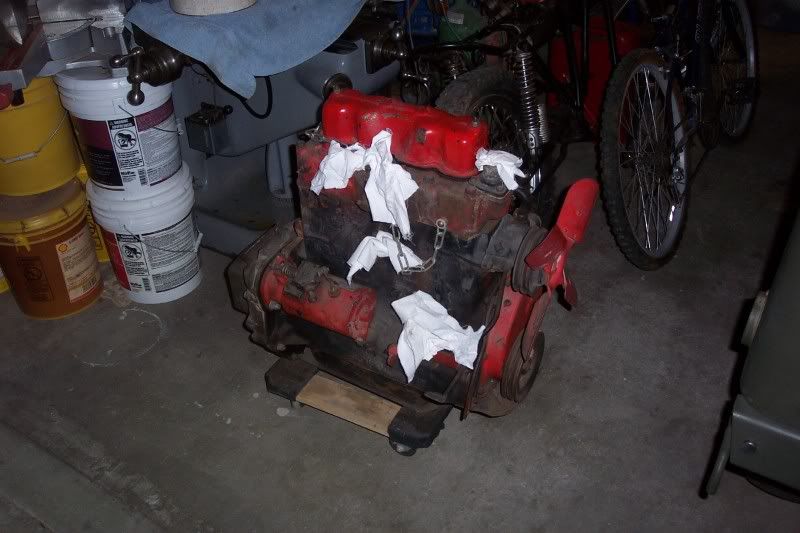
I'm starting to build the engine up for my second A1 build. I got this engine with a regulator/swiring harness that went into my first build. The seller stated that his dad rebuilt the engine 20 years ago and it just sat. I usually don't fall for stories like this but the deal over all made it worth the risk.
I pulled the engine apart and noticed some good and some bad. For one the PO forgot to put the tapered bolts onto the crank so it had to come apart anyway. Second, they forgot to put the spacer onto the front of the cam. Third the piston clearance or rings just felt wrong when turning the engine over by hand.
Just to be safe I took the stripped block over to the machine shop to get it measured, seats ground, ect. The owner Jeff informed me the crank was already ground and the bearing are new which is what I thought. The cylinders need only a hone and the valve seats need to be ground. The rings are incorrect and need to be replaced.
My conclusion is the PO made a honest attempt to rebuild the engine but just made a few mistakes.
So all in all this is turning out to be a good deal and for a couple hundred bucks I think I can get the engine into proper running order. I'm going to try my hand at building this engine myself.
_________________
'53 M38A1 X2 |
|
| Back to top |
|
|
ocwd
Member
![]()
Joined: May 14, 2007
Posts: 721
Location: Placentia, CA
|
| Posted: Mon Sep 19, 2011 7:42 am Post subject: M38A1 |
|
|
| Is M38A1 #1 all put back together? Nice work Dave. It looks like you have the Jeep sickness that many of us suffer from. One is never enough. |
|
| Back to top |
|
|
|

