Joined: Nov 01, 2011 Posts: 199 Location: Escondido, CA
Posted: Tue Feb 12, 2013 6:29 pm Post subject:
Hawkshadow wrote:
<28 May 2012>
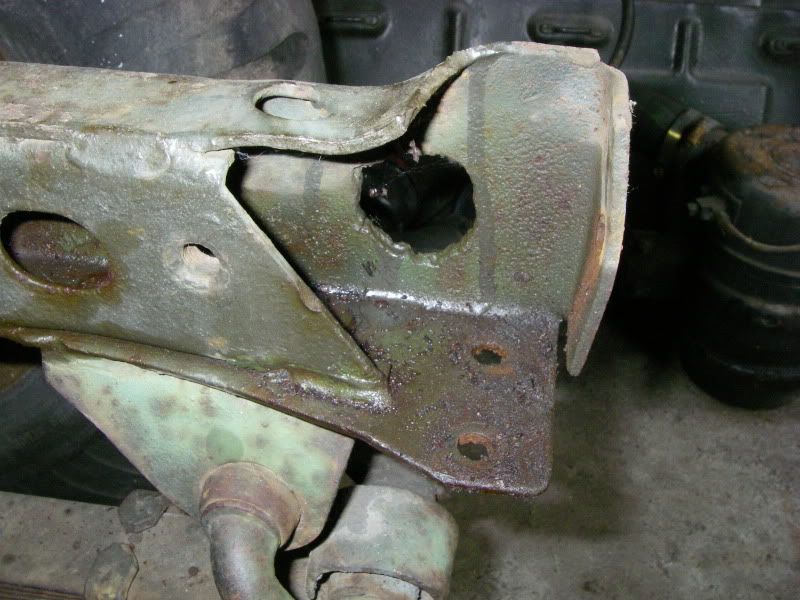
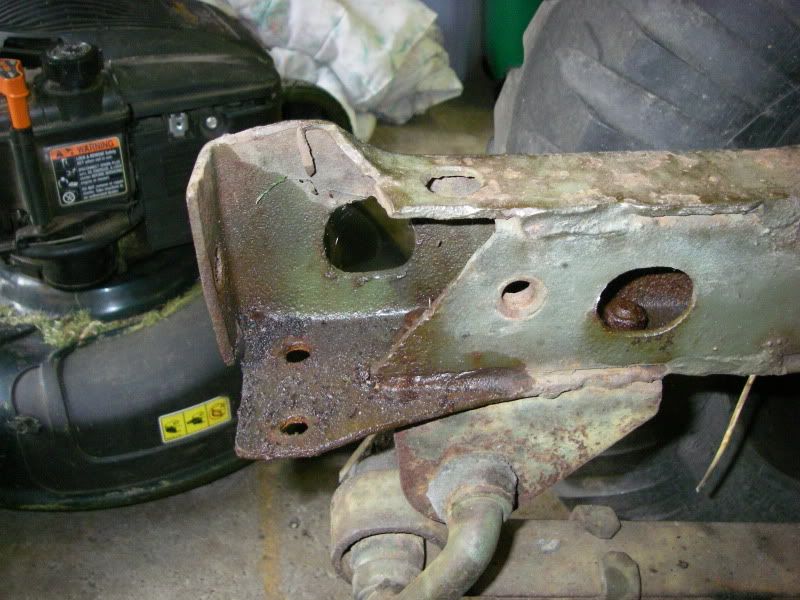
This allowed for good pictures of the two small cuts in the frame. Still trying to figure out why they were done....
Left
Right
Great project thread, Hawkshadow. Thanks for sharing.
Those cuts look a lot like the ones I made when I was young and didn't know any better and cut my frame horns so I could fit a piece of 4" channel iron to replace a thoroughly trashed bumper. Last year I spent the better part of a day doing reconstructive surgery to repair the damage. I used a piece of angle of the right thickness (1/8"? or 3/16"? - can't recall) and cut, ground and otherwise shaped it to fill the void. I can send you pictures if it would help. The dimensions were provided by RickG on this forum, I believe they are in his photo album. _________________ Jim McKim
1952 M38 son-father project
Slowly turning rusty parts into OD parts
Joined: Nov 01, 2011 Posts: 199 Location: Escondido, CA
Posted: Tue Feb 12, 2013 6:47 pm Post subject:
Hawkshadow wrote:
<12 June 2012>
The next thing that was done (I assume), was when the bumper was wearing thin, someone fitted and inserted additional backing sheet metal in to the bumper. Over the years this held the moisture against the bumper and both sides slowly rotted away..
The M38 has a two-layer rear crossmember between the frame. It's listed as "REINFORCEMENT, frame, crossmember, rear" WO-801695 on p. 275 of the ORD 9. I think that is what you found, not a Bubba mod. I don't know if that is one of the M-series frame changes from a CJ3A or not, but I believe it is part of a reproduction crossmember kit.
Hawkshadow wrote:
So, bumper off, ready for the new one! I am also planning the rest of the required frame work. The MB and M38A1 both came stock with a MG Pintle mount plate on the frame while the M38 didn't. I've been looking around at different add-on brackets and such, but does anyone know how the provisions were made in-service?
The M38 does have a mounting plate for the pintle hook. It ties the upper frame reinforcement and the rear crossmember together by being welded along the sides of the plate to both. IIRC, it is 1/4" thick. A good picture of it can be seen on page 2 of Wes's M38 frame photo album, picture 39 of 60. It is "PLATE, reinforcement, rear", WO800815, p. 275 of ORD 9. I can get you dimensions off mine if you need them. _________________ Jim McKim
1952 M38 son-father project
Slowly turning rusty parts into OD parts
Joined: Oct 10, 2012 Posts: 310 Location: Toronto, Ontario, Canada
Posted: Wed Feb 13, 2013 4:28 pm Post subject:
M38CDNBILL wrote:
I know a M38CDN with the CAR number 52-30716 and the SN is F100664..
I just checked my data plate, and it's stamped F-100664....
wesk wrote:
Can you inspect the axle housing tubes out near the brake back plate on the rear and out near the knuckles on the front for an assembly date?
I will check them both when I get them cleaned up and blasted, and photograph what I find.
jimm wrote:
... I used a piece of angle of the right thickness (1/8"? or 3/16"? - can't recall) and cut, ground and otherwise shaped it to fill the void. I can send you pictures if it would help.
Extra input is always appreciated. I have a couple of pieces of 3/16 - 1/2" plate that I was planning on using for the job.
jimm wrote:
The M38 has a two-layer rear crossmember between the frame.
If that's what mine was, it seems kind of counter-productive. Maybe it made it stronger at the time, but it sure caused rot over the years!
jimm wrote:
The M38 does have a mounting plate for the pintle hook.
I was musing about the Machine Gun Pintle Mount. I have found through searching the threads here that the M38 mount was designated the M31A1. Although I have found a couple of pictures and blurry schematics, I'm still on the hunt for some better pictures - especially of the underside.
For everyone else who is following along. I am planning on painting the engine this weekend and will post an update shortly thereafter showing (hopefully) success. _________________ Jordan
I have found through searching the threads here that the M38 mount was designated the M31A1. Although I have found a couple of pictures and blurry schematics, I'm still on the hunt for some better pictures - especially of the underside.
You are not looking hard enough! Remember what I always say. The manuals answer 90 % of all questions asked here and the photo albums answer the other 10%!
Also there's David Doyles article on the assorted MG mounts for the 1/4 ton jeeps. This was in Military Vehicles Magazine August 2003.
The long strap and square doublers that go beneath the floor are marked above. _________________ Wes K
45 MB, 51 M38, 54 M37, 66 M101A1, 60 CJ5, 76 DJ5D, 47Bantam T3-C & 5? M100
Joined: Oct 10, 2012 Posts: 310 Location: Toronto, Ontario, Canada
Posted: Sun Feb 24, 2013 11:18 pm Post subject:
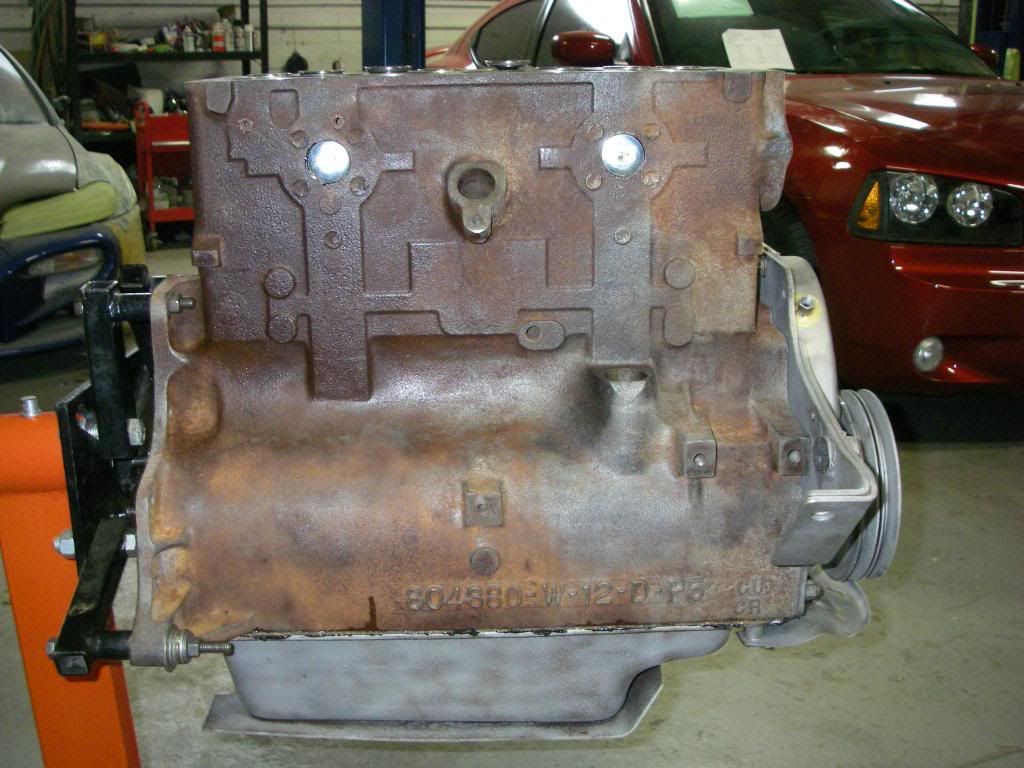
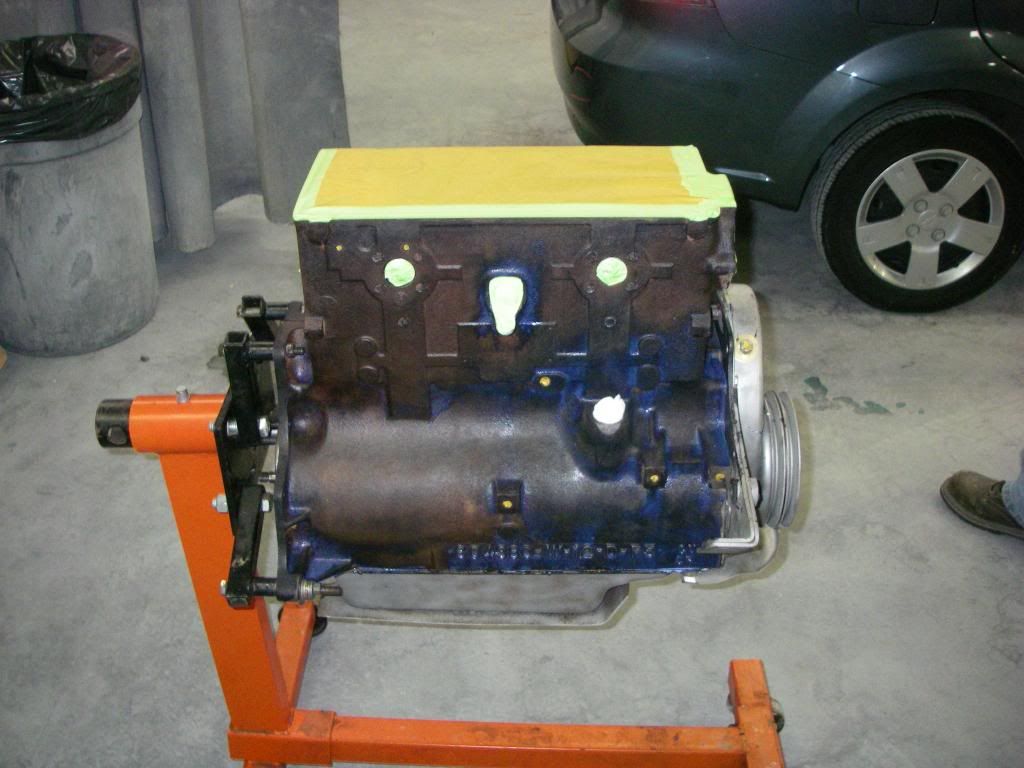
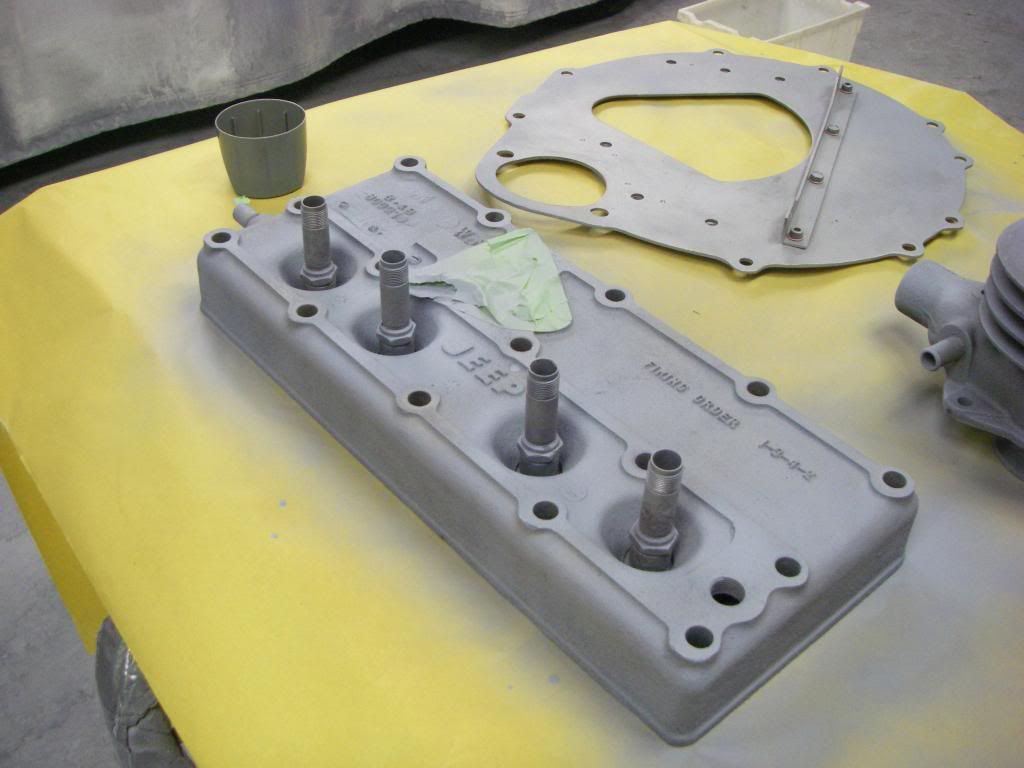
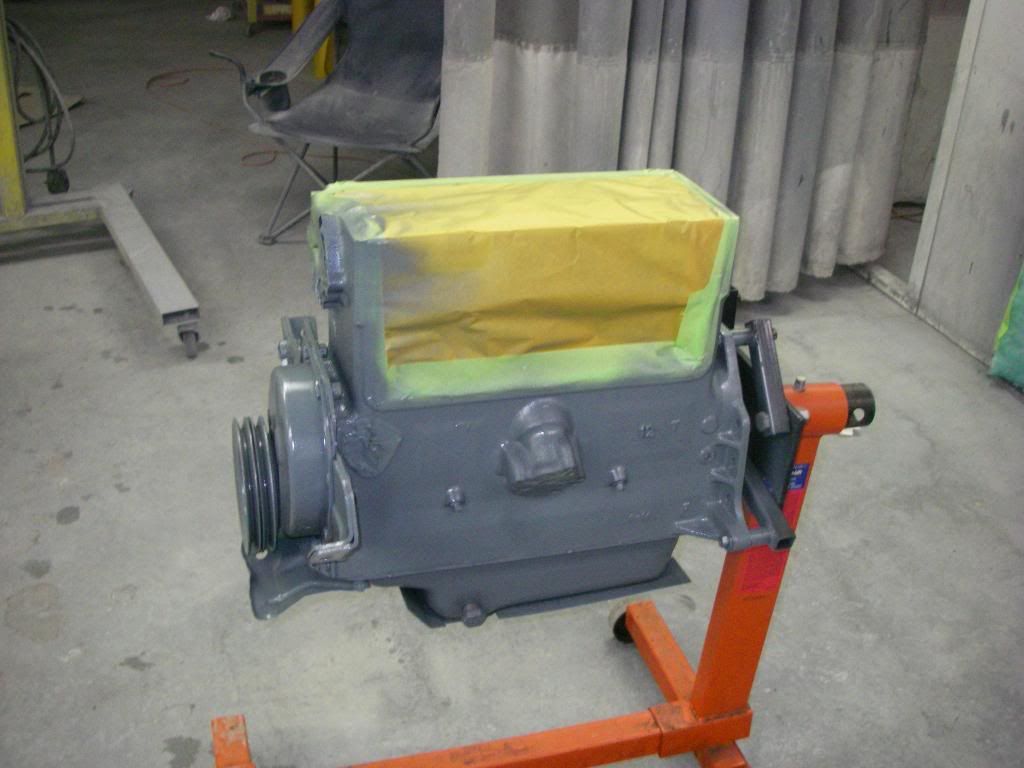
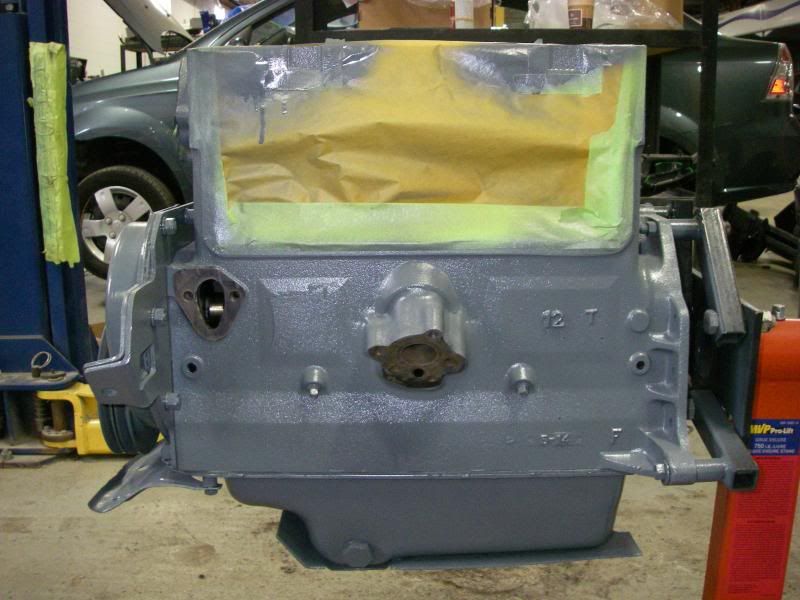
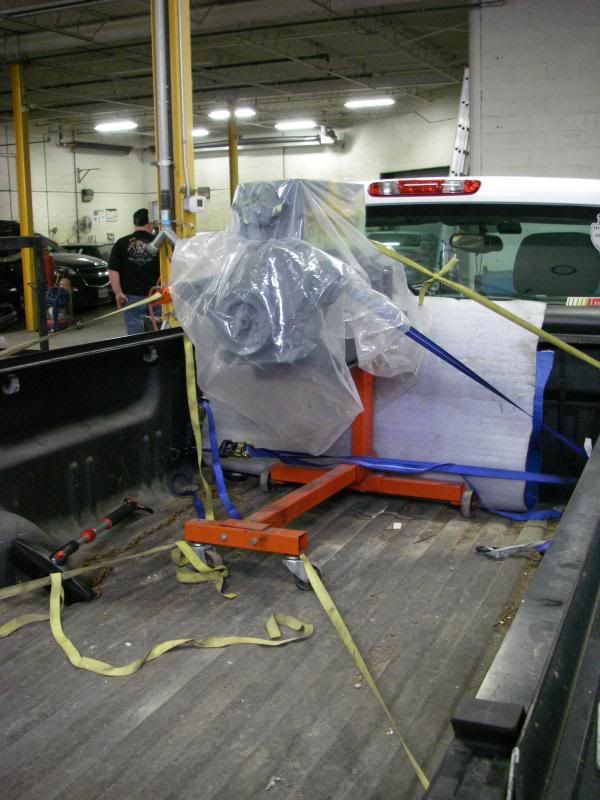
After being delayed for several weeks, I finally had a Saturday without snow needing to be plowed and was able to get the engine into paint.
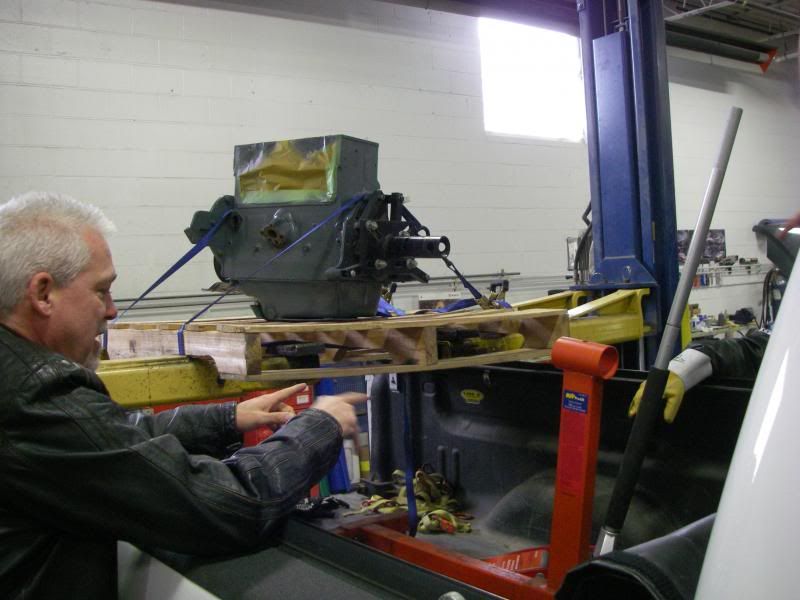
Getting the engine onto the stand, I was able to get a look at the full picture for the first time since getting it back from the engine shop.
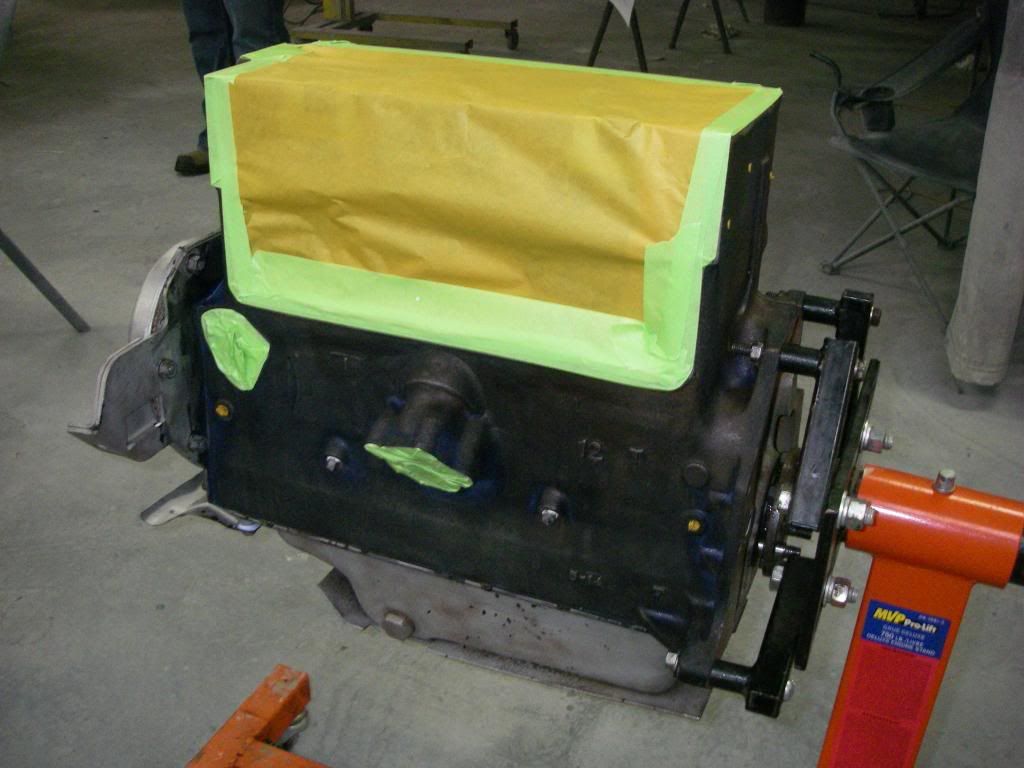
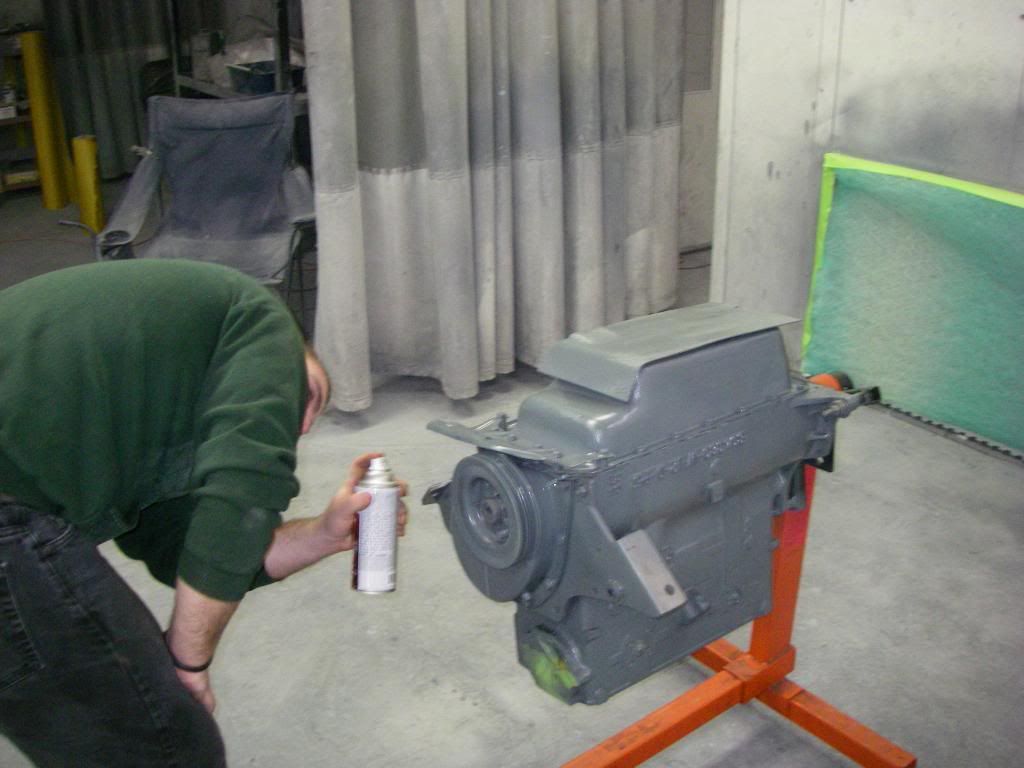
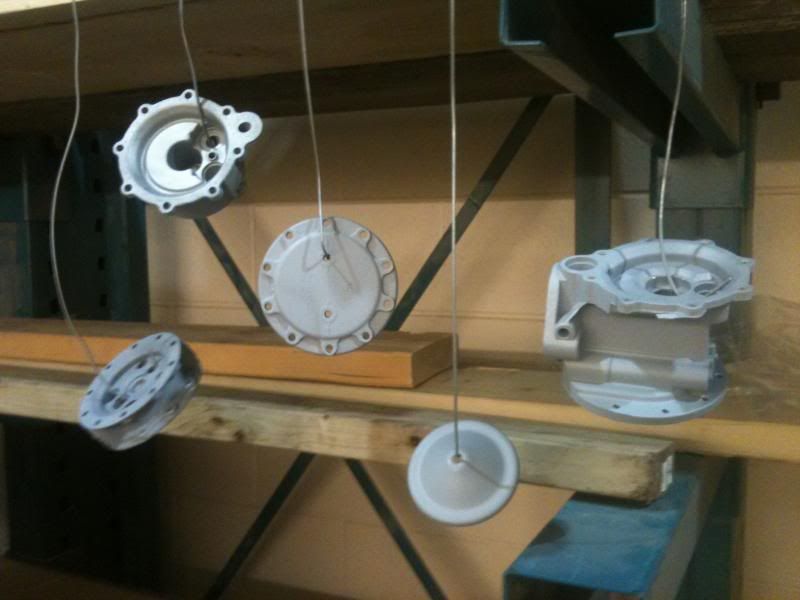
Rust converter applied and prep work completed.
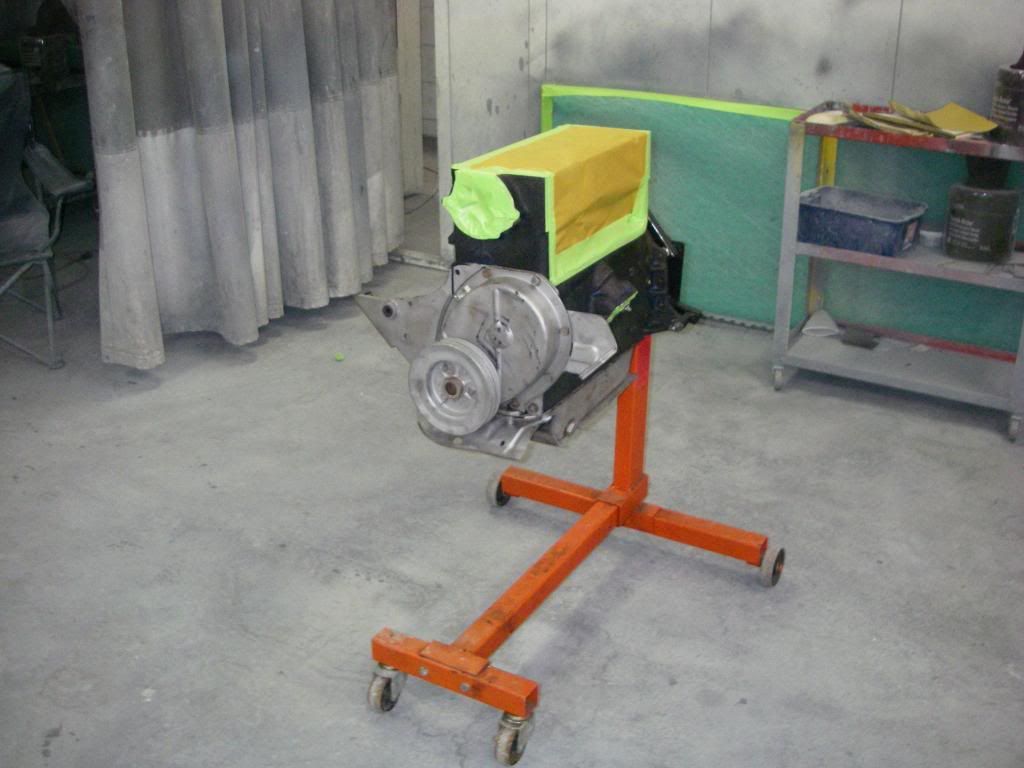
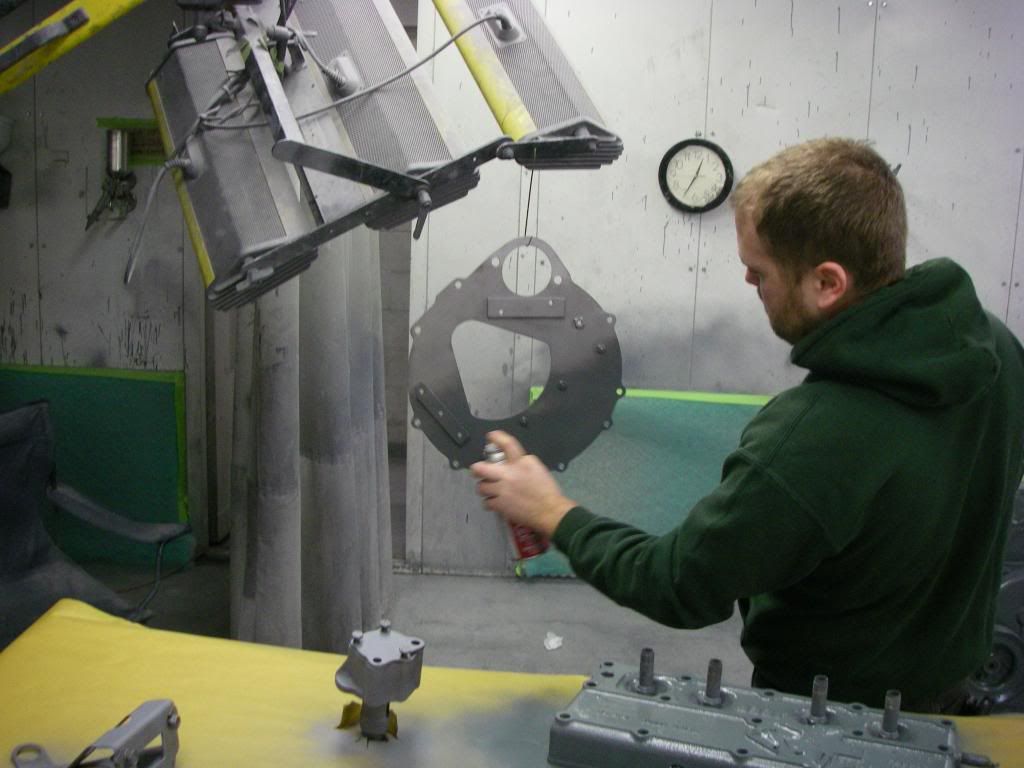
And into the booth!
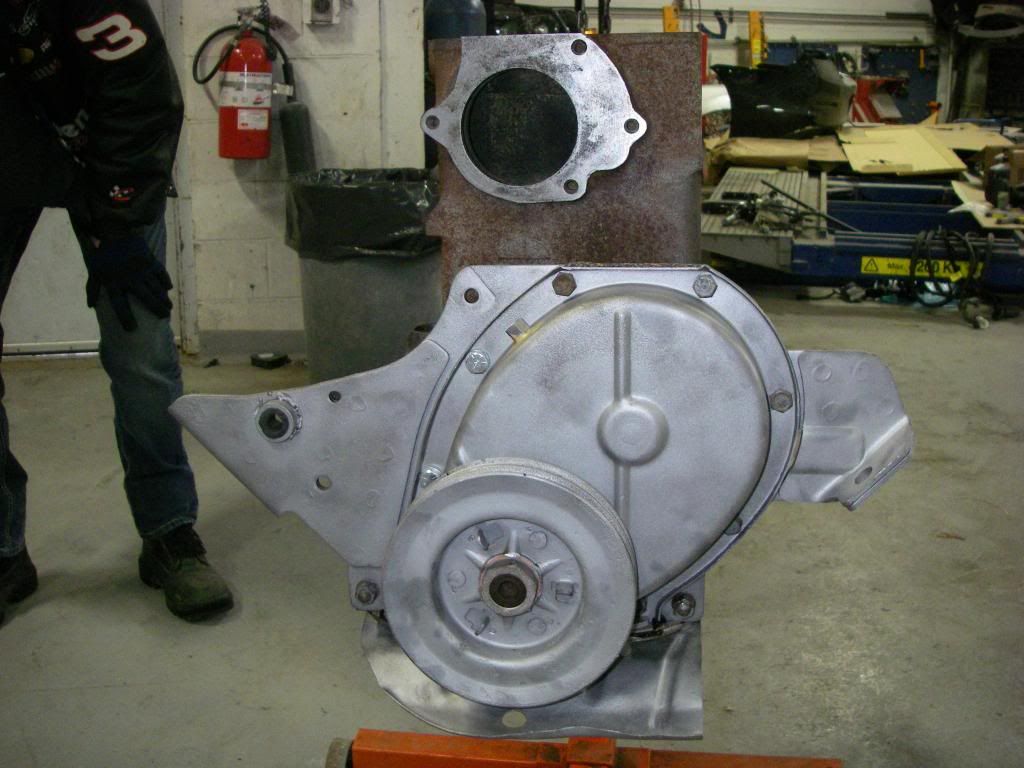
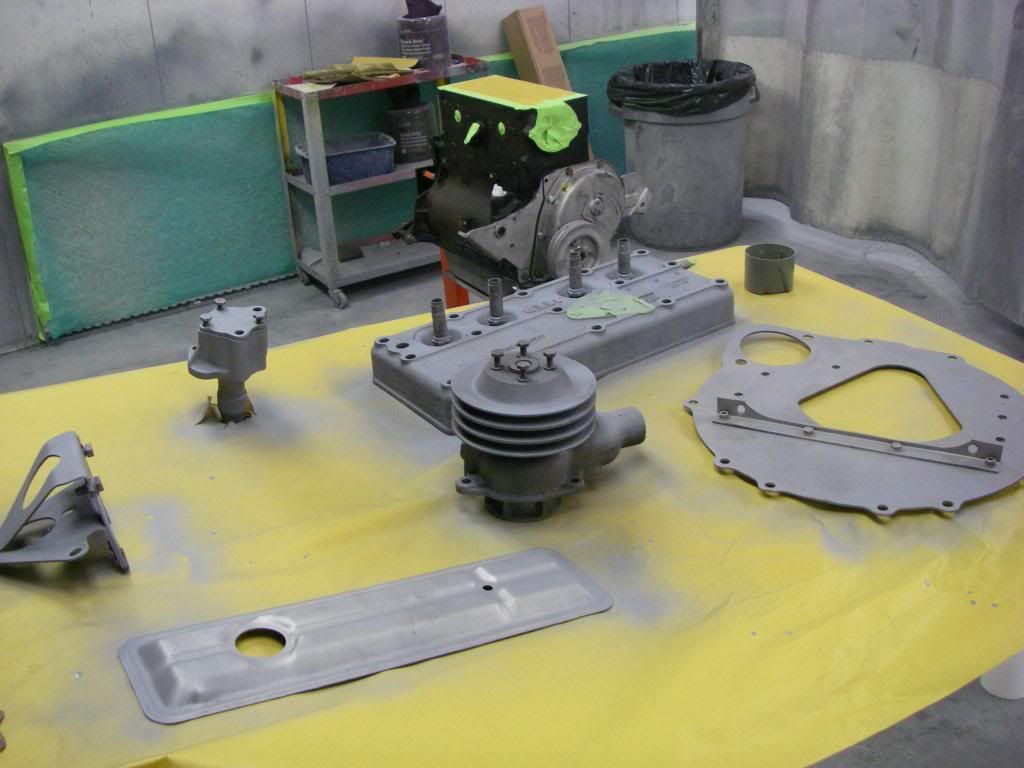
With etching primer applied to the various bits.
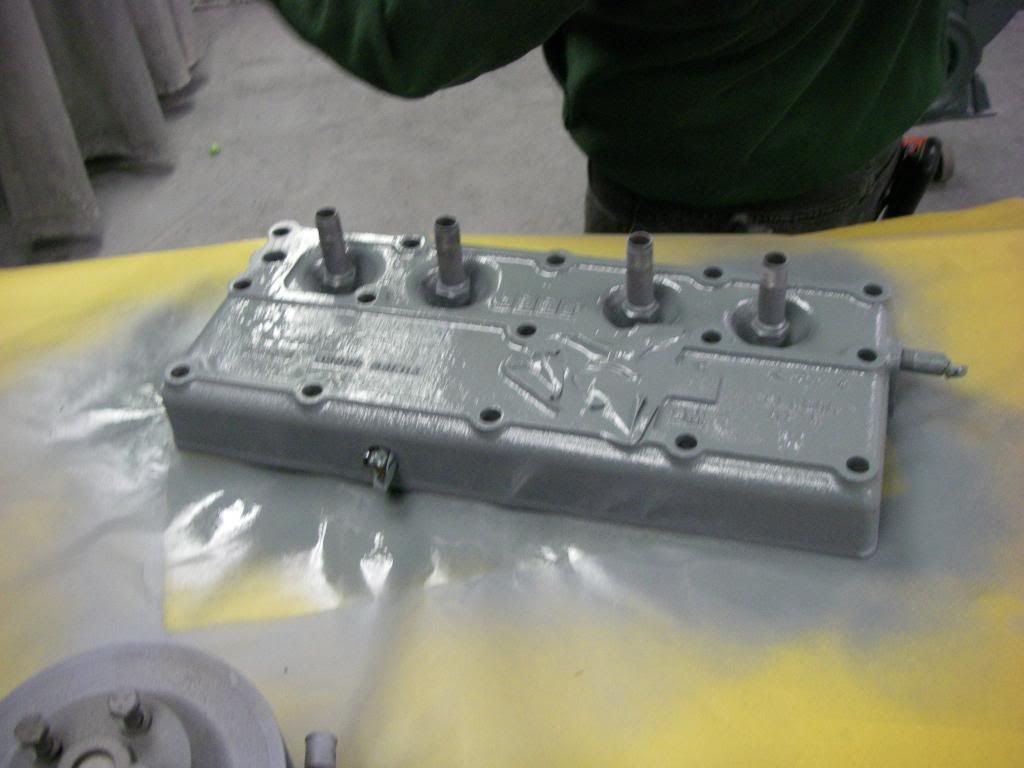
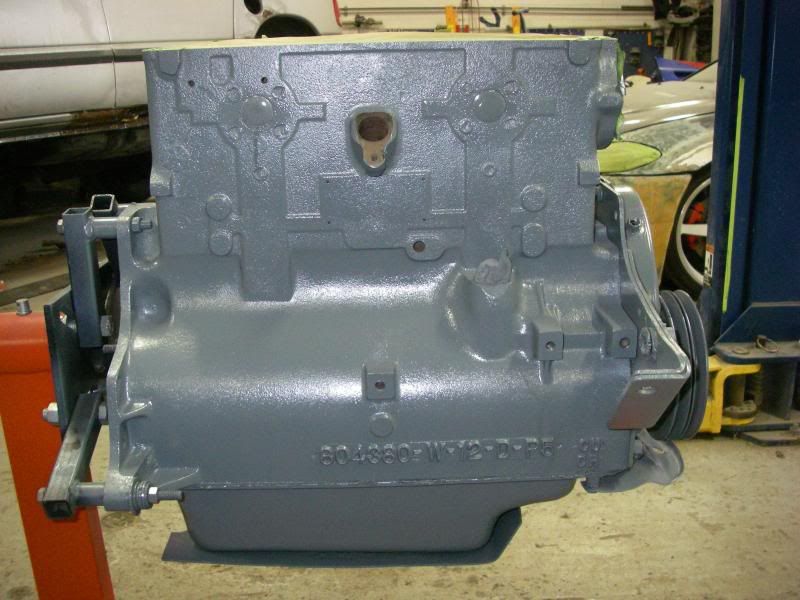
Begin paint!
I chose to go with PlastiKote Engine Enamel in colour 202: Universal Gray, and I have been very pleased with the colour and results so far. Final product for the day:
_________________ Jordan
Hello,
Nicely renovated. A joy to watch.
I look forward to more photos from the course. _________________ 1952 - M38
1951 - M100 Trailer
1960 - GAZ 69M
1959 - ITM Jeep
Joined: Oct 10, 2012 Posts: 310 Location: Toronto, Ontario, Canada
Posted: Mon May 06, 2013 11:15 pm Post subject:
It's been a while, time for an update!
Here are the last few pictures from the re-paint
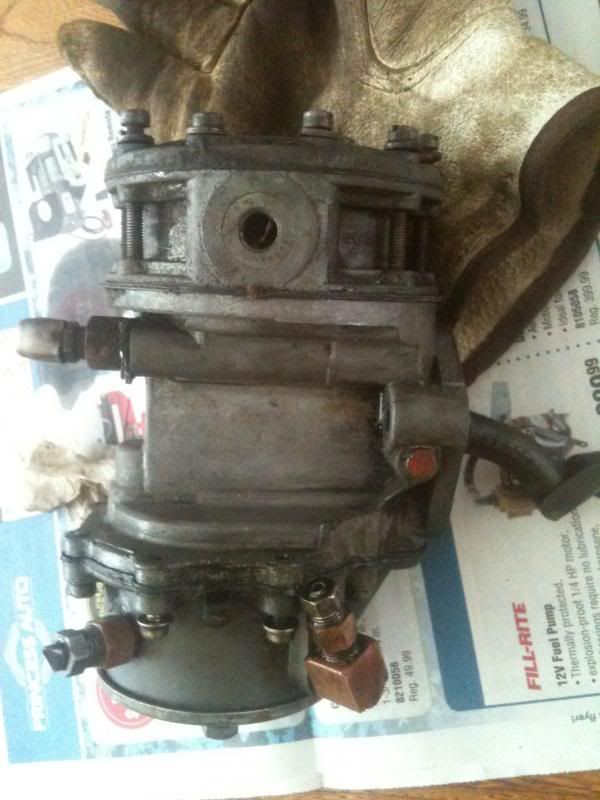
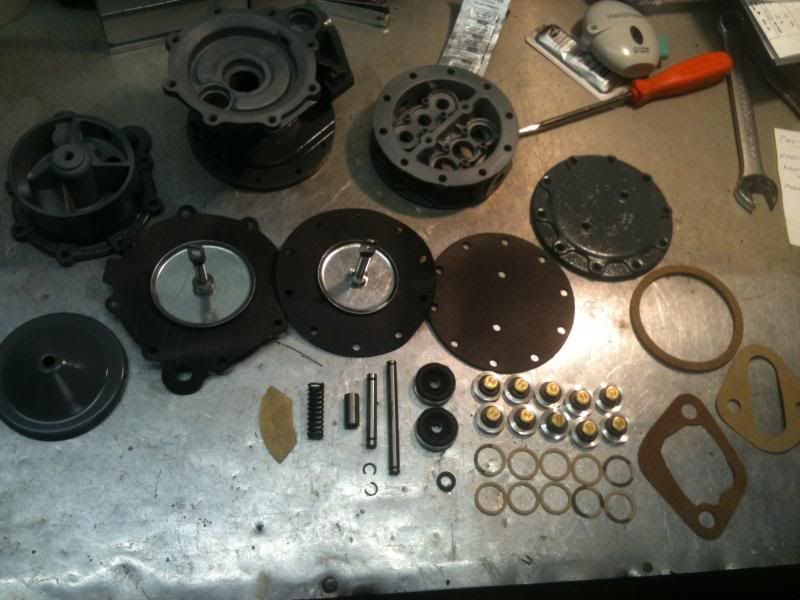
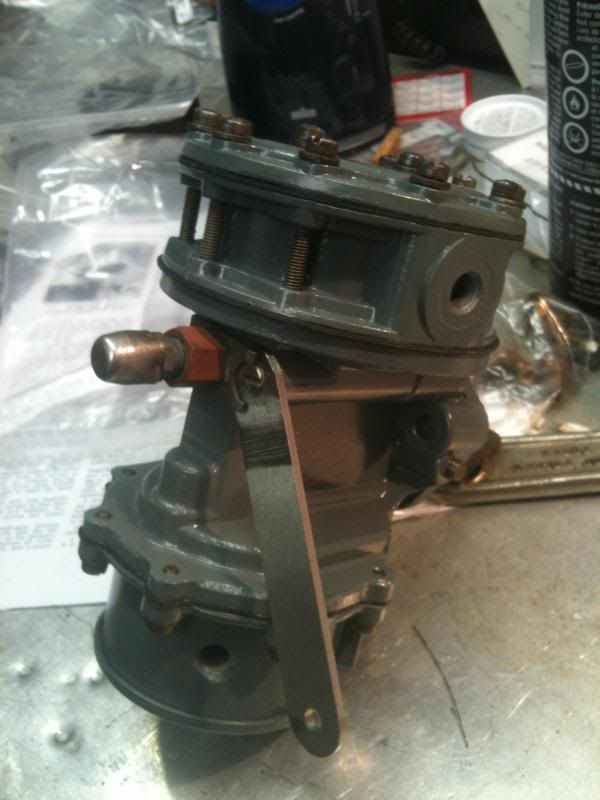
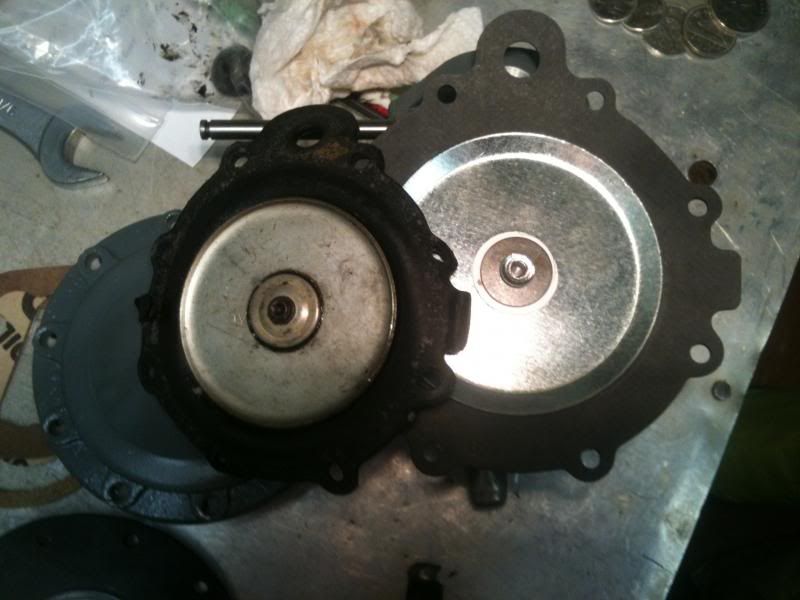
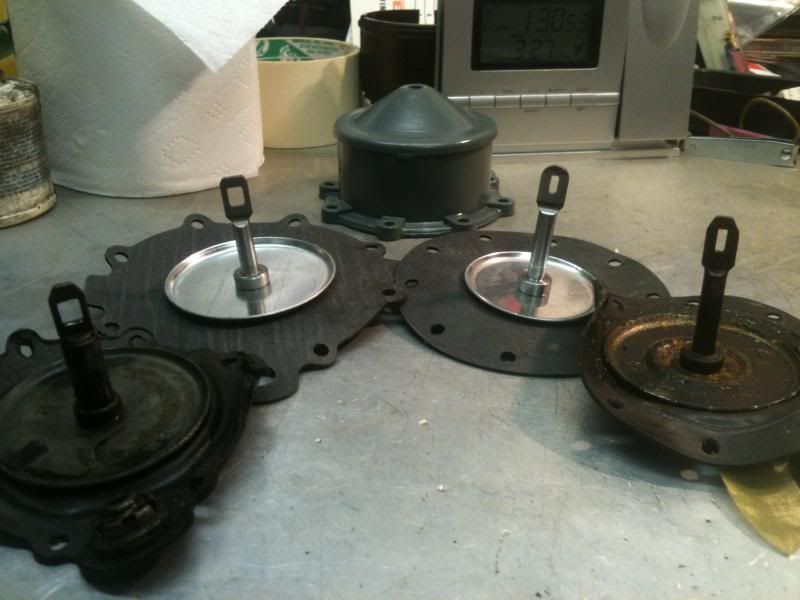
I spent a while rebuilding my fuel pump with the kit for sale from Then and Now. It was a fairly painless process which just requires some time and concentration to complete. I will be writing a step-by-step with pictures for the "parts review" section in the future.
Everything went together well, and when I encountered a problem with one of the diaphragms they sent out a replacement right away.
You can see in these pictures that the original fuel diaphragm was significantly smaller than the first replacement.
I went to re-install the pump onto the motor, but couldn't locate my pump spacer. It may be possible that the motor went in to rebuild with the spacer still attached and came back without...
Continuing engine reassembly now, will have more updates shortly. _________________ Jordan
Joined: Oct 10, 2012 Posts: 310 Location: Toronto, Ontario, Canada
Posted: Mon May 13, 2013 10:18 am Post subject:
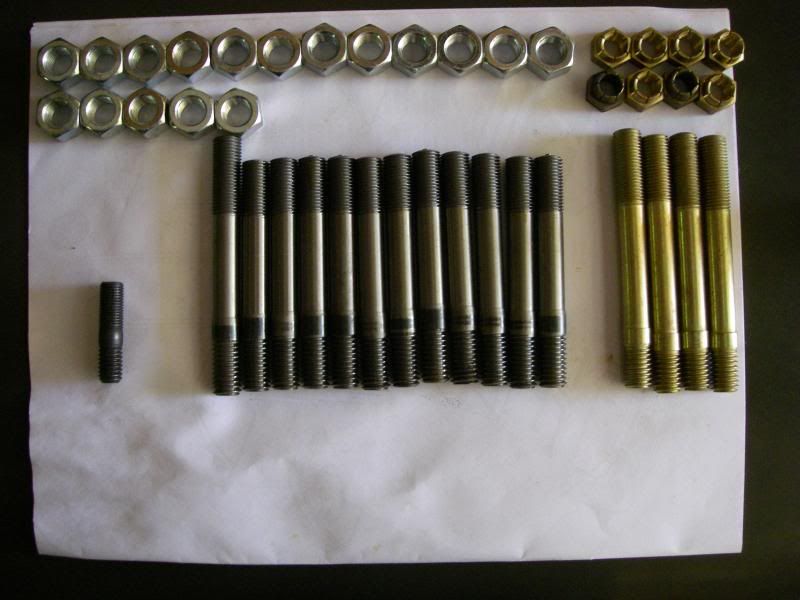
I picked up some permatex 2 and went to install the studs for the engine, but found that there weren't enough in the box given to me by the re-builder to get the job done.. I currently have:
11 x medium size studs
1 x long stud
1 x short stud (centre of manifold placement I believe)
4 x brass studs
17 x stud nuts
8 x brass nuts
I did a search for "studs" on here, but haven't been able to find if we have a guide detailing the exact location for each size. Any assistance including how many additional studs of each size I will require would be greatly appreciated!
Aren't any brass studs used for the head or exhaust.
The studs are all listed along with washers and nuts in the M38 ORD 9 giving all the size and quantity detail anyone could need.
Manifold studs for the side of the block are on page 48. For some reason their count is wrong. You need two short and 4 long STEEL studs. The nuts are brass. Head studs (12 short & 3 Long) are on page 27. _________________ Wes K
45 MB, 51 M38, 54 M37, 66 M101A1, 60 CJ5, 76 DJ5D, 47Bantam T3-C & 5? M100
The three long head studs are for the engine lifting hook.
The manifolds are rather obvious where the short and long go. _________________ Wes K
45 MB, 51 M38, 54 M37, 66 M101A1, 60 CJ5, 76 DJ5D, 47Bantam T3-C & 5? M100
Joined: Oct 10, 2012 Posts: 310 Location: Toronto, Ontario, Canada
Posted: Sun Jun 16, 2013 8:11 am Post subject:
A bit of a delayed update, was down in Ft. Pickett for the past week. A decent time, but man was it hot!
Anyway, the head studs were installed using permatex 2 as sealent. I also put in some of the other bits like coolant drain petcock and oil pressure sensor. I got out the ole protractor and set the engine to 5deg before TDC to instal the oil pump.
In prepping the oil pump I made a bit of an admitted goof. I didn't have a pre-made gasket in the kit to go between the pump body and rear flange so I attempted to make it with permatex black gasket maker. Not bad exterior results but the edge area is so small that some of it squished inside and got into the pump. It stopped up all rotation after sitting for a couple hours so I had to disassemble and am back at square one. Luckily I caught it before the permatex set fully!
I figure the best course of action will be to make a paper gasket but I've only done that once or twice before. Can any of you advise on what material to use and the best way to proceed? _________________ Jordan
I believe you'll have the best luck with a quality linen based paper. _________________ Wes K
45 MB, 51 M38, 54 M37, 66 M101A1, 60 CJ5, 76 DJ5D, 47Bantam T3-C & 5? M100
Joined: Oct 10, 2012 Posts: 310 Location: Toronto, Ontario, Canada
Posted: Sun Jun 16, 2013 3:31 pm Post subject:
I have a bit of Fel-pro Karropak, should that suffice? I haven't found much information on the use of Karropak other than it is coated and safe for use with oil and gasoline. _________________ Jordan
The problem will be thickness. The original gasket is very thin and the replacement needs to be that thin. _________________ Wes K
45 MB, 51 M38, 54 M37, 66 M101A1, 60 CJ5, 76 DJ5D, 47Bantam T3-C & 5? M100
You cannot post new topics in this forum You cannot reply to topics in this forum You cannot edit your posts in this forum You cannot delete your posts in this forum You cannot vote in polls in this forum