Page 31 of 43
Posted: Sun May 22, 2022 5:02 am
by CoastieReid
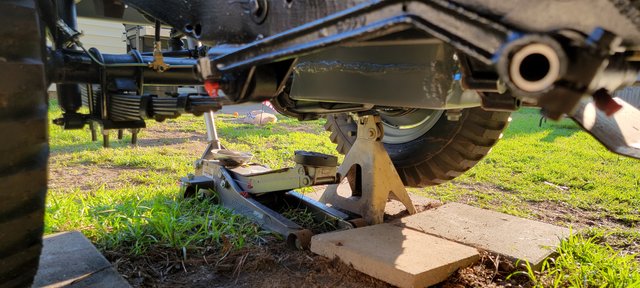
I completely forgot I needed to address this on my front springs.
The spring center pin doesn't sit quiet right. I need to squeeze the springs together just a tiny bit to get them to sit right on the axle and then tighten down.
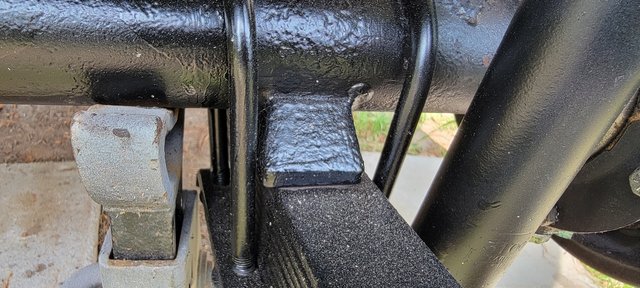
Not sure how I am gonna do it yet. I do have a hydraulic enerpac system. I think I can get a attachment to pull. - time to do research on getting that.
I tried a large ratchet strap but that doesn't give me enough leverage.
Posted: Sun May 22, 2022 7:56 am
by JeepDrivingRay
Good luck and be safe.
Posted: Sun May 22, 2022 5:34 pm
by CoastieReid
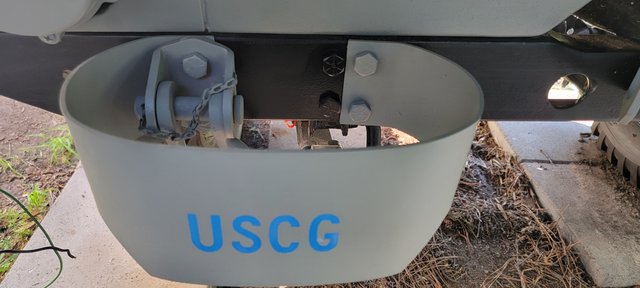
painted the rear wheels, installed the front bumper back on after it too was painted.
Put the rear tow chain plate on under the pintle hook.
Painted the bumperette "USCG"
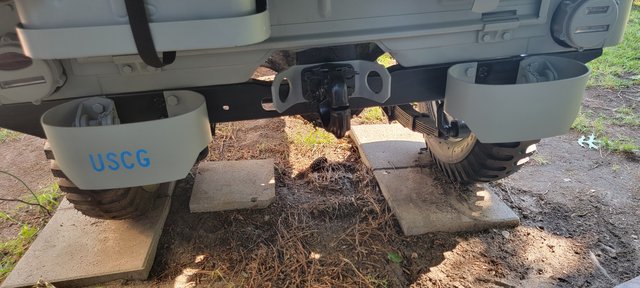
Put two of the four frame tie downs on. I need to take the front tires off, retap the front two holes - they are fine thread and pretty rough.

Posted: Sun May 29, 2022 4:26 am
by CoastieReid
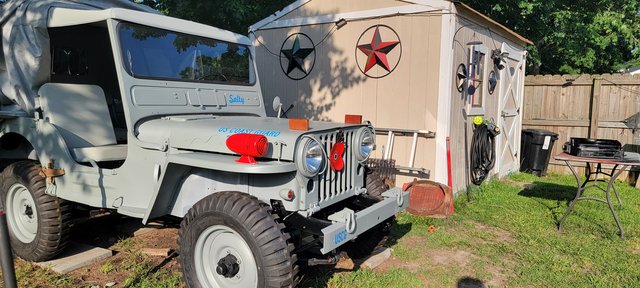
Spent some time out in the yard working on the jeep.
Drilled the hole for the trailer brake- I need longer screws to hold the plate and cover onto the body.
engine stay cable installed.
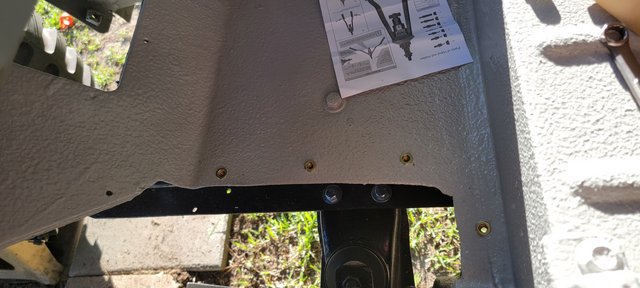
had to drill some holes in the frame for the fender support bracket.
way back when I was dealing with the frame 2 years ago, I had to cut and weld plate onto where the old bolt holes were because they were seized. I HATE having to use my 1/2" chuck drill- with the stabilizer handle. I have been unfortunate enough a few times in my life for the drill bit to grab and the whole drill wrap around my arm. Thankfully this time I didn't do that.
I did this for both sides of the frame. I used a rivet nut system for these bolts, and unfortuneately for Ch--- tools- It broke on the last installation. I still needed to install two more rivet nuts, so may just order a different brand on Amazonia...

Question-
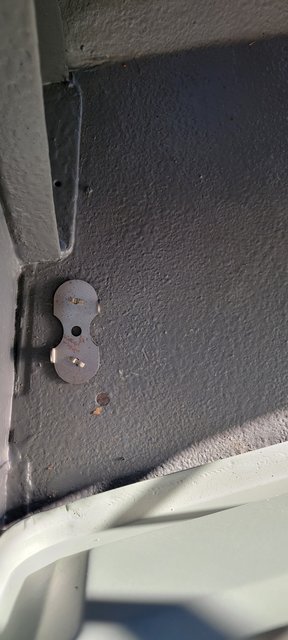
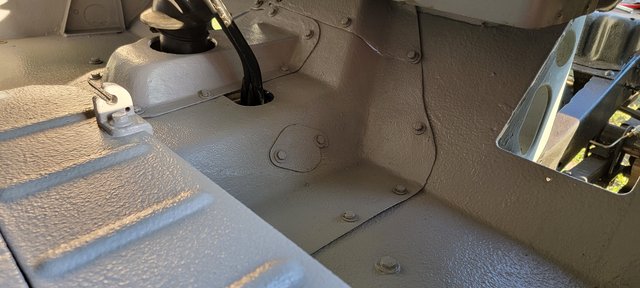
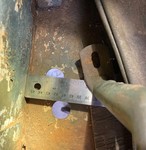
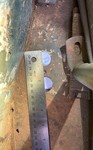
Where exactly on the floor do the drain plates go?
I have not installed them. I havent drilled the hole yet. This is on driver side- the hole drilled is for my seat mount.
Today- I am going to start putting some items onto the engine, and grommets onto the firewall.
In a seperate part- I bought a lighter color bedliner kit and will repaint over the previously painted floor. I couldnt go with the darker color I had put on. The lighter color is similiar to the body color.
Posted: Sun May 29, 2022 8:41 am
by Xamon
If you pop into Wes's album on the first page is sub album M38 body and it has alot of great shots such as:
That sounds kind of off, not trying to be rude or anything. Anyway hope that helps.
drain holes
Posted: Sun May 29, 2022 5:31 pm
by 4x4M38
Posted: Sun May 29, 2022 6:07 pm
by CoastieReid
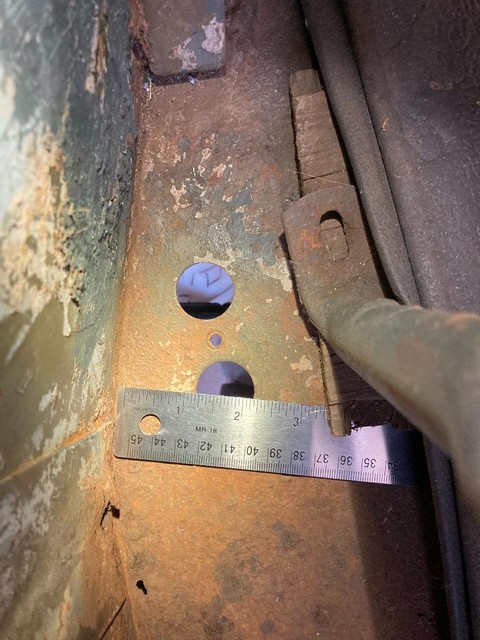
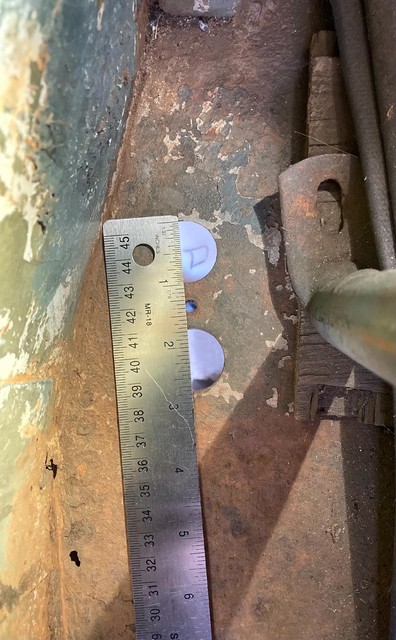
Perfect! Measurements is what I was looking for (thought I didn't specify). I knew general location, but would like to be more accurate than just eyeballing it.
Today- It seemed like I didn't do a lot, but I did. 90 degrees and sunny! I was sweating through and left a outline on the plywood I was using on the ground to shield me from the dirt.
I routed the brake lines. Turns out I need to order 2 more of those horseshoe clips. I was able to bench bleed the master cylinder and also install it.
When I went to put the clutch pedal on, I dropped the woodruff key- it flew off to Narnia. It is gone! I used my HF rolling magnet and I didn't come up with it. So- Maybe a trip to ACE hardware in the morning is in order. This is why the pedal arm is just laying like this. I don't have the woodruff key installed to put it in its correct orientation. Brake pedal is correctly installed though.
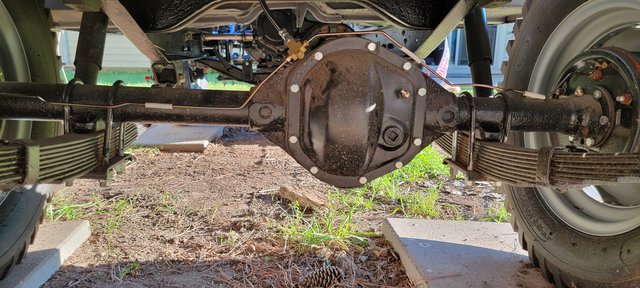
Brake lines are routed but not permanent yet. I need to clear the broken bolt from the rear diff bracket. I forgot all about that thing, and never did any rehab to it. Will do that tomorrow.
I probably messed around with the brake lines for two hours. I initially installed the wrong hose on the front, but fixed it.
Need to install all the brake line clips too.
The front passenger is giving me heck. I need one of the horseshoe clips, but I can't get the hard line to mate with the short hose. I suspect the bracket was squished at some point and may try tweeking it upward a little.
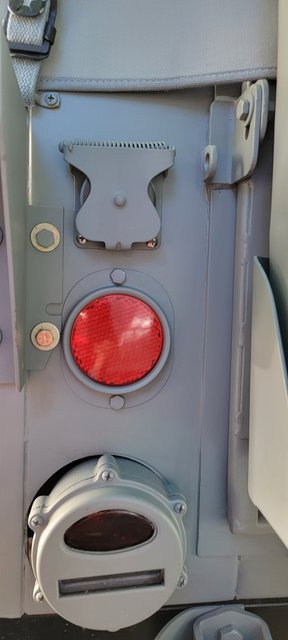
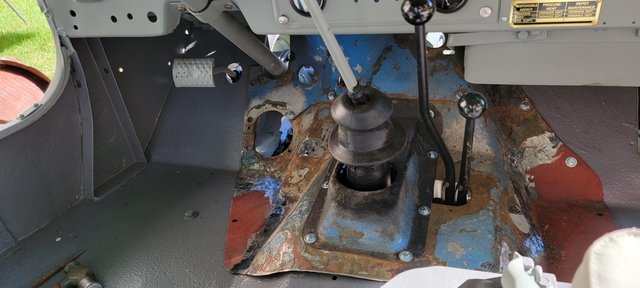
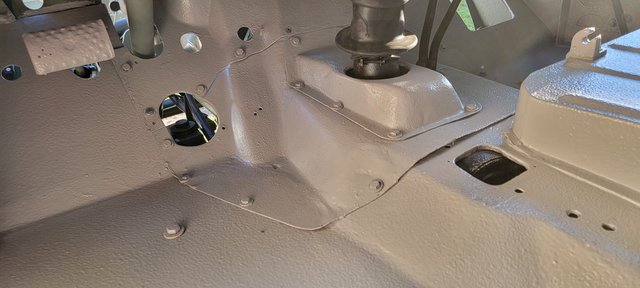
Installed a few of the firewall hole grommets, and the two blockoff plates
Installed the two dowell bolts in the bellhousing. need two more longer bolts for two other bellhousing points needed.
Posted: Sat Jun 04, 2022 6:45 pm
by CoastieReid
over a year ago I purchased an aftermarket transmission floor cover and I never liked how it was going to fit and the amount of mods I would have to do to make it fit.
Decided to mod the old one that did fit, to add new panel pieces.
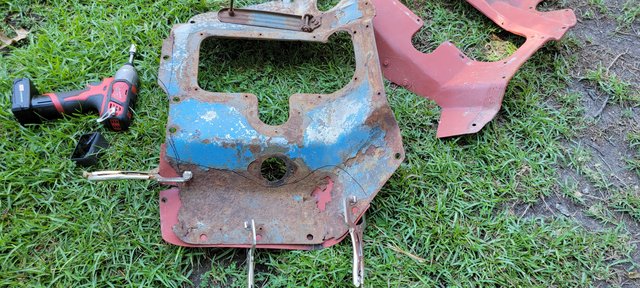

a true back yard build... doing this all in the dirt and grass.
I need a riv nut tool- I broke mine and dont feel like going to HF again for a same thing- ordered one on Amazonia and it wont be here till monday.
Int he mean time, the panel is fit and the holes are drilled.
Posted: Sun Jun 05, 2022 7:59 am
by Xamon
Looking so good, jealous of your skills.
You never told us how things went with the springs, did you get them set properly?
Posted: Sun Jun 05, 2022 10:18 am
by JeepDrivingRay
Working on dirt just means you have more skills.
You're doing an outstanding job,keep up the good work .
Posted: Sun Jun 05, 2022 4:55 pm
by CoastieReid
I have to go to Norfolk to get the right pull tool for my hydraulic system. I didn't want to go down today because it was so nice. It is a rainy day visit. so I haven't done the springs "yet". soon!
I spent the day doing house work before 0700, and then went down to Tractor Suppy at 0800 to get some more 1/4-20 bolts.
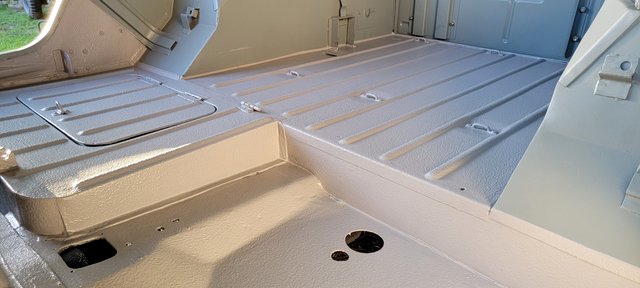
I also spent the morning recoating the tub floor, and also putting a coat of monstaliner on the transmission cover.
I bought the light quartz grey color in a gallon kit and decided to give it a go. The real color of my jeep is a tad darker than this light quartz grey.
But I am liking this lighter color more than the "medium quartz grey"

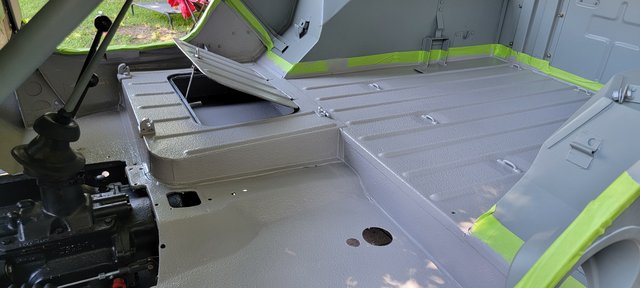

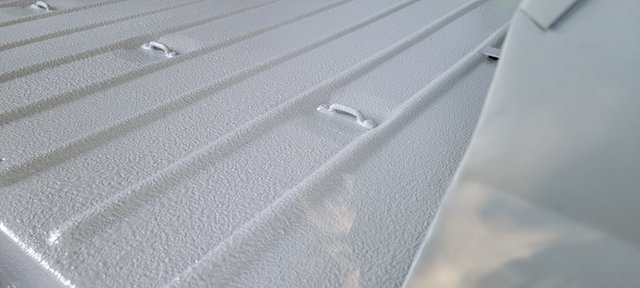
I really like how this is turning out!
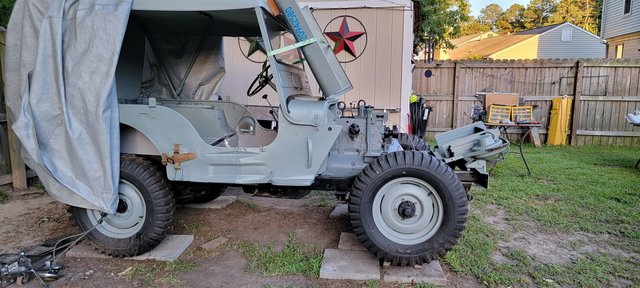
On another front, I am looking for various things in my stash of parts and looking through the tech pub. It is a wonder how this jeep even ran! There are so many missing parts from when I bought it- Though it ran when I bought it, it didn't run well.
Tomorrow- I would like to start routing the exhaust or the electrical. One or the other.
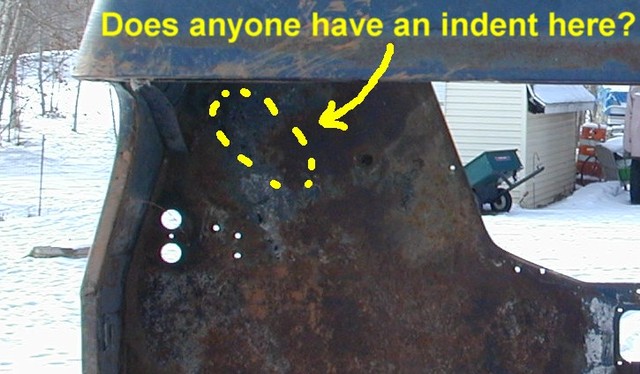
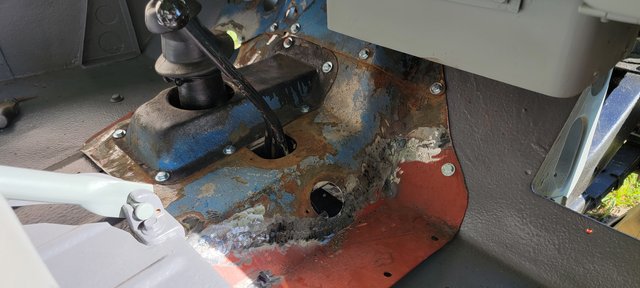
Also- gotta decide how to deal with this.
The forward and aft stud holes are bigger than the 3/8" and the threads are barely there but then again- they may be but i cant see without zooming in or putting on my glasses. either way, I need to find studs for these holes.
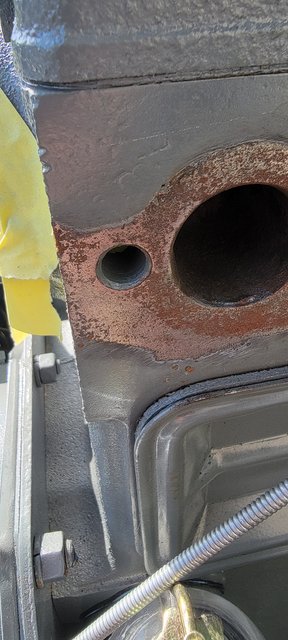
Posted: Sun Jun 05, 2022 5:24 pm
by RonD2
That large a stud may not fit through the hole on the manifold?
Install a threaded insert or helicoil the block back to the original size stud?
Or use a stud like this?
https://www.oreillyauto.com/detail/c/do ... ag0/675044
Posted: Sun Jun 05, 2022 7:02 pm
by RICKG
Why the heck didn't the machine shop take care of that?
I have a half box of 1/4-20 weld nuts if you find yourself needing any for the floor pan project just holler.
Posted: Tue Jun 07, 2022 4:46 am
by CoastieReid
Rivetnut tool came in. all done.
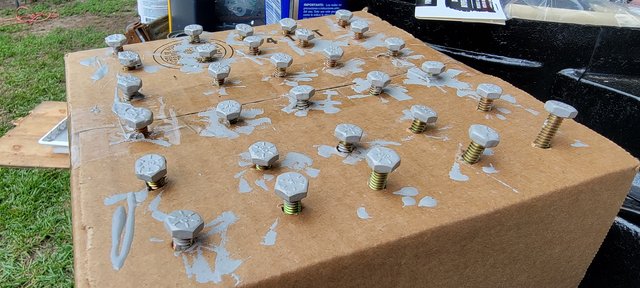
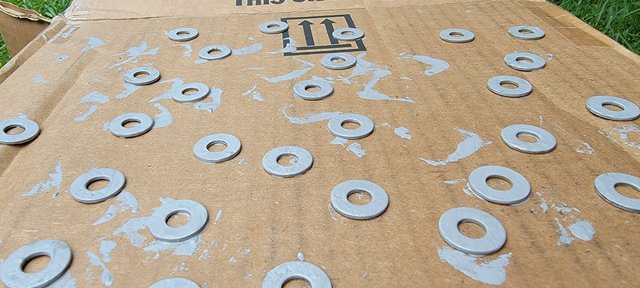
I put the panels back in, just for the photo. I had let this dry for over 24 hours, but full cure is around 3-7 days.
So I took them back out after that.
Overall very pleased with it.
Few things I will be the worst critic on, but that's fine. I built it.
Putting 70 year old metal back together and I'm no pro-
I really like the light quartz grey more than the medium i had on there. Under the body, and lower piece of the rear wheel wells still are medium grey- which I think I will leave. I have 1 quart of unused product still- My feelings on this may change.

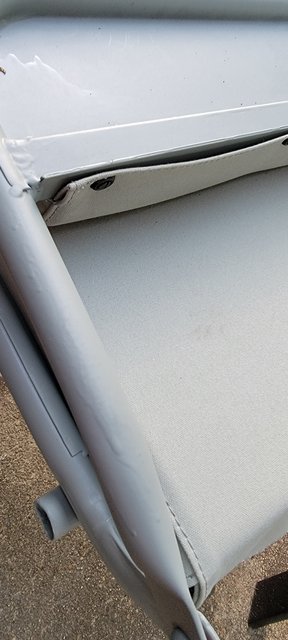
I noticed the contrast of the frame vs the canvas is very similar to the floor vs body color of the tub. I will put the seats back in later this week.
Thank you for the heads up on the two size studs. The local parts houses wouldn't order them. So- Amazonia it is. I expect them to be here later this week.
In the mean time, I am going to sort out my brakes today. They need the front right hose to be locked in, and I need to bleed the system.
Posted: Tue Jun 07, 2022 3:04 pm
by RonD2
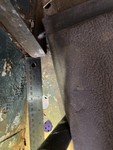
Hi April,
I hope you checked that the manifold hole in your block is actually 7/16" coarse thread?
I was taking a S.W.A.G. from your photo that's the correct size when I suggested using them because it's the typical one size larger up from 3/8".
Don't forget thread sealant when you install them as all 7 penetrate the water jacket.
And remember that the center stud can be an interference fit with the head stud right behind it.
You don't want them colliding under torque pressure.
I've read it can induce cracks or leaks.
