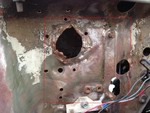
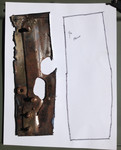
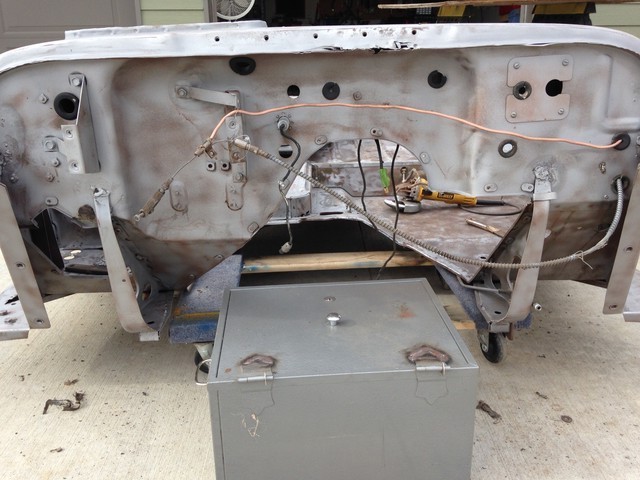
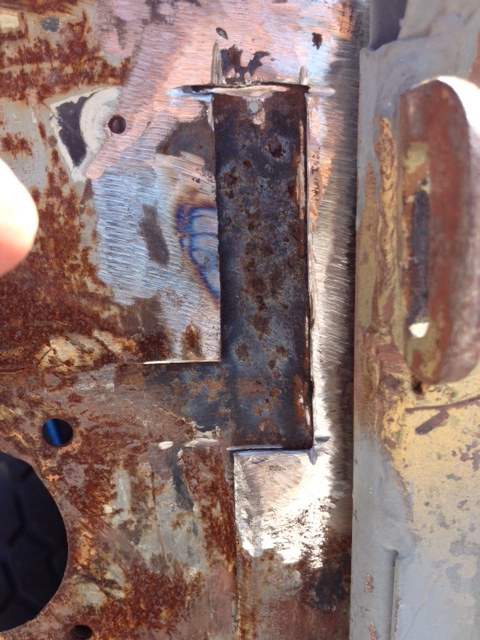
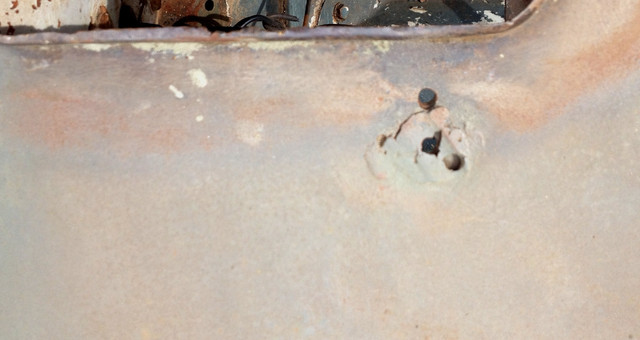
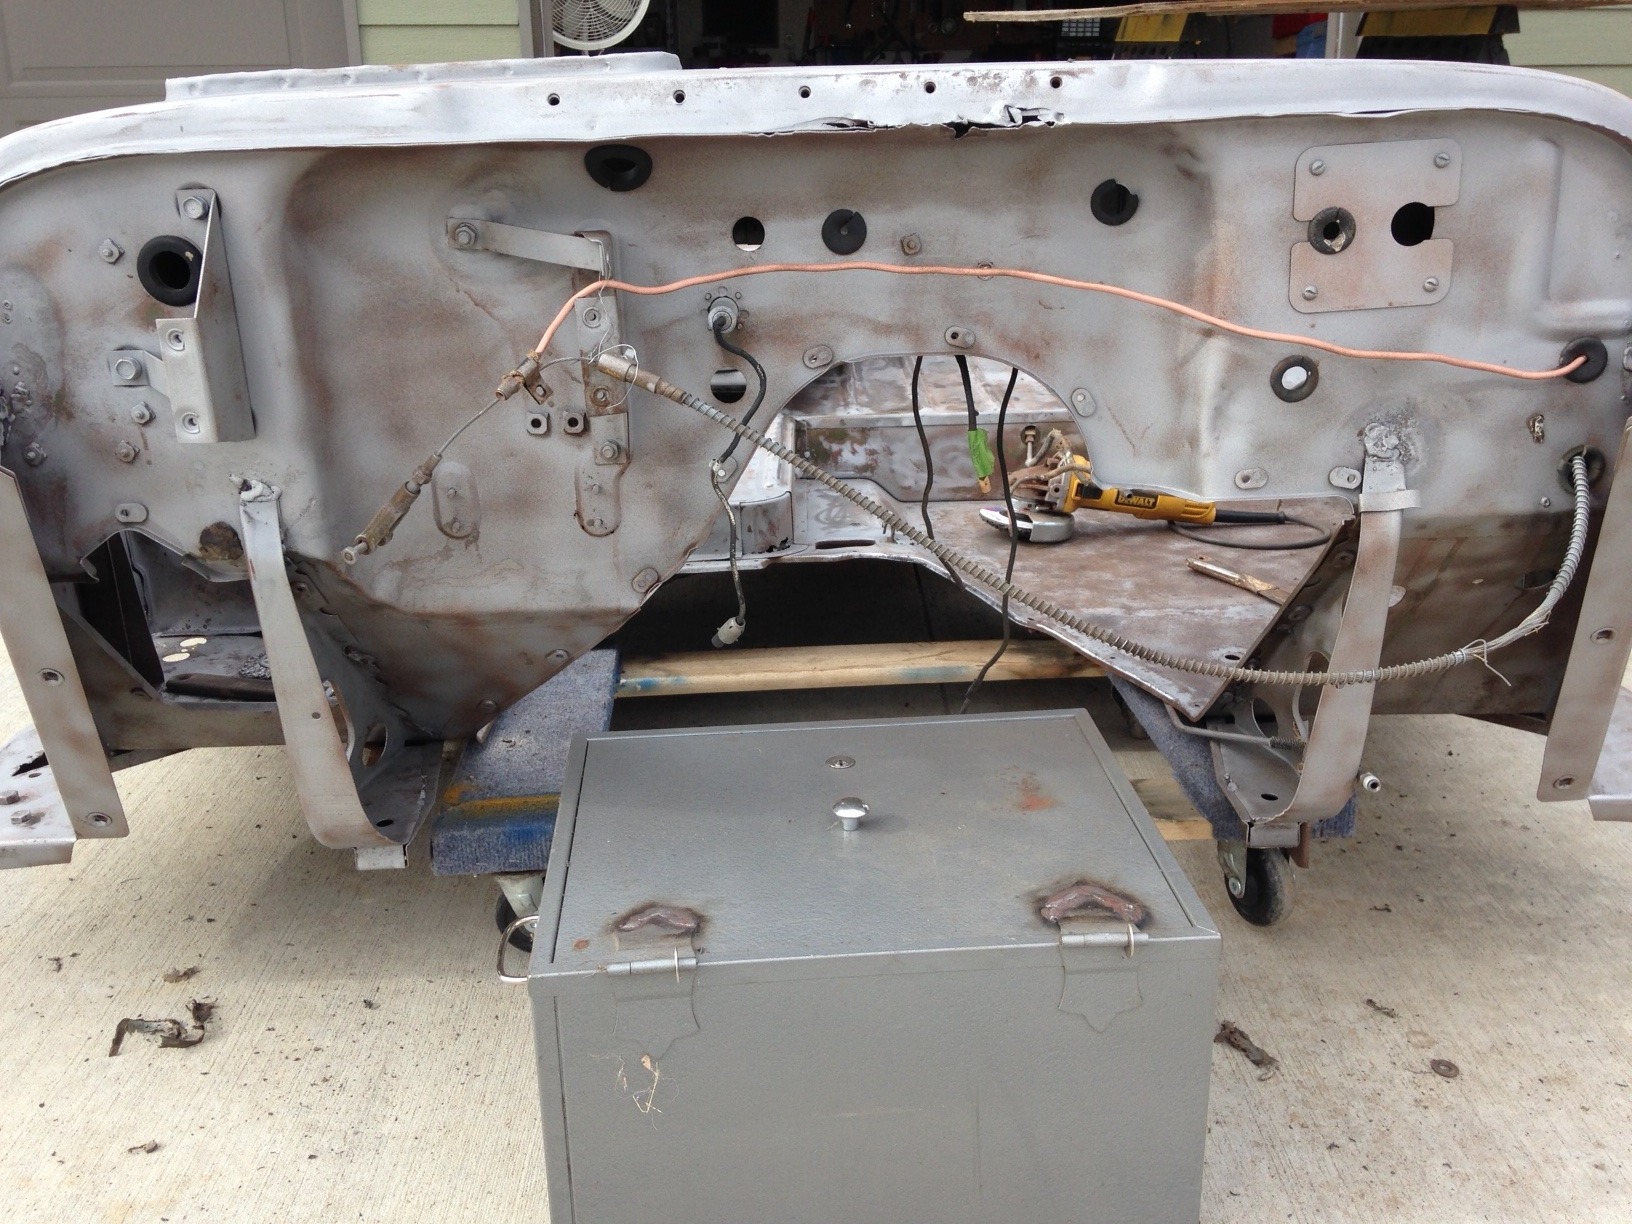
My cowl receptacles had been blown out, replaced by washers welded under existing sheet metal. Corresponding additional holes in the battery box lid had to be drilled to install bolts through the lid and cowl. Nasty mess, all of it.
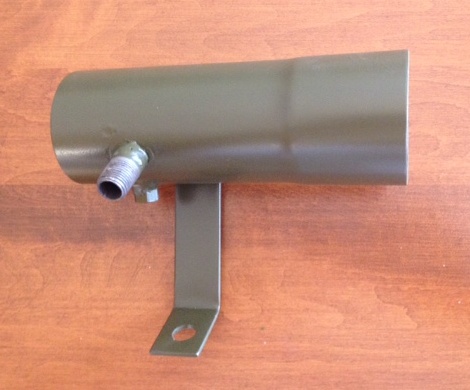
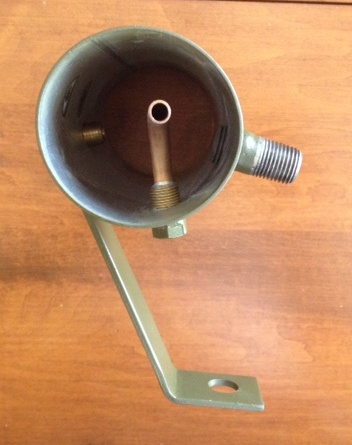
I did not attempt anything until I found some replacement receptacles on Ebay:
 http://willysmjeeps.com/v2/modules/gall ... .sized.jpg
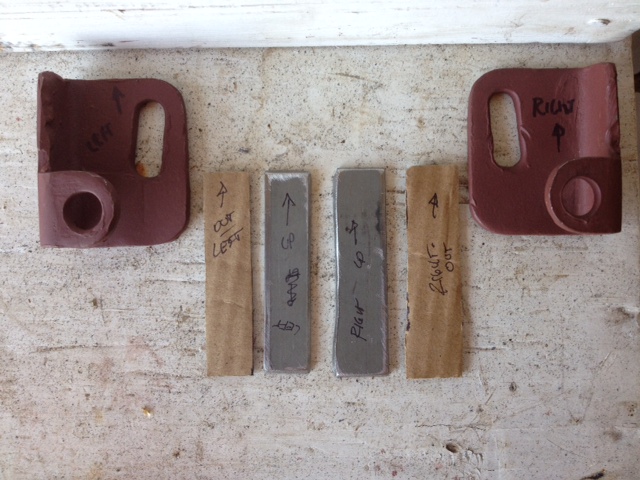
Note these have a raised area around the mounting hole but it is on the inside where it won't be seen, and will need just a bit longer rivet. I have since found correct, flat receptacles but had these already bought. I needed two and bought ten, if anyone needs any.
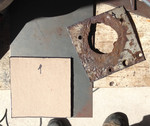
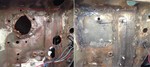
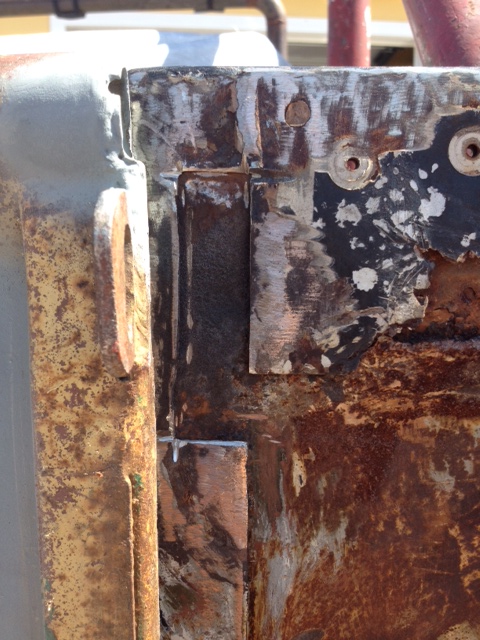
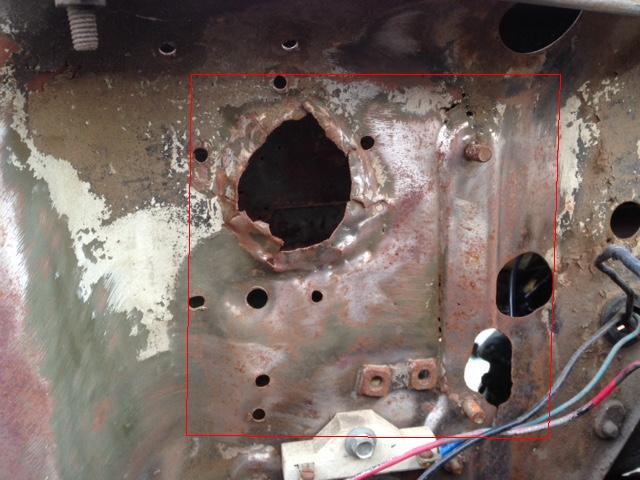
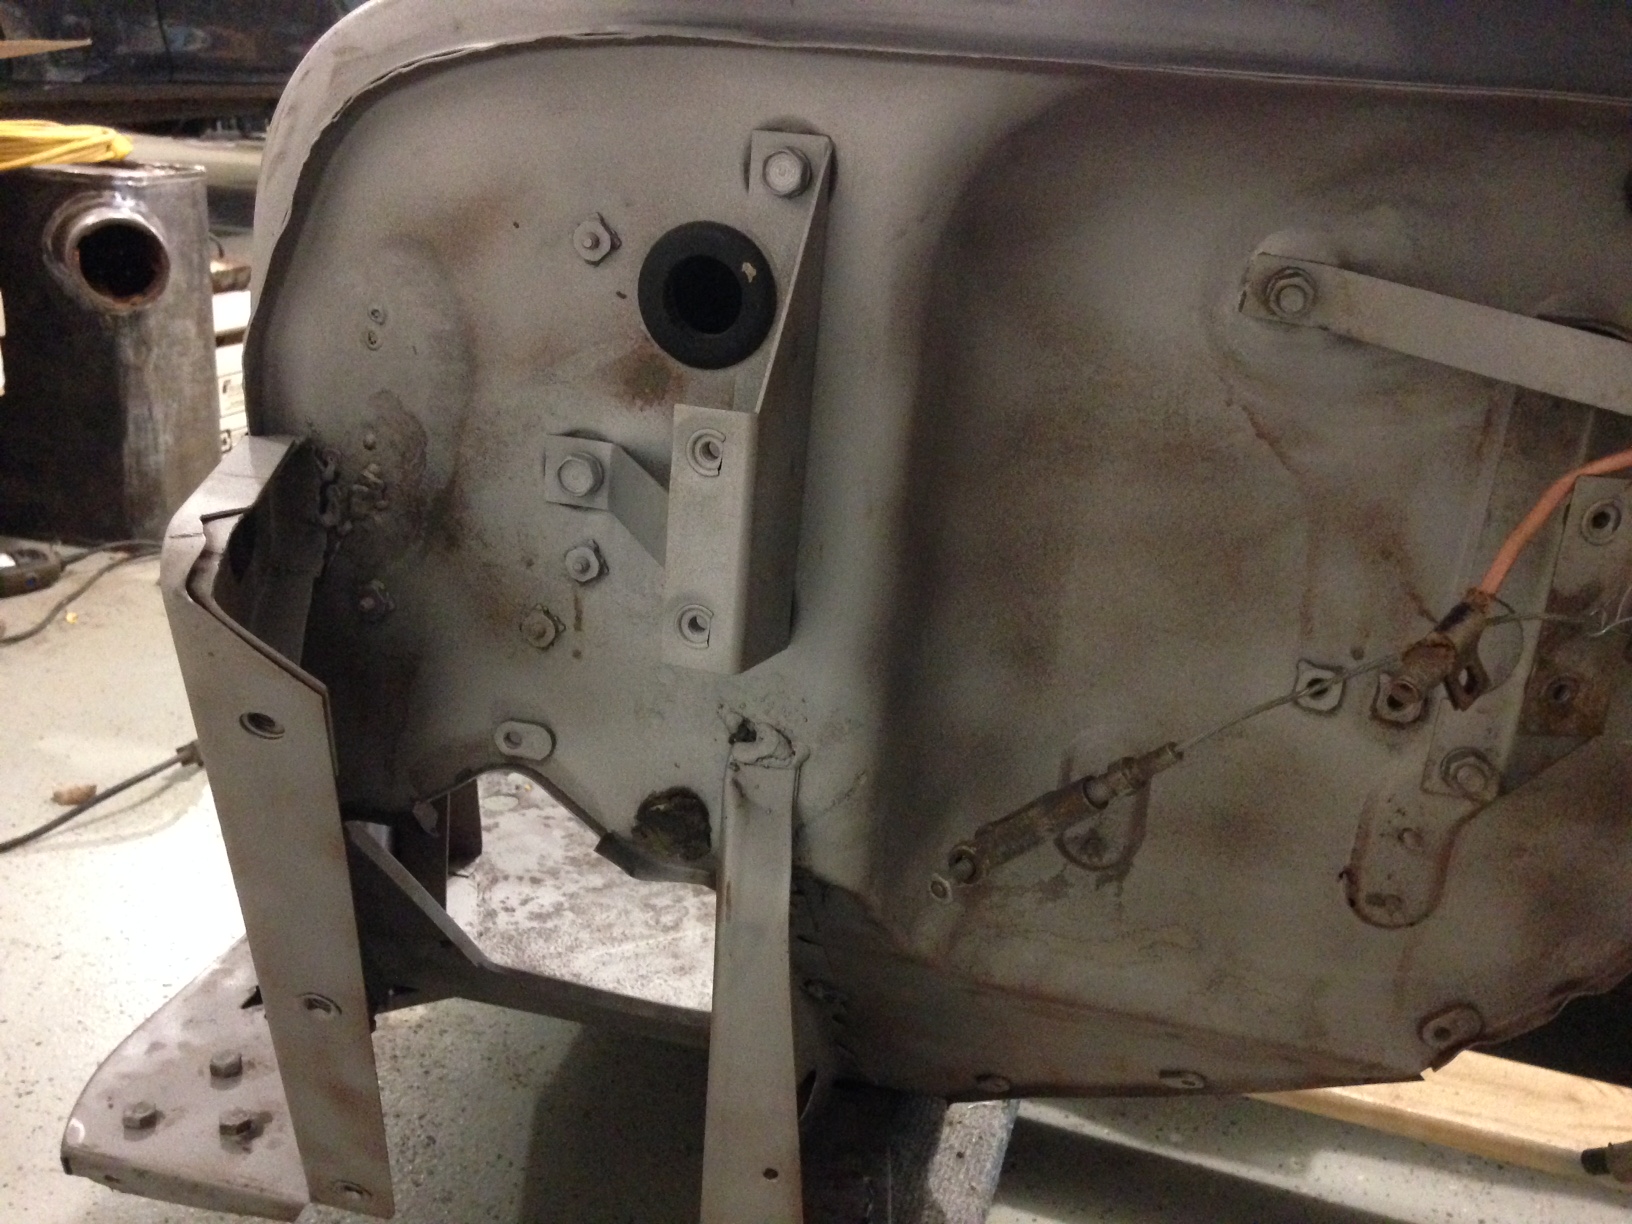
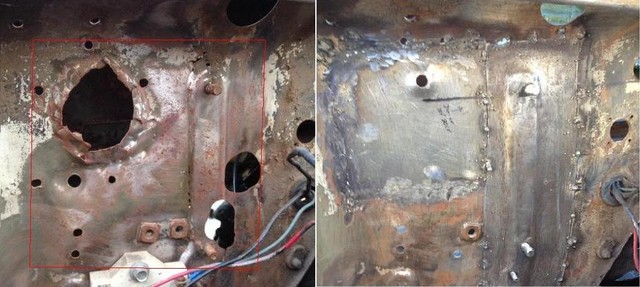
Kind of hard to see, but this was Bubba's fix. The other side was much worse:
 http://willysmjeeps.com/v2/modules/gall ... .sized.jpg
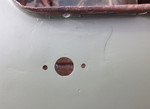
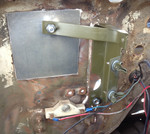
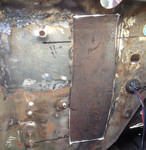
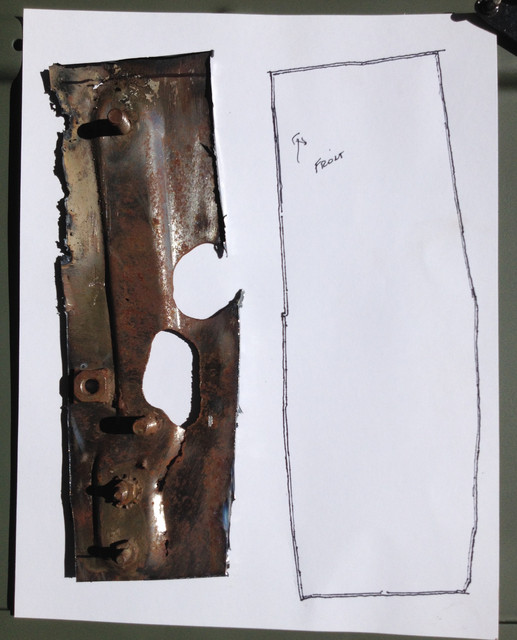
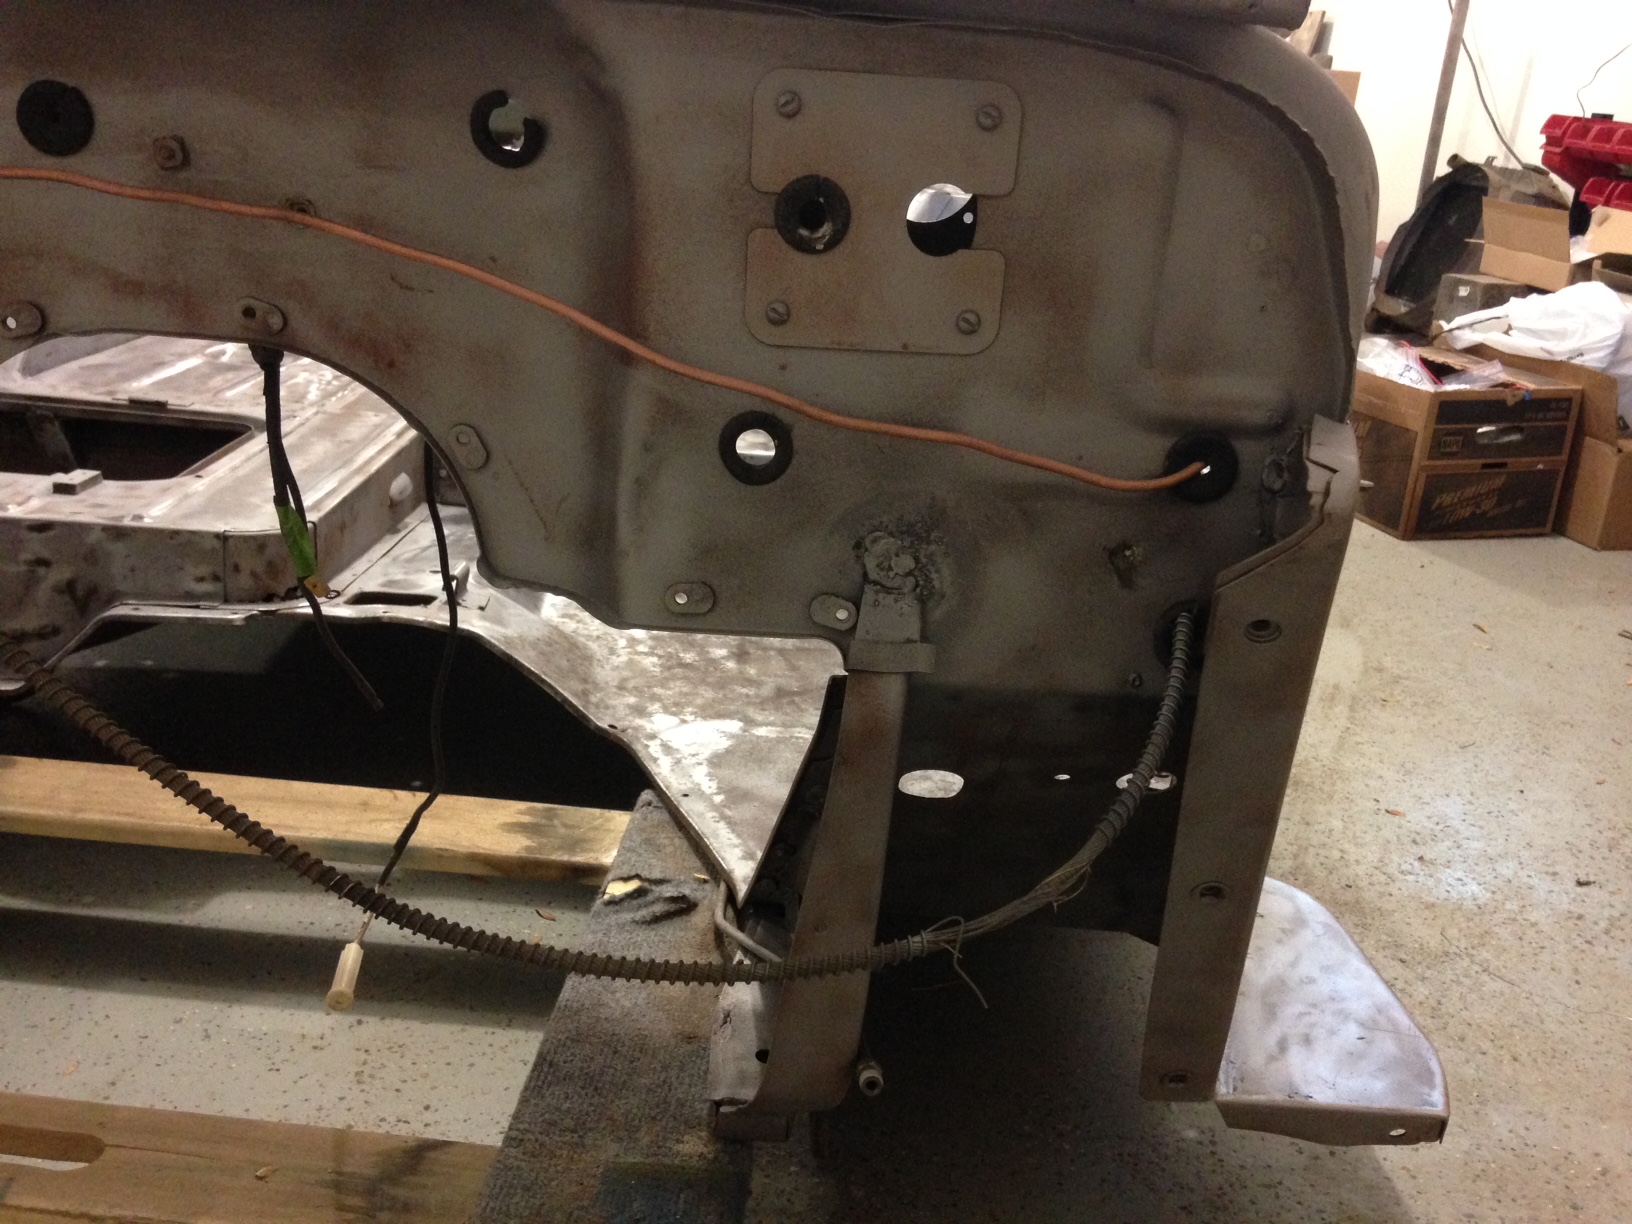
First thing, clean, remove the washer from underneath, and patch:
 http://willysmjeeps.com/v2/modules/gall ... .sized.jpg
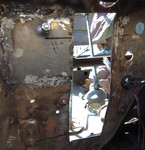
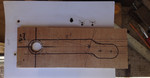
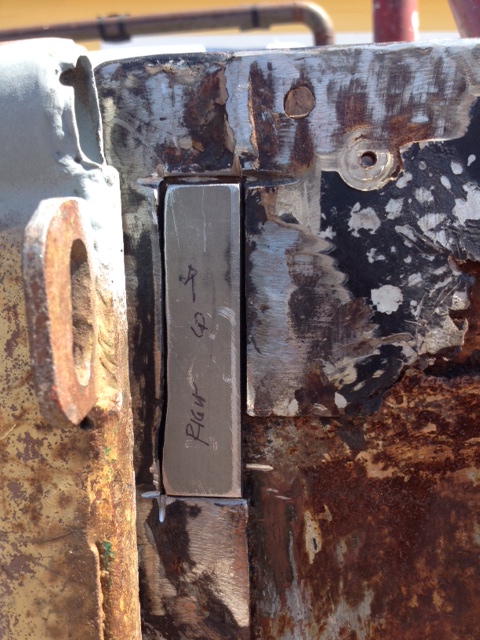
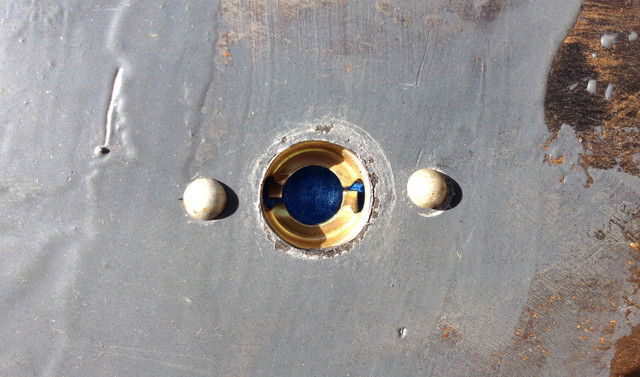
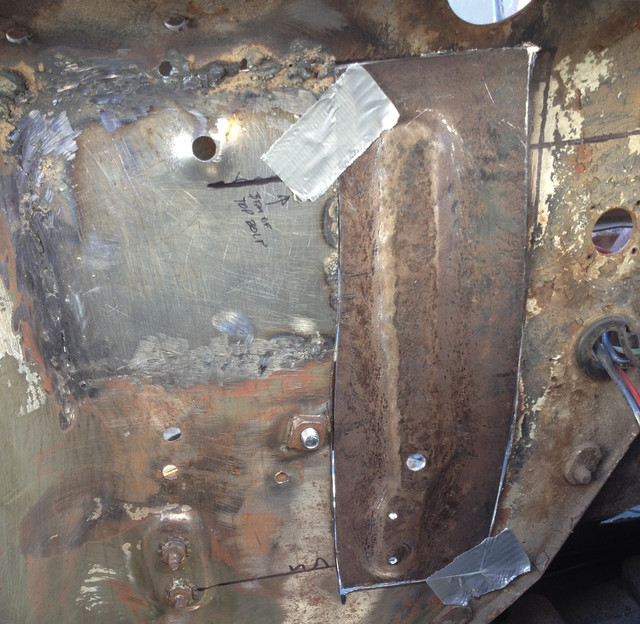
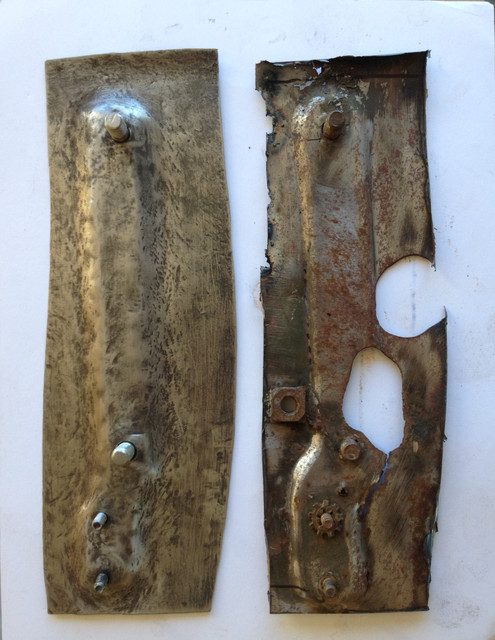
Next mark and drill for the new receptacle using the now-repaired lid. The original holes were there. Test fit the receptacle:
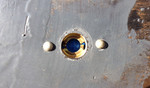 http://willysmjeeps.com/v2/modules/gall ... .sized.jpg
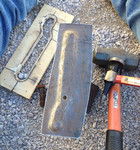
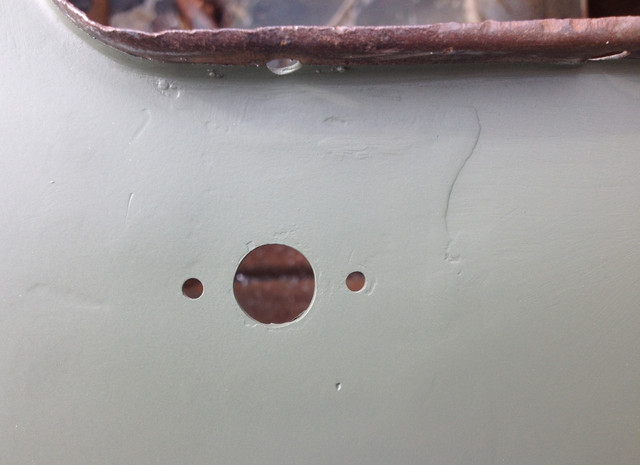
All cleaned up, primed, sanded, and waiting on final finish before installing and painting the new receptacles:
 http://willysmjeeps.com/v2/modules/gall ... .sized.jpg


