Hawkshadow's '52 M38CDN

Start your project thread here for advice and for others to follow along with your project. This is a long term thread.

Moderator: wesk

Post Reply
User avatar
Hawkshadow
Member
Posts: 310
Joined: Tue Oct 09, 2012 6:00 pm
Location: Toronto, Ontario, Canada

Post by Hawkshadow »

As I changed my brake setup over to the safer dual master reservoir, I needed to find a new brake switch method. Here is a step-by-step guide for others contemplating this conversion. It was surprisingly quick, easy, and painless!

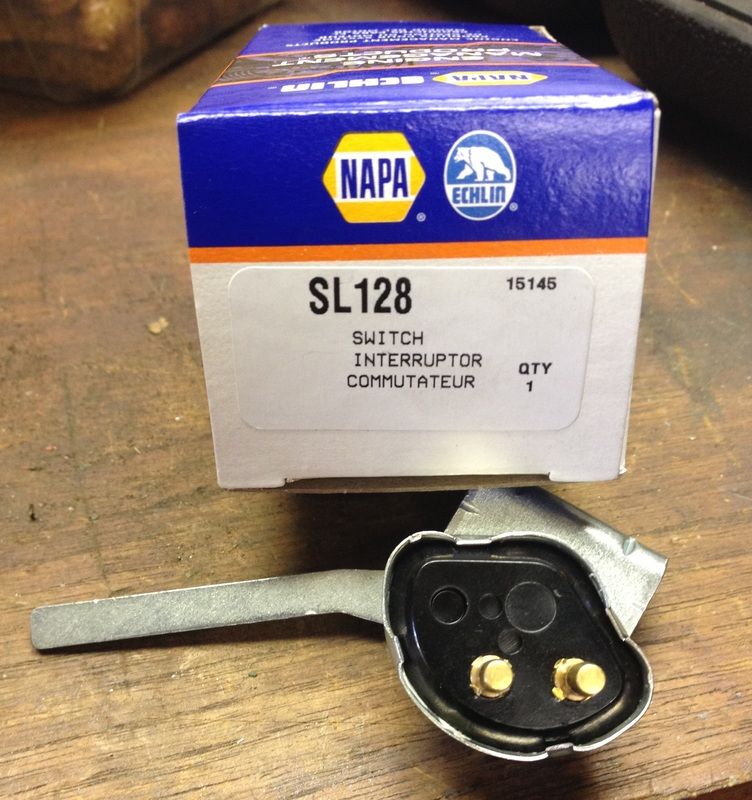
I went with the mechanical switch AC Delco # U858, Napa SL128.
Image

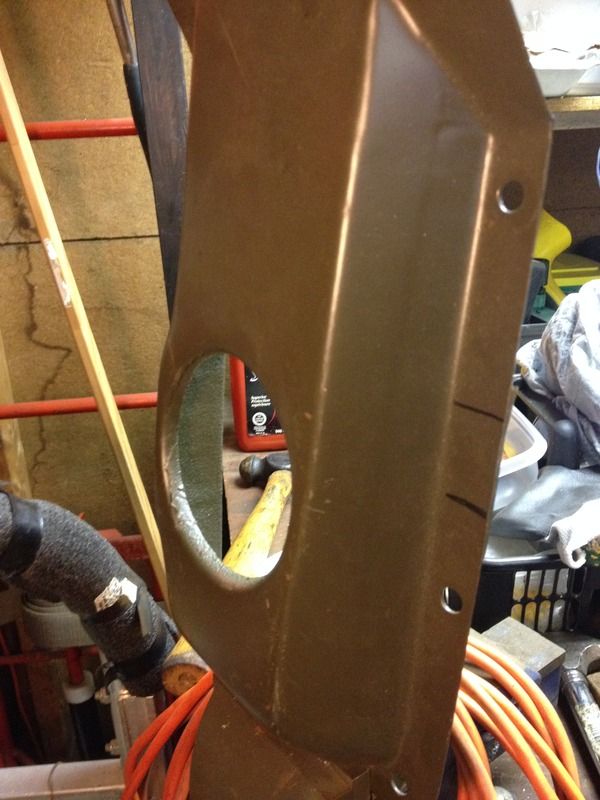
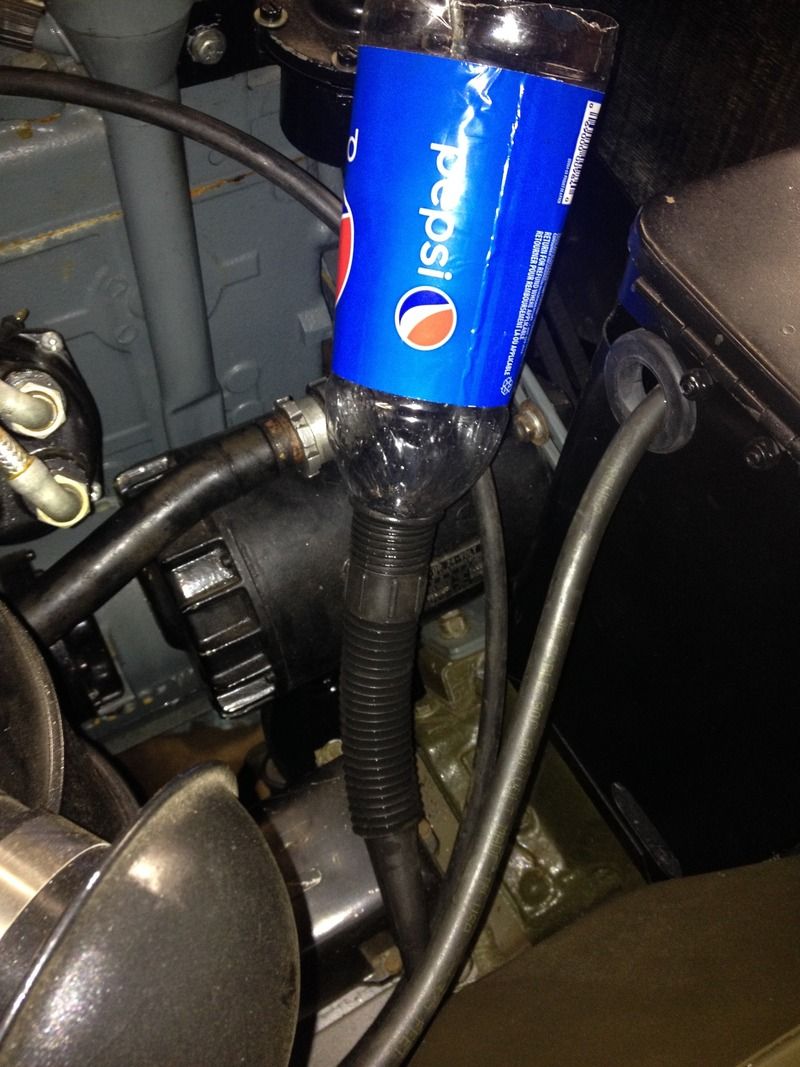
Find the rough position which puts the switch arm behind the pedal arm.
Image

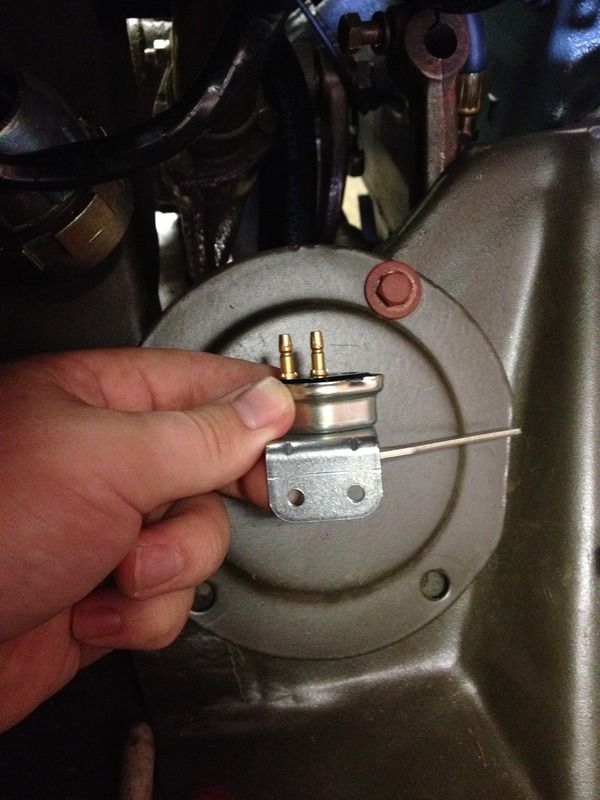
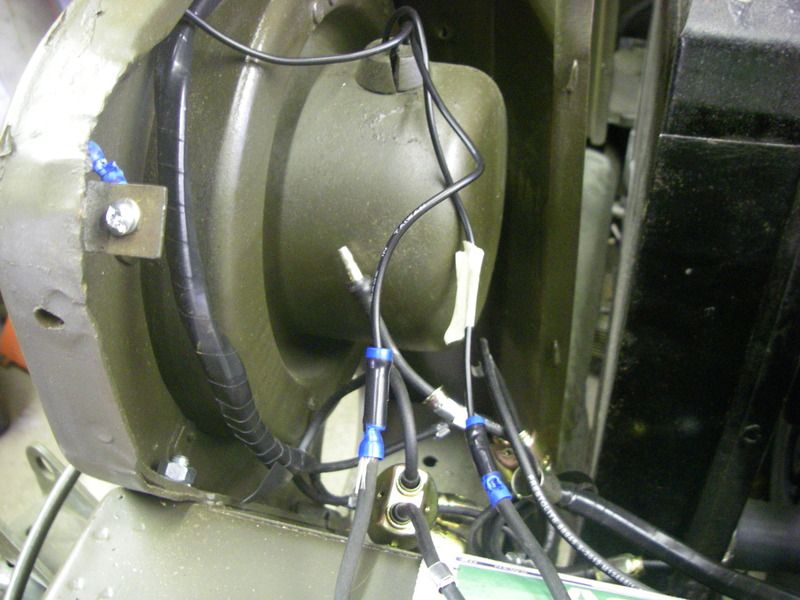
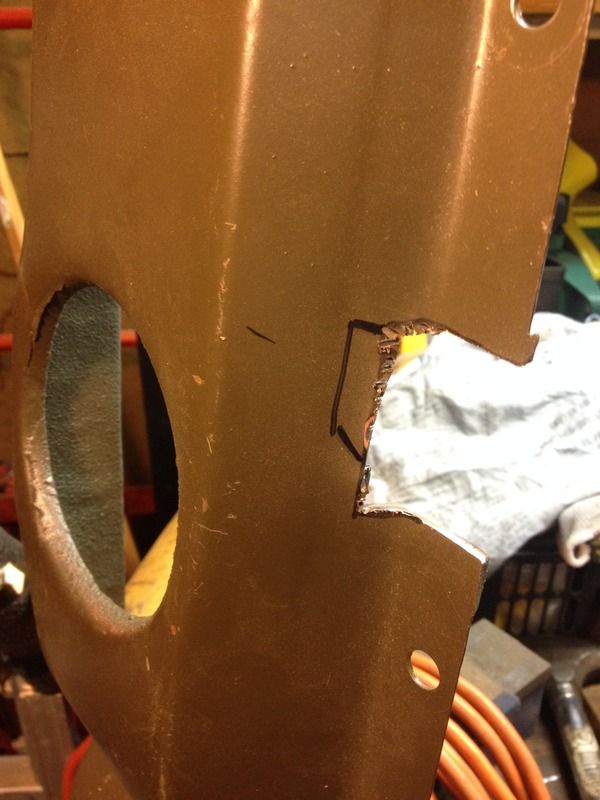
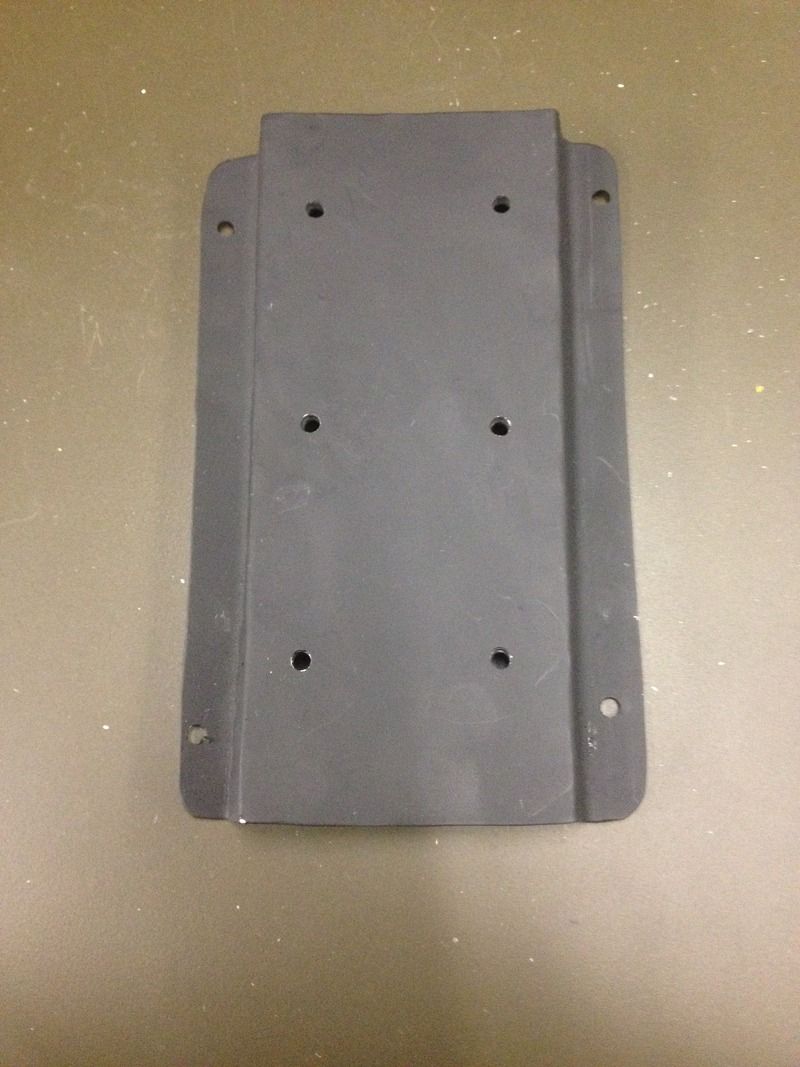
Mark, Drill, and mount the switch to the master cylinder floor pan cover.
Image

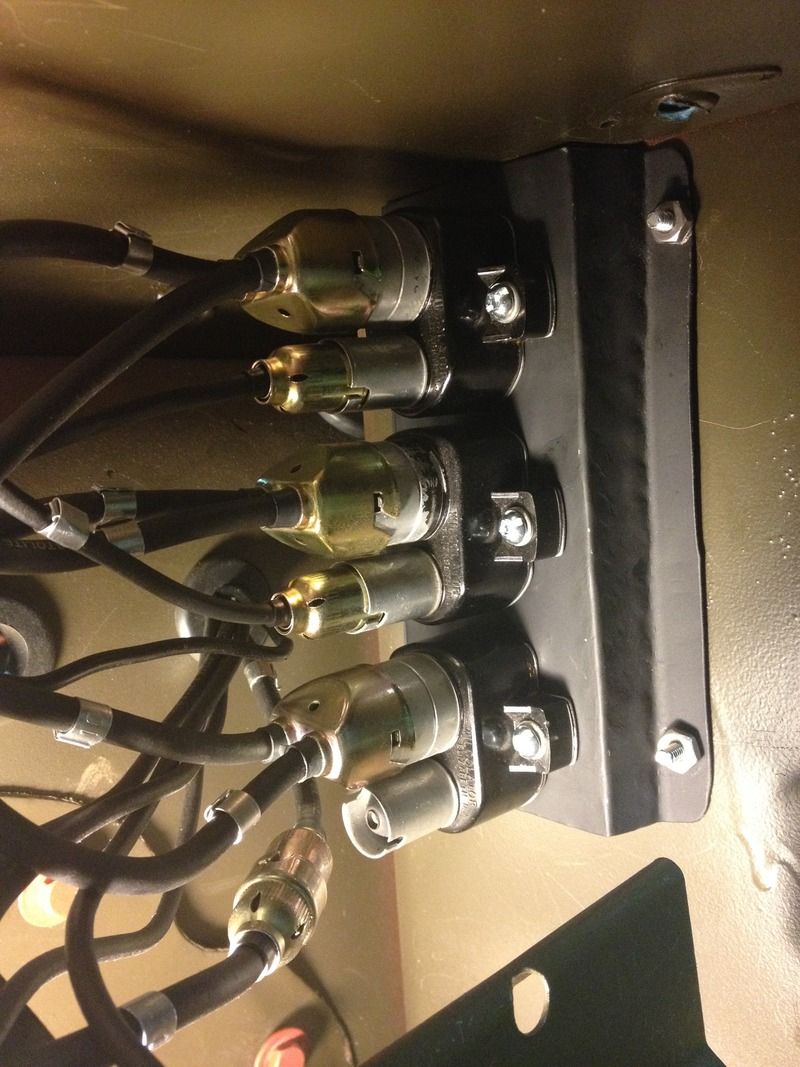
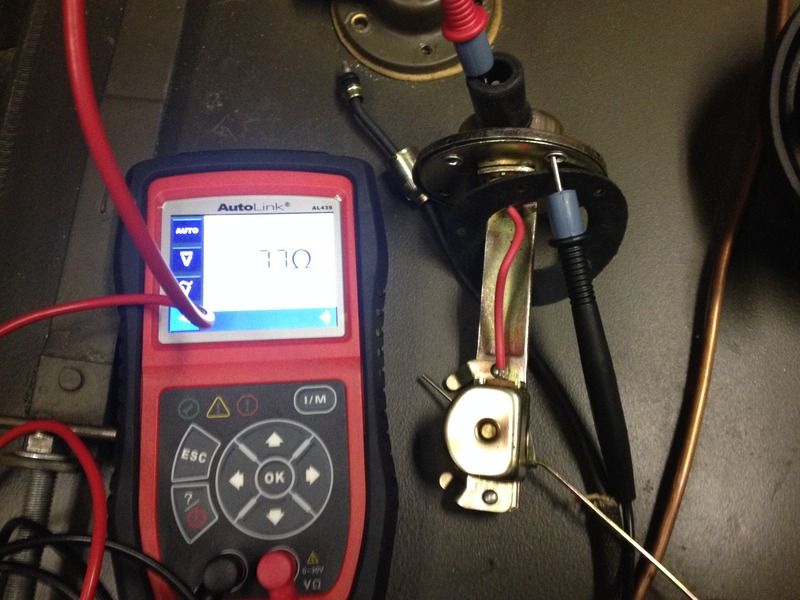
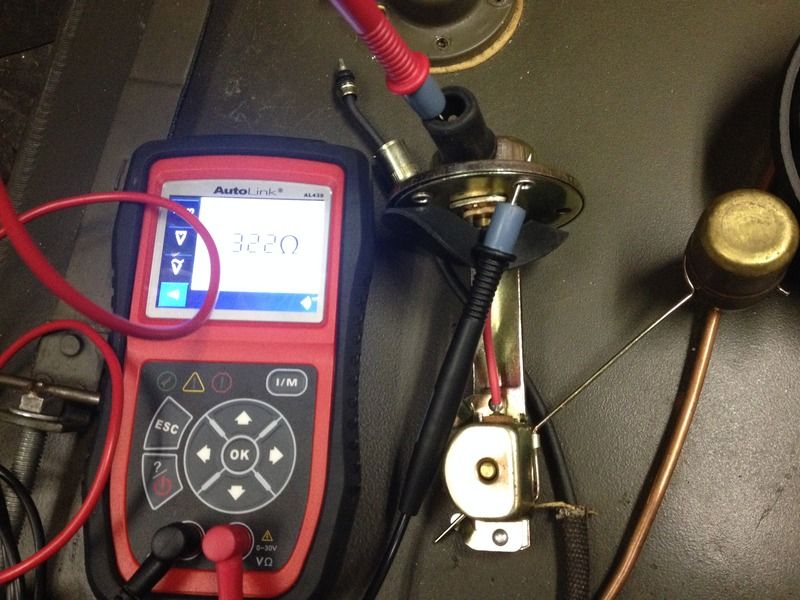
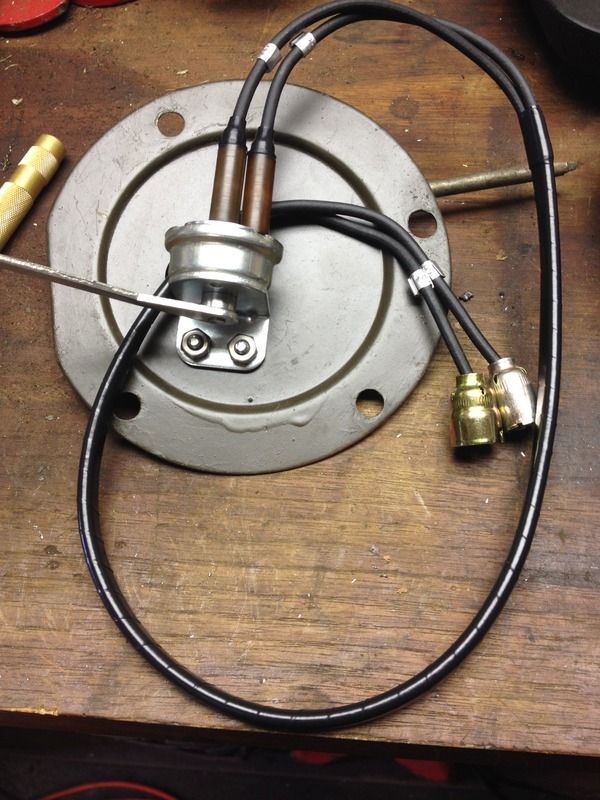
Attach brake switch harness and test for continuity across the leads. I removed the douglas connector shells from the harness before this step.
Image

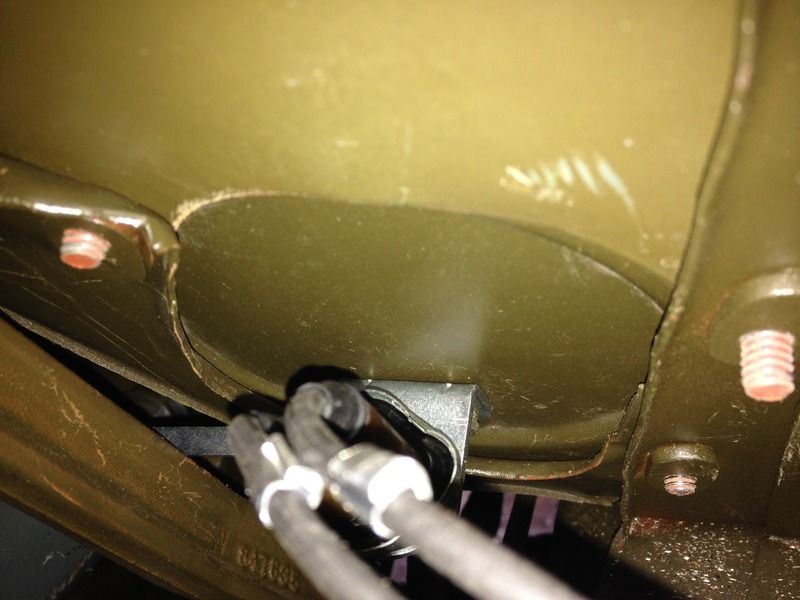
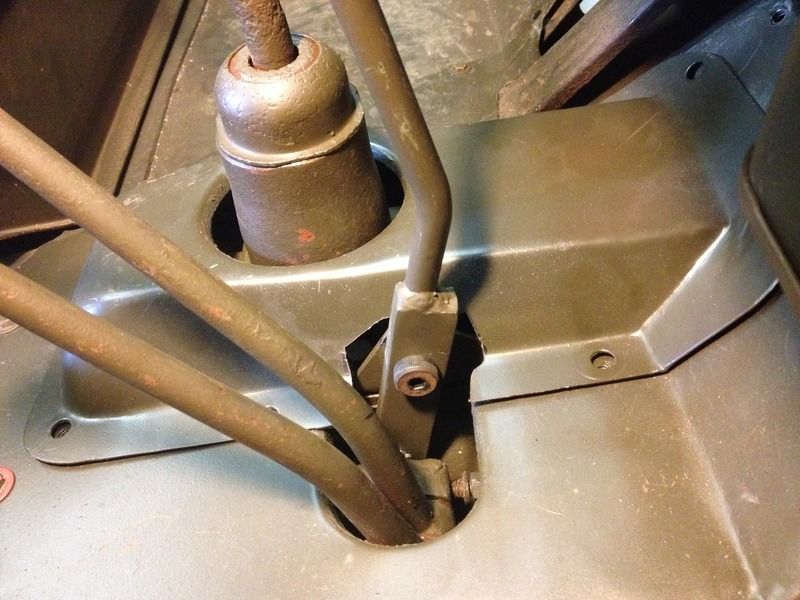
Re-install the cover, ensuring that the switch arm is behind the pedal arm.
Image

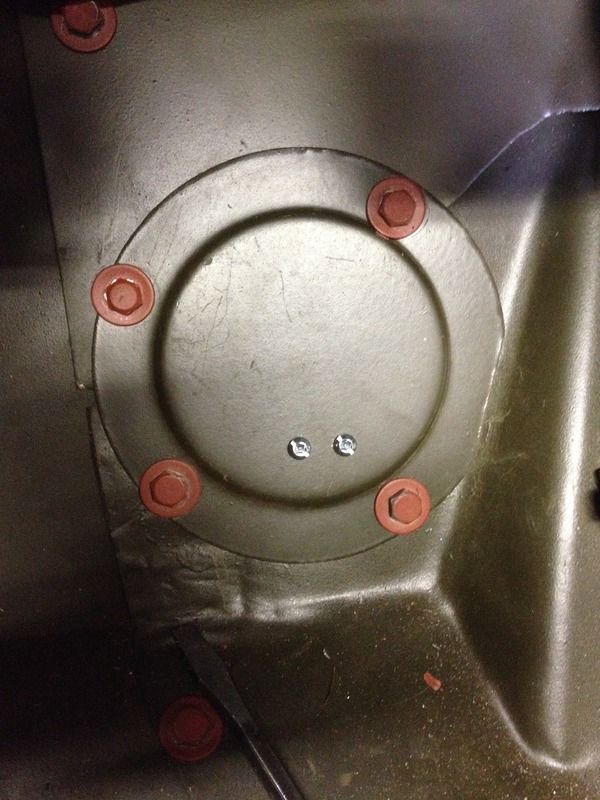
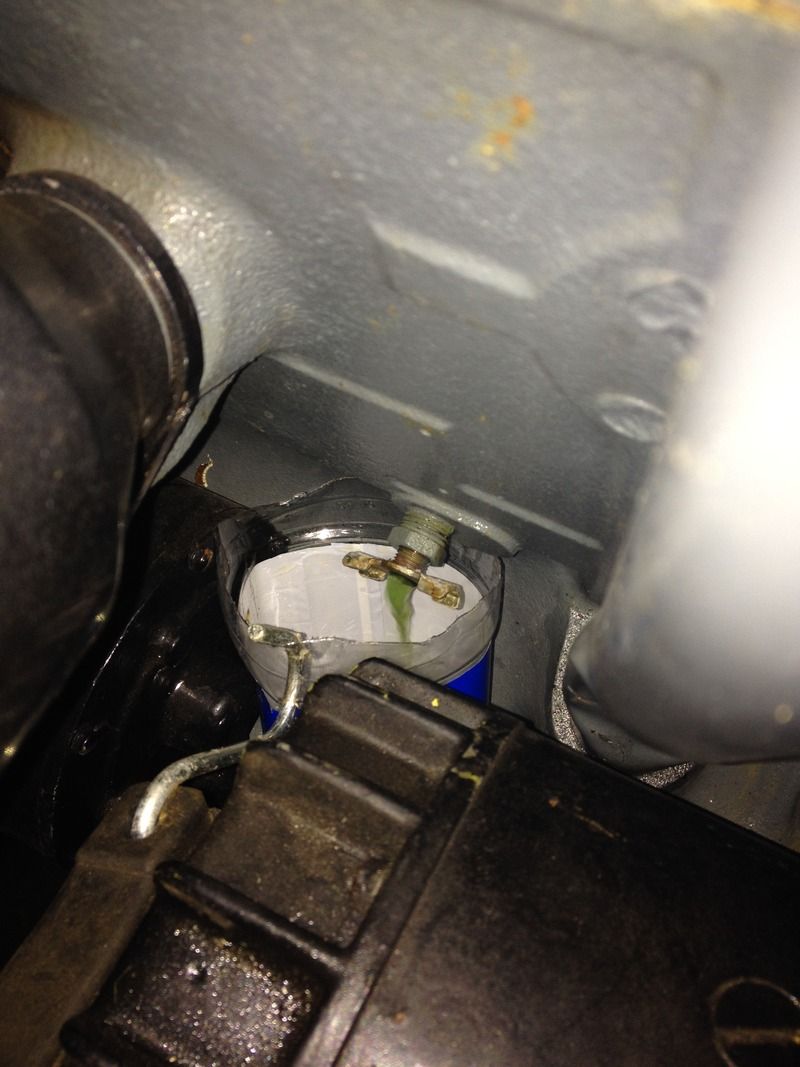
End result of the switch in position.
Image
Jordan

M38 CDN
52-30718
User avatar
Hawkshadow
Member
Posts: 310
Joined: Tue Oct 09, 2012 6:00 pm
Location: Toronto, Ontario, Canada

Post by Hawkshadow »

I can't believe that the summer is almost over! It's been a busy one.

Pad an cover the seats:
Image
And install:
Image

Work a couple of new fenders in to place:
Image

Install a headlight upgrade:
Image
Image

And it looks much more like a jeep
Image
Image
Jordan

M38 CDN
52-30718
User avatar
coolpool
Member
Posts: 65
Joined: Tue Dec 01, 2015 6:00 pm
Location: Cold Lake, Alberta, Canada

Post by coolpool »

I like the detail you provided in your resto. I'm sure the steps will help many people who are new to the game like me!
Pete Phillips
1952 M38 Cdn W/Winch 52-31658
1953 M100 Cdn 53-71069
MVPA #36514
User avatar
Hawkshadow
Member
Posts: 310
Joined: Tue Oct 09, 2012 6:00 pm
Location: Toronto, Ontario, Canada

Post by Hawkshadow »

Time for an update! Although the cold has once again set in, work continues.

Cleaning and painting of various small parts:
Image

Cutting and fitting the transmission floor cover to accommodate the overdrive shifter.
Image

Go slow, working in steps to only take as little material as possible.
Image

Finished cutting. The cover is fully seated and does not interfere with the shifter. A quick paint and it's ready to instal.
Image
Jordan

M38 CDN
52-30718
User avatar
Hawkshadow
Member
Posts: 310
Joined: Tue Oct 09, 2012 6:00 pm
Location: Toronto, Ontario, Canada

Post by Hawkshadow »

A post on another thread reminded my that I hadn't posted about how I installed the circuit breakers on my new repro tub.

Original:
Image

The mount that I made out of some sheet with nuts welded to the rear for mounting the breakers.
Image

The whole unit mounted in place.
Image
Jordan

M38 CDN
52-30718
User avatar
wesk
Site Administrator
Site Administrator
Posts: 16413
Joined: Sun Apr 03, 2005 6:00 pm
Location: Wisconsin
Contact:

Post by wesk »

Jordan, What was the Bosch halogen headlamp part number. I can read the element part number but not the housing.
Wes K
45 MB, 51 M38, 54 M37, 66 M101A1, 60 CJ5, 76 DJ5D, 47Bantam T3-C & 5? M100

Mjeeps photo album: http://www.willysmjeeps.com/v2/modules. ... _album.php
User avatar
Hawkshadow
Member
Posts: 310
Joined: Tue Oct 09, 2012 6:00 pm
Location: Toronto, Ontario, Canada

Post by Hawkshadow »

wesk wrote:Jordan, What was the Bosch halogen headlamp part number. I can read the element part number but not the housing.
Bosch # 0301600107 gives you that housing. Then the bulbs can be sourced separately.
Last edited by Hawkshadow on Mon Mar 28, 2016 7:47 pm, edited 1 time in total.
Jordan

M38 CDN
52-30718
User avatar
ROBCDN3
Member
Posts: 75
Joined: Fri Mar 21, 2014 6:00 pm
Location: Simcoe Ontario Canada

Post by ROBCDN3 »

Wes. The Bosch # for 24v is SBQ7 or SBQ200 both are very hard to find.
The alternate is Wagner # BP2475/H4. My 71m38A1 came with the halogen and got them at my local auto parts store.
Cheers Rob
User avatar
Hawkshadow
Member
Posts: 310
Joined: Tue Oct 09, 2012 6:00 pm
Location: Toronto, Ontario, Canada

Post by Hawkshadow »

Running through the gauge / sending unit tests revealed that 3/4 systems needed attention.

Here is the device that I threw together to collect the coolant for re-use while changing the temperature sending unit:
Image

The flexible pepsi bottle fit into the tight space very well!
Image

End result with how much coolant was drained which ensured that there wasn't any left in the head.
Image

Testing the new fuel level sending unit test in pictures:
Low tank:
Image

Full tank:
Image

I pulled out the brand new unit that I had installed in the tank, tested it, and found out that the unit itself was working fine but the float leaked and was full of fuel. Ah well, now I have a spare unit!
Jordan

M38 CDN
52-30718
User avatar
coolpool
Member
Posts: 65
Joined: Tue Dec 01, 2015 6:00 pm
Location: Cold Lake, Alberta, Canada

Post by coolpool »

Your project is coming along nicely! If you're up to it, I'd like to see this in person. Looks like my daughter will be going to the U of T this Fall so I'll be in town. I'd love to get an etching of your data plate so I can try to reproduce the inspector stamp. Would you be able to post a pic or two of your plates? I have repros and want to get them stamped properly.
Pete Phillips
1952 M38 Cdn W/Winch 52-31658
1953 M100 Cdn 53-71069
MVPA #36514
ACRay
Member
Posts: 80
Joined: Wed Jul 23, 2014 6:00 pm
Location: Fort Bliss Texas

Post by ACRay »

Hey Jordan, What did you use to recover and pad the seats? I've got some walmart generic black outdoor material I used for temp pad covers and although it works, it looks like walmart cheapo job. Your seats look awesome!
Aaron Ray
1952 M38
MC71767
User avatar
Hawkshadow
Member
Posts: 310
Joined: Tue Oct 09, 2012 6:00 pm
Location: Toronto, Ontario, Canada

Post by Hawkshadow »

coolpool wrote:Your project is coming along nicely! If you're up to it, I'd like to see this in person. Looks like my daughter will be going to the U of T this Fall so I'll be in town. I'd love to get an etching of your data plate so I can try to reproduce the inspector stamp. Would you be able to post a pic or two of your plates? I have repros and want to get them stamped properly.
Pete, when you're in town this fall please feel free to drop by! Here is a picture of the Canadian inspector stamp.

Image


ACRay wrote:Hey Jordan, What did you use to recover and pad the seats? I've got some walmart generic black outdoor material I used for temp pad covers and although it works, it looks like walmart cheapo job. Your seats look awesome!
Hey ACRay,

I ordered my covers from Markus at Willys Acres. For the padding, I found a local vehicle upholstery place and had them cut some foam. I then installed it myself. That fresh canvas sure looks and smells great!
Jordan

M38 CDN
52-30718
User avatar
coolpool
Member
Posts: 65
Joined: Tue Dec 01, 2015 6:00 pm
Location: Cold Lake, Alberta, Canada

Post by coolpool »

Thanks for the picture Jordan. I'll keep you posted on when I'm heading your way.
Pete Phillips
1952 M38 Cdn W/Winch 52-31658
1953 M100 Cdn 53-71069
MVPA #36514
User avatar
Xamon
Member
Posts: 593
Joined: Mon Sep 17, 2012 6:00 pm
Location: South East Saskatchewan

Post by Xamon »

that closeup is interesting just looked at mine, it is the same except mine is e19 instead of e21.
User avatar
Hawkshadow
Member
Posts: 310
Joined: Tue Oct 09, 2012 6:00 pm
Location: Toronto, Ontario, Canada

Post by Hawkshadow »

Aaron,

I was working this evening putting the back seat together and the tag on it shows that it was made by Weebee Webbing in Richmond, Ohio. Website: odcloth.com. I have been very impressed by their seat covers!
Jordan

M38 CDN
52-30718
Post Reply