Page 1 of 2
TJ's 53 M38A1 project
Posted: Thu Mar 28, 2013 1:14 pm
by Thunderbird712
Looking through the other project threads here I felt the need to share my project with everyone. I am actually starting out in a little differnet situation then most here on the forums. My jeep was purchased by my father back in 2001 from Sarafan when they were still in NY. They had purchased a bunch of M38s and A1s from Greece surplus. I was only 17 at the time and was excited to have a new jeep project. So my father bought the only running one of the lot.
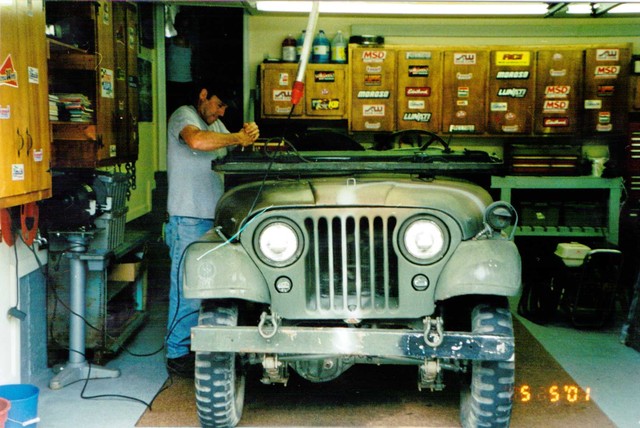
My father had restored MBs and GPWs and an M38 before but was out of the game for a long time prior to this. The idea for this jeep was to clean it up and make it a good running jeep to have fun with and not care about the little details.
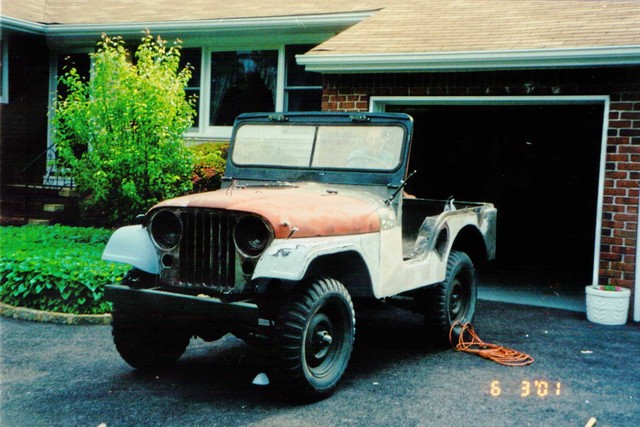
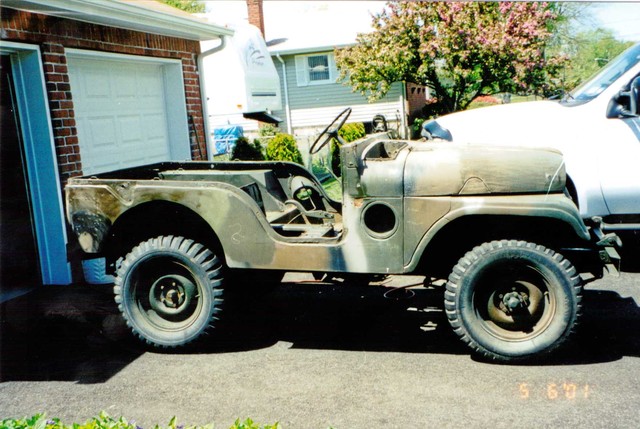
We never took the body off and went through the drivetrain. I spent many hours after school and on weekends sanding and helping my father learning alot along the way. This was the end product.
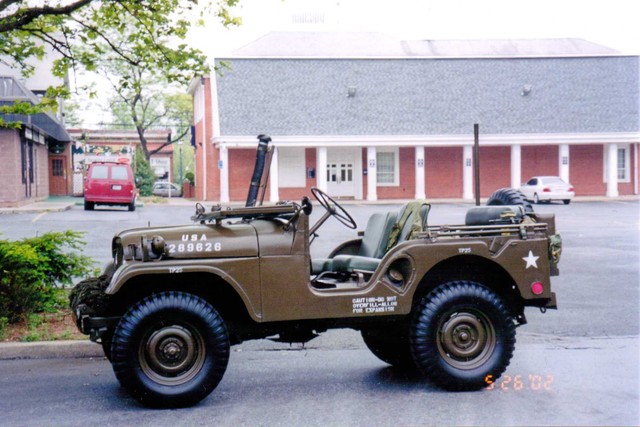
After a couple of years my father gave me the jeep while I was in college in Florida. I had tons of fun showing off by cruising the beachs of Daytona Beach and tons of fun cruising around during Bike Week. More often then note I was the only four wheeled vehicle driving the strip and getting thumbs up and cheers! When I moved out to California to start working for the Navy it came with
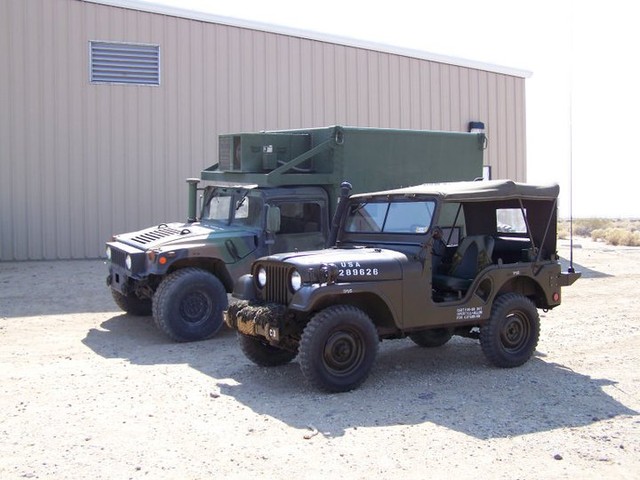
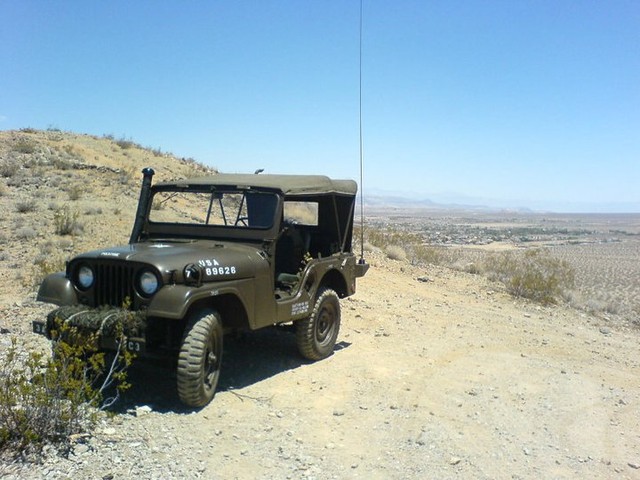
I did get plenty of funny looks

running with the fording kit on in the desert! I left it on just for the irony alone

Unfortunatly thats when the motor let go in Jan 2008. I didnt have the money to fix it and between money, Iraq, moving to Maryland, and my first kid the jeep sat until last year. Even still its a slow progression.
Posted: Thu Mar 28, 2013 1:38 pm
by Thunderbird712
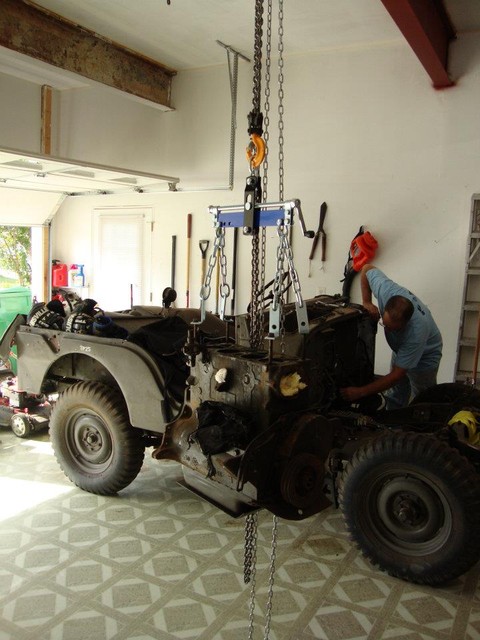
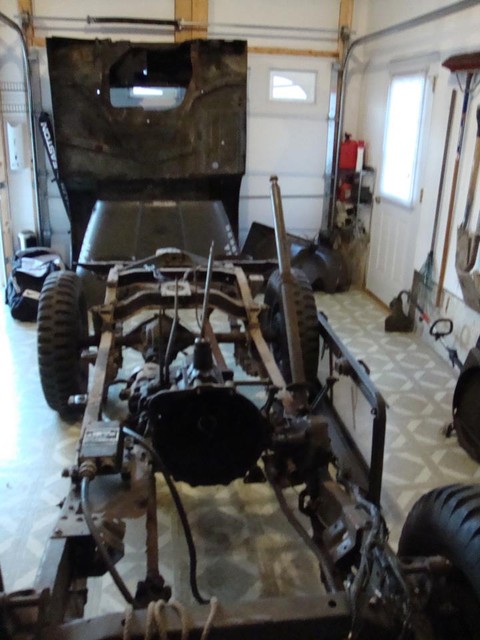
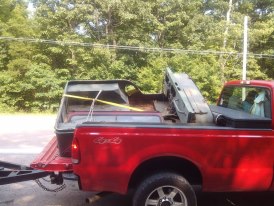
Last year I decided instead of just getting the motor fixed, I wanted to do a proper frame up resto. The jeep had seen a lot of wear and tear during the years, plus I would get to fix the body and have the frame sandblasted. So the disassembly began. That is where I found this forum and I quickly found out I had a lot of questions about my jeep
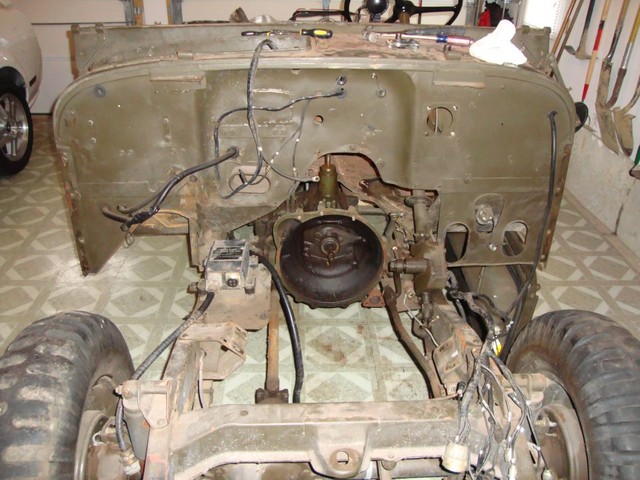
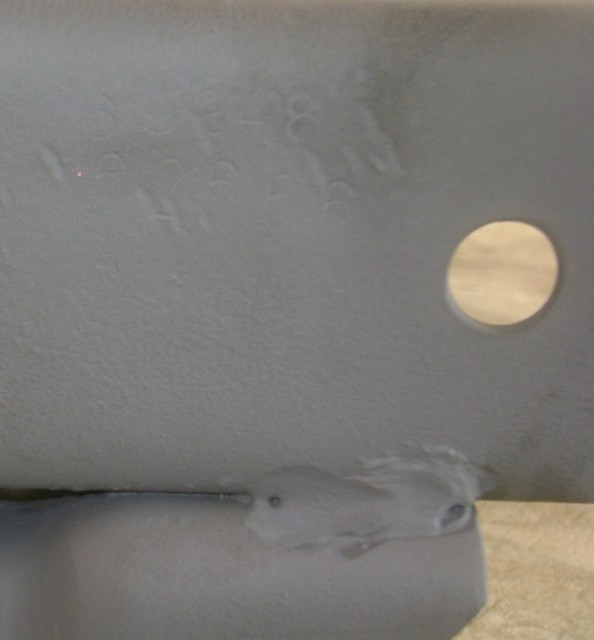
During the disassembly I found this on the frame
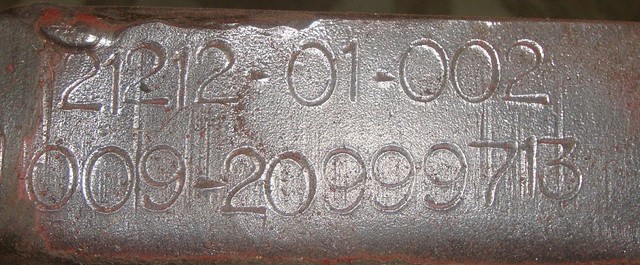
Because the data plates were missing, I could only use the typical changes to help ID after what point my jeep was made. Such as the battery cover etc. After asking the question here and taking an educated guess, the 20999713 had to be the hood #. After looking at the database here and Wes giving his expert opinion, I could narrow down the jeep to Nov, Dec 53.
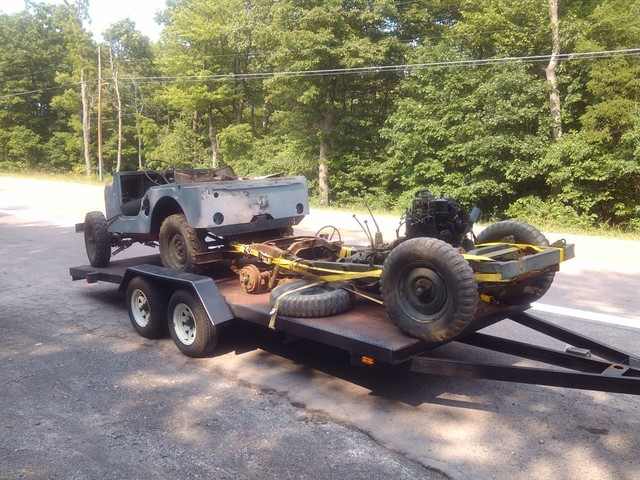
I then came across a deal for two A1s. I was missing a lot of little detail type stuff on my jeep such as correct bolts, reflectors, and other small stuff. These jeeps had most of everything I needed. Another benefit of 12 plus hour day getting these jeeps was the time I spent with my father. That to me was worth more then anything else. The Greeks were not kind to this jeep when it came to body work so the one body is going to be a sheet metal donor and I got two good motors to chose from.
Havent started reassembly yet as i am trying to get all the parts in order (plus money). As I start I will post more pictures and defintly will have tons of questions.
Posted: Thu Mar 28, 2013 3:55 pm
by wesk
I almost sorted out your photo posting issue but I lost the original URL for your second photo. Anyway, do not use the
to insert photos in your post. Use the
![Image]()
for photos. Also the URL that you use between the

are the photo url in the size photo you want to add to the post. If you are using IE for your browser it's a bit of a PITA since you must right click the desired photo and in the drop down menu left click properties and then copy the URL from that drop down window and paste it between the
![Image]()
's. If you are using Chrome and other browsers then all you do is right click on the desired photo and left click on "Image URL" then go to the post and paste that url between the
![Image]()
's.
Posted: Thu Mar 28, 2013 4:40 pm
by Thunderbird712
Sorry Wes I saw your advice in amry_inc's "M38A1's Restoration Project" thread that you had written about on March 22 and thought I would avoid doing that with the images.
A short note on photos. They take up a lot of server space. With that in mind try to use the photo once. It's best to load your photos to your album and reference your album link in your postings. Only add additional photos to a posting when an explanation or question is being used and the photo is needed to help with the topic of the post. This helps us keep this web site free to everyone.
If this is not the case anymore by all means I will go back and finish fixing my links.
Posted: Thu Mar 28, 2013 5:09 pm
by wesk
Those links do not work. They open an "access denied" page.
The idea is to keep the photos as small as possible. Only large enough to convey your point and only those absolutely needed to convey your point. It is the one and two meg photos that eat up the band width. Stay with photo files sized less the 200 K. Most things can be illustrated adequately between 50 and 100 K and this is easily achievable if one trims the fat from his photos. It always slays me when I see a one meg photo of a huge work bench with a 3" item laying on it that is the target of the photo.
Posted: Thu Mar 28, 2013 5:45 pm
by Thunderbird712
Thanks for the help. I see where I overlooked the url thing. I have seen many posts from you regarding the size of the pictures so I always make sure I am squared away with that.
Thanks
Posted: Thu Mar 28, 2013 7:33 pm
by wilfreeman
Your Dad did a great job on that Jeep back in the day TJ - good luck on the project - we're here for ya!
Posted: Fri Mar 29, 2013 4:21 am
by bluewatersailor
Looks good! Enjoy! I wouldn't be in a hurry to throw any "scrap" away. Sometimes people like us need the strangest things. David
Posted: Fri Mar 29, 2013 6:33 am
by wilfreeman
ALWAYS need!
Posted: Fri Mar 29, 2013 7:07 am
by Thunderbird712
Nothing to me is scrap when it comes to jeep stuff although my wife disagrees
I have yet to strip the body of all the bondo the Greeks put on the jeep. When we did the intial resto on the jeep we just repaired the bondo cracks with more bondo to get the jeep done. Certain spots have now popped off or cracked so I know for sure I will be using sections of my parts body though! I will be using the parts frame to mount the body to do portions of the body work. That will free up my frame to start work on.
I been trying to sell stuff I dont need for cash for the project. I have one jeep potential sold so my garage will be freed up for my frame to come back. Any sections of the body I dont use I will try to sell and if they dont go I am going to just keep for future projects! Its nice to have a big basement to store jeep stuff!
Wilfreeman - Checked out your site. Nice looking Jeep!
Posted: Fri Mar 29, 2013 9:28 am
by wesk
I know for sure I will be using sections of my parts body though
Don't be surprised if after bead blasting or stripping the bondo'd tub that the spare tub starts to look like a better choice.

Posted: Fri Mar 29, 2013 10:24 am
by Thunderbird712
I know what you mean Wes. So far each body has some significant issues but the parts body looks as though it has what I need to fix the issues on my body minus the drivers side and passanger side floors. So I am pretty sure my end body will be 50% original body 45% parts body 5% new floors. Luckly the parts body was basicly free! Helps the project budget!

Posted: Sun Mar 31, 2013 10:57 am
by army_inc
Thanks again for the springs TJ. I haven't had a chance to clean them yet, but I'm getting pretty excited. It was nice to meet you as well and I think after your extra jeep is sold, you'll have plenty of room to get done what is needed. It'll take time. I've been working on my for about a year and a half. I also have kids, long work hours and everything else that life throws at me. Just stick with it and you'll do just fine.
btw, my wife thinks the same thing about my jeep. I always hear her say "so when is that scrap metal (or junk, or S$&t) going to get out of my garage or off of my property?" Once it's finished, I think our wives will come around though.
Posted: Sun Jul 07, 2013 5:43 pm
by Thunderbird712
So I finally have made some progress the last week or two. Had tons of help from my father who was visiting and he brought the frame back to me from the sand blaster. I decided to go with the 2430. Found a lot of it under the undercoating on the body that the greeks put on. I really liked the color over 24087.
I couldn't be any happier! It was hard to judge the true condition of the frame prior because of the undercoating, grease, and grim. The frame is in perfect condition. No rot and no other serious issues. Everything is straight and like new. Only issues were the rear bumper where the shackles attach were bend inward. I assume from the Jeep being tied down. Also one of the nuts welded to the frame for the front shackle is missing. Both easy fixes.
I did find two numbers on the side of frame on the drivers side. They are 62666 and 69248. According to the small database here the two #s fall into the time frame of Nov-Dec 53 as the hood # stamped on the frame does. I have no proof that either one is a serial # and what makes it even harder is that there is two numbers. Chalk it up as a neat find.
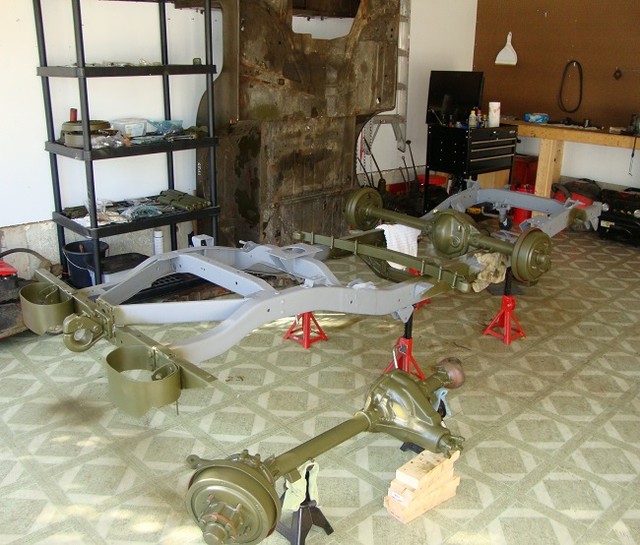
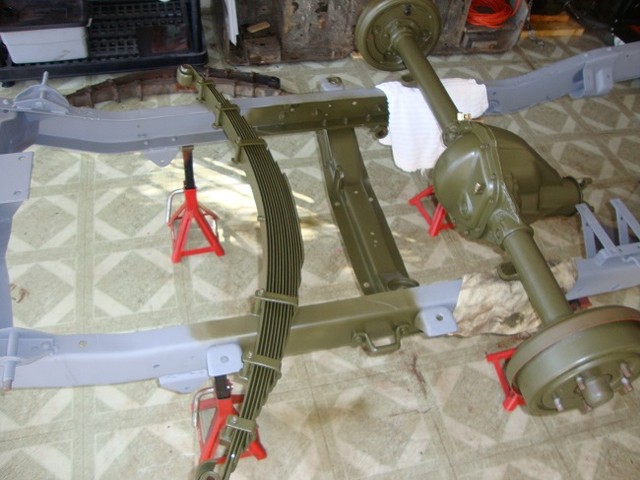
Got both the front and rear axles wire wheeled and painted as well as the two rear springs. The axles were fine when I last drove it but it was a good time to go through them. I did all the necessary servicing and replacement of seals, bearing and such. Just have to finish the front axle. All the parts to get a rolling frame are painted and ready to go. Just need to get a gallon of paint and I will be spraying the frame soon! Hope the website survives as I don't have anyone to show of my work to that often. Wife just sees a garage full of green parts!

Posted: Thu Aug 08, 2013 12:31 pm
by Thunderbird712
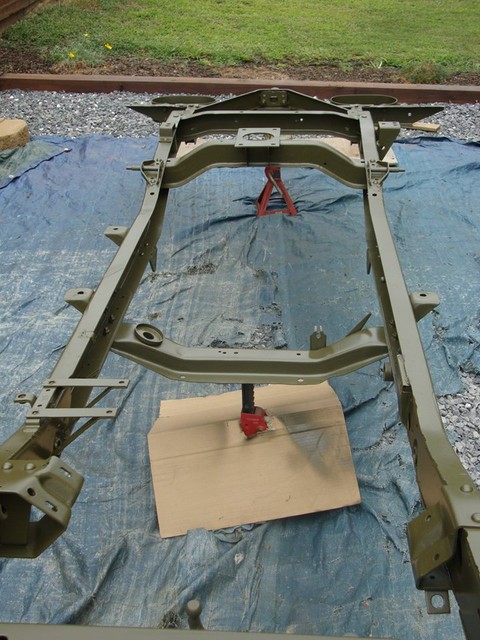
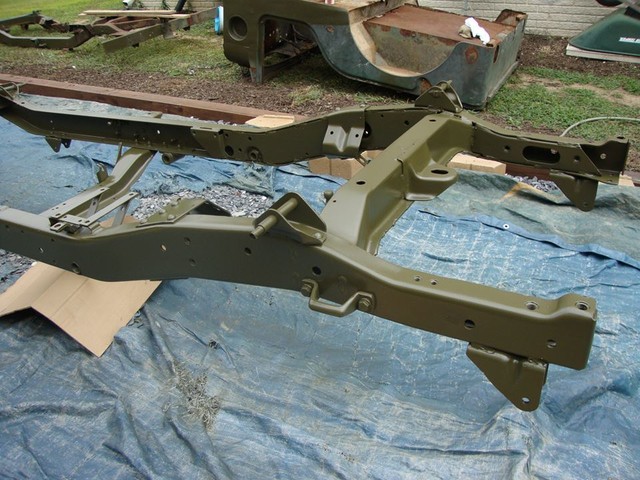
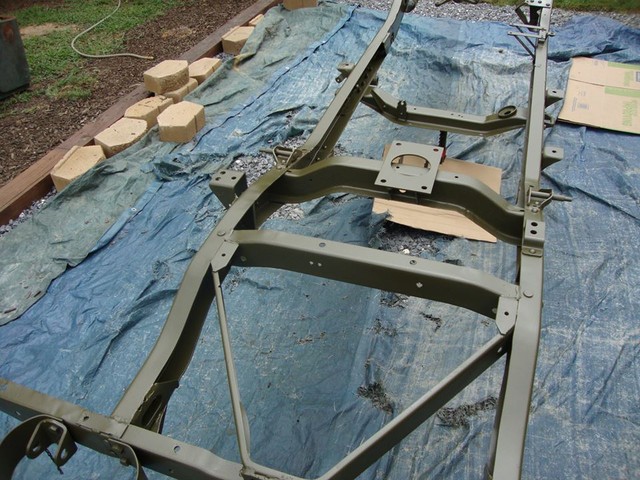
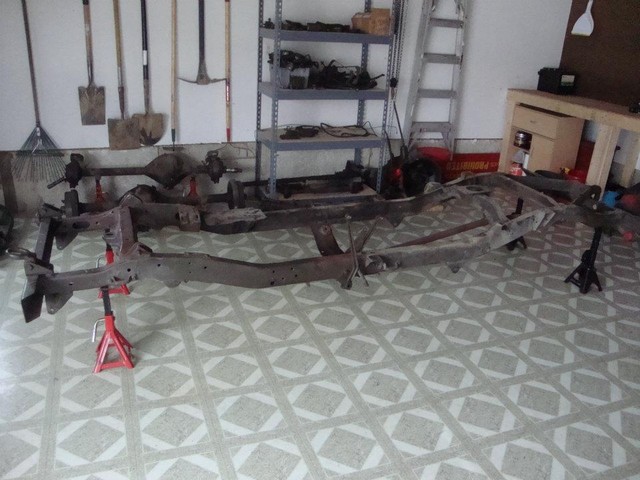
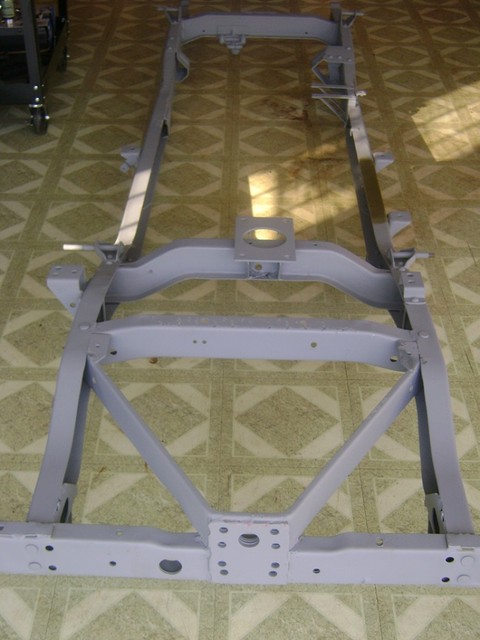
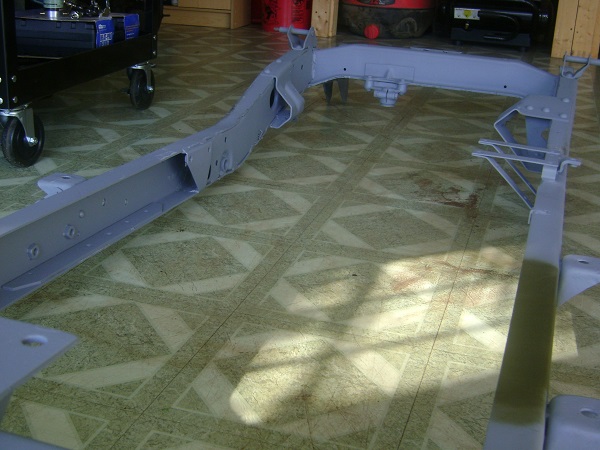
If anyone cares to see here is some pictures of my frame painted. All I did to the frame was have it sand blasted and primed, striaghten the rear bumper a little due to the shackles being pulled, put a couple of parts on and then paint. Frame was in great shape which saved me some time and money.
It was my first time painting with an air gun. Pretty happy with it. Turned out to be an unusal August day. 80 degrees and 50% humidity, no wind and cloudy. Used the AJP Late WWII semi-gloss as that is the best match to 2430. I used Xylene with a 2:1 mix ratio with 40 psi at the gun. Put on multiple thin coats and it actually tacked up very quickly. Lucky it did because I had a couple of unexpected sprinkles pass by and the water just beaded up allowing me to blow it off and let dry just in case.