Hey Anthony,
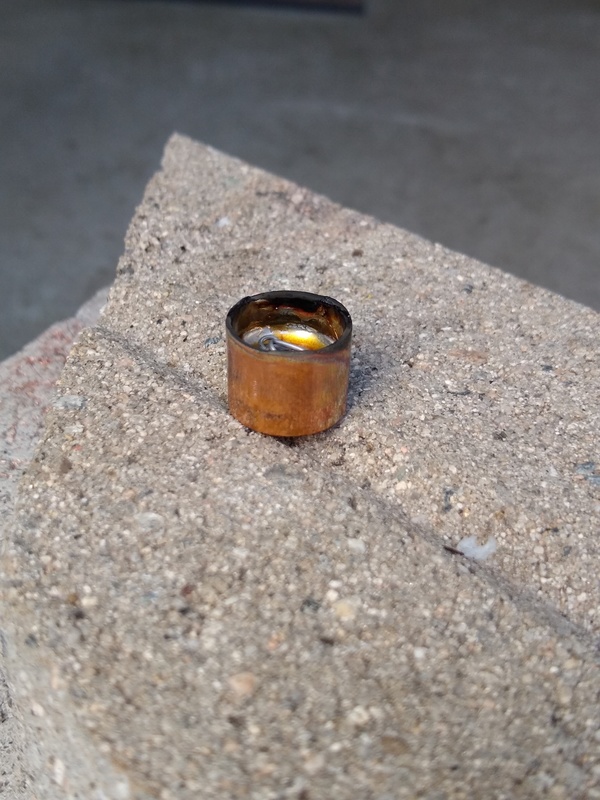
See the part of the pin that I highlighted yellow?
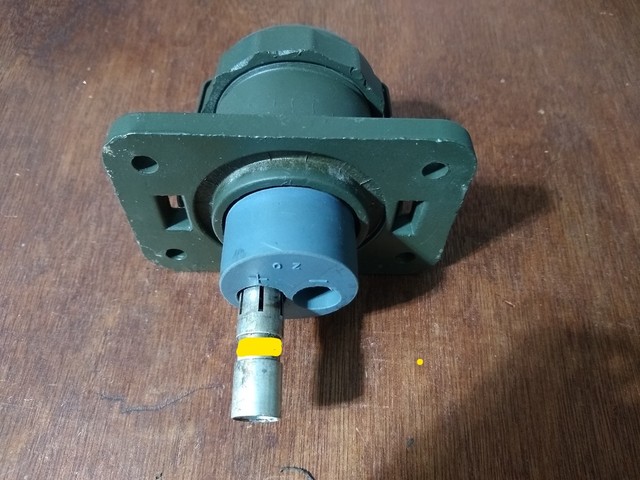
That's a
low shoulder on the pin, but inside the hole it's a
raised shoulder molded into the rubber. You might be able to see it with good light, or feel it with a small tool. That shoulder is what locks the pin into the rubber block at exactly the correct depth, when inserted properly.
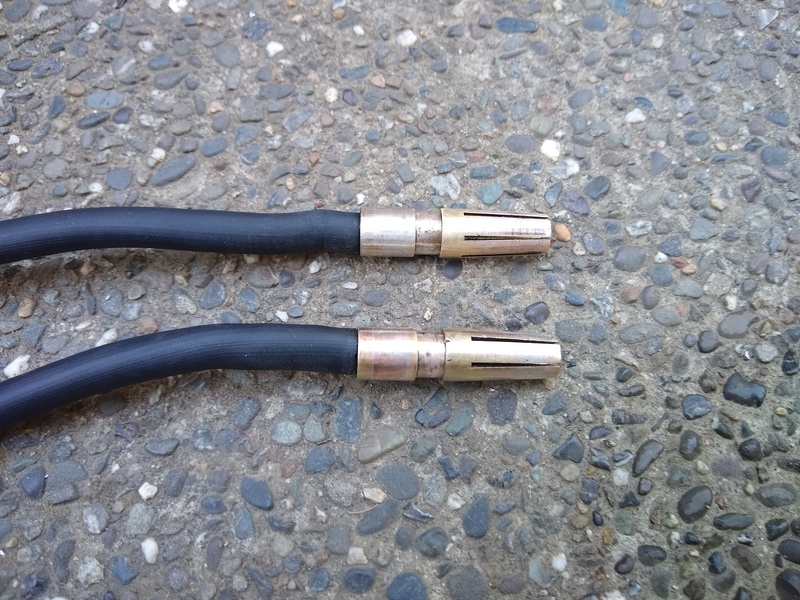
When inserting the pins you have to be gentle to work the leading edge of the pin over the shoulder (with lubricant) to start them. A slight twist will usually help get over the edge. But don't force or press the pin over it or you can damage the rubber shoulder. If you're very very careful you can gently (gently!) press close the open end of the contacts on the leading edge to slightly reduce the diameter and help it ease by the shoulder and clear the rest of the rubber on it's way out to the front off the block. Usually only need to do that when re-using pins that tend to spread a bit naturally (not new ones). It's going to take some pressure and a slight twist or two, but after you clear the shoulder with the leading edge they should go in without too much fuss or fight. You might even "feel" them lock into place.
I don't recommend "parking" or reinserting the pins for practice until you have wire and are ready for final assembly. The less the pins go in and out of the hole over the shoulder the better off it usually goes.
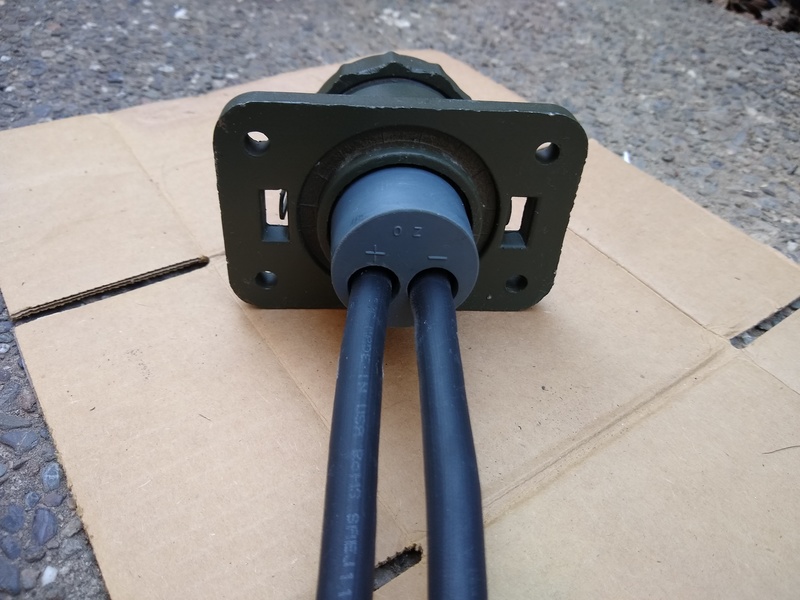
The good news is your connector rubber insert looks new (plenty soft). Older hard ones like mine are a bear to deal with.
Plenty of dawn dish soap lubricant on a Q-tip over the entire length of the hole and a finger smear over the entire outside of the pin --- and make sure no crud anywhere.
Good luck!
Ron D.
1951 M38 Unknown Serial Number
1951 M100 Dunbar Kapple 01169903 dod 5-51
“The only good sports car that America ever made was the Jeep."
--- Enzo Ferrari